I am so excited to finally share the free plans for this DIY Play Kitchen that I built for my daughter! She is a tall 8-year-old and her top request for Christmas was a Play Kitchen. After searching and searching online, I realized that there are no big kid play kitchens! She towered over her old one, which is why we donated it. So, since I I did not want to invest in another tiny kitchen, I decided to design and build one for her.
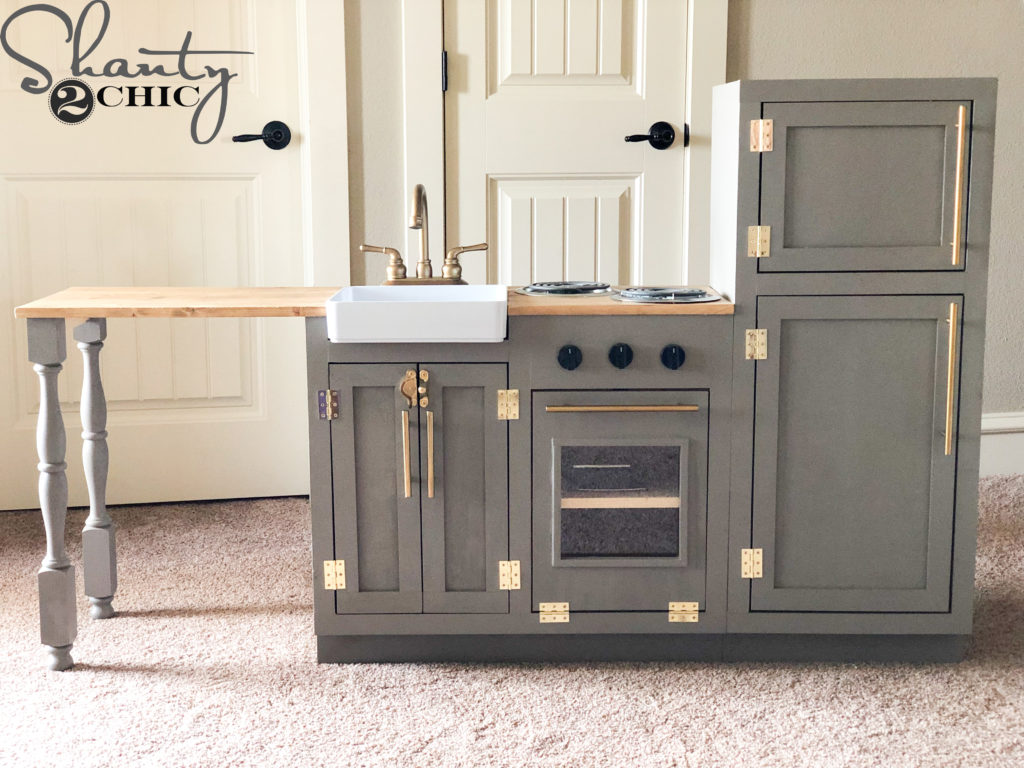
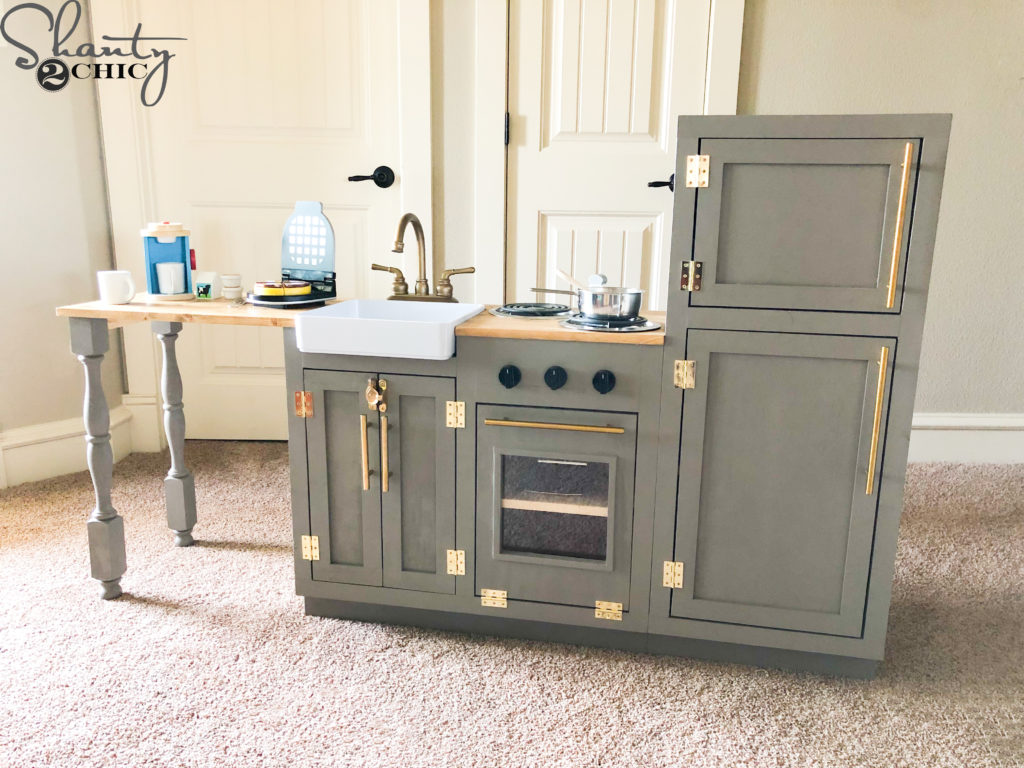
This was the most fun project that I have built in my 10 years of building! My goal was to not only make the size more proportionate to a big kid but also to give it a very realistic look. I got creative and love how I was able to include a farmhouse sink, real stove burners and a peninsula.
You can download the FREE Printable Plans HERE and follow along in the step-by-step tutorial below!
Table of Contents
Supply List
Building Supplies
- Shop list and cut list are available in the PDF Plans
Tools
- Miter Saw
- Drill
- Kreg Jig
- Jig Saw
- Brad Nailer
- Pin Nailer (optional)
- Stapler (optional)
Accessories
- Osborne Wood Products Table Legs
- Long Cabinet Pulls
- Short Cabinet Pulls
- Sink Door Latch
- Hinges
- Door Catch
- Farmhouse Sink
- Faucet
- Stove Burners
- Oven Knobs
- Plexiglass
Sink and Oven Build
Step 1
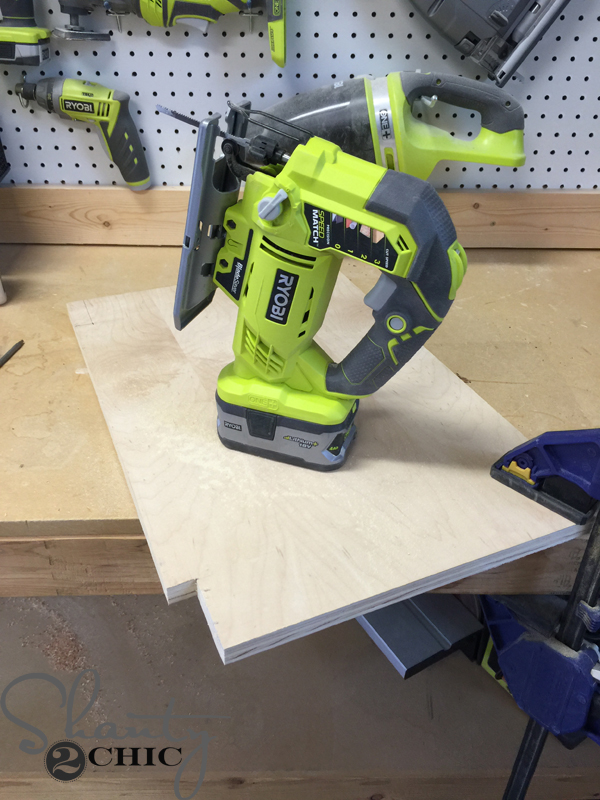
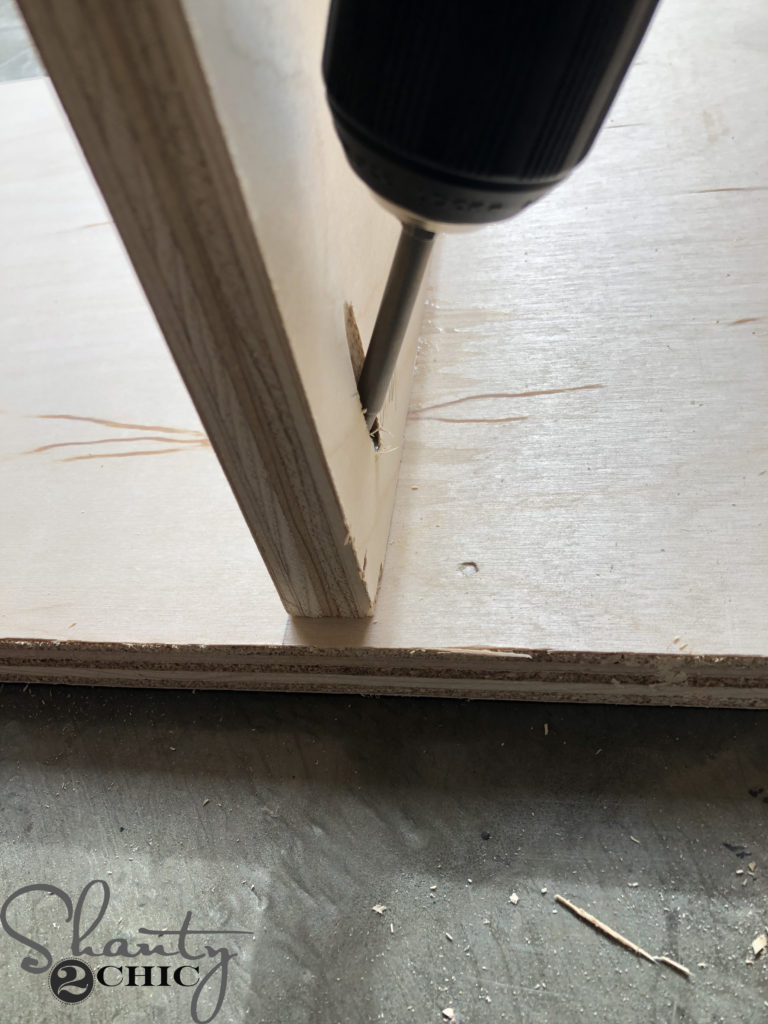
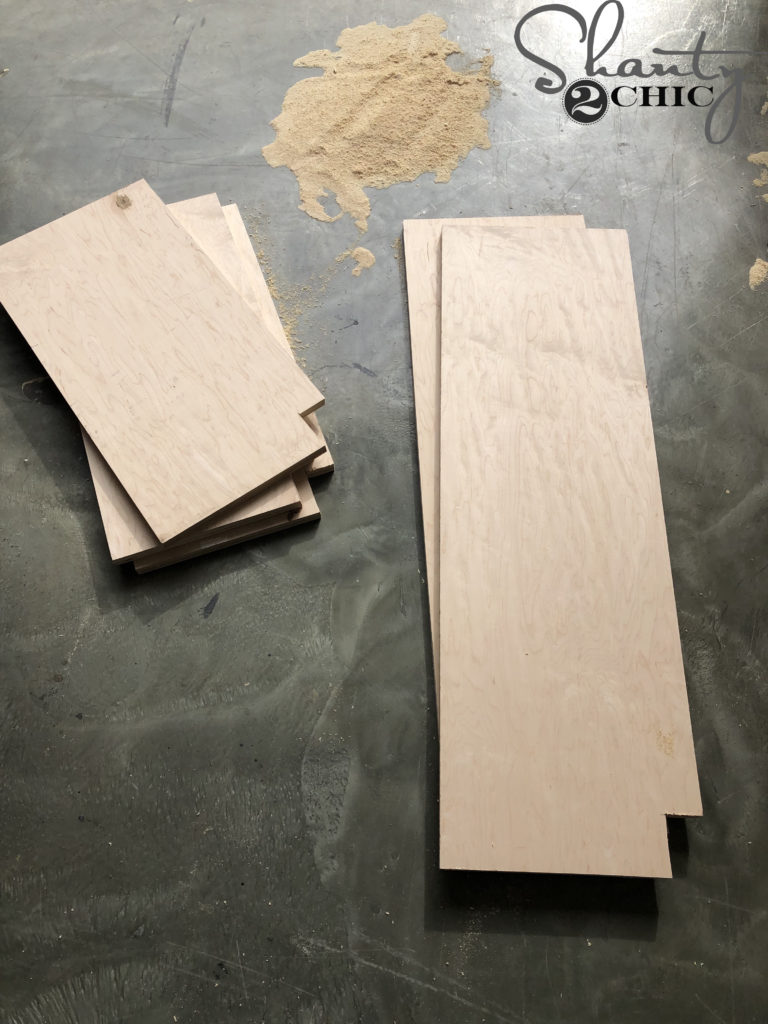
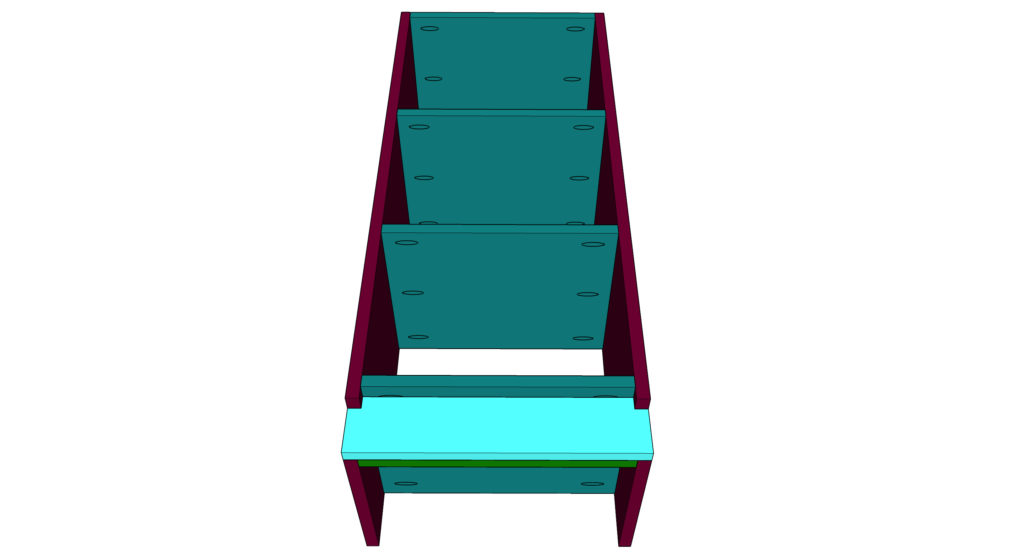
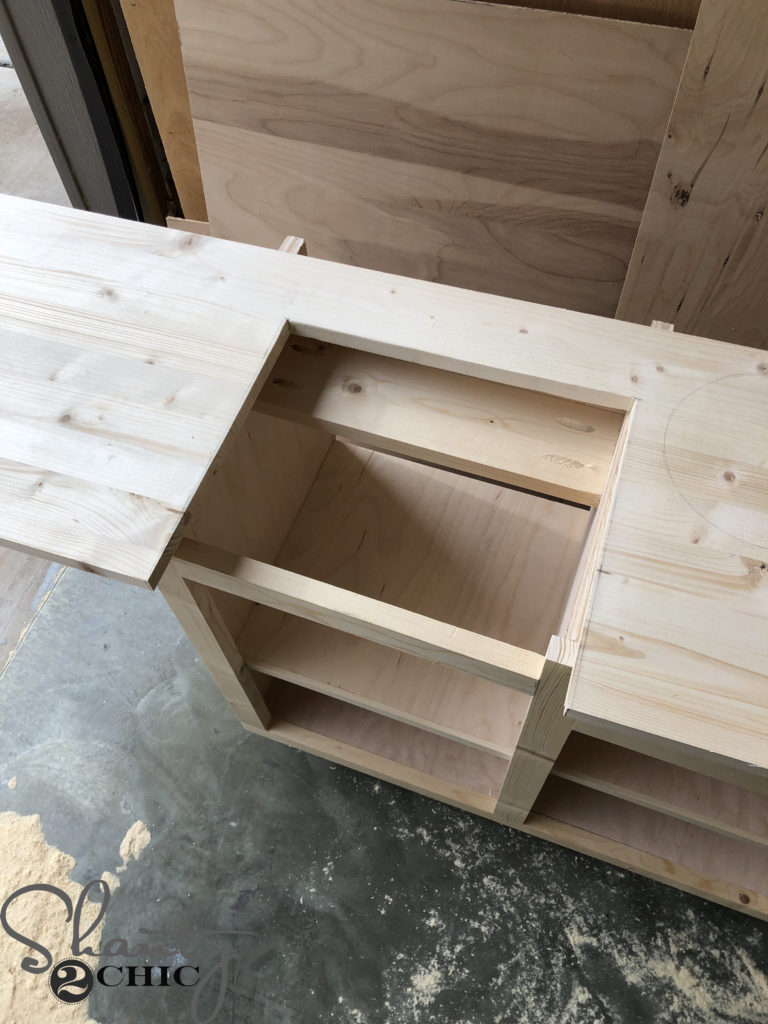
Cut the side pieces and shelves to size and use a jigsaw to cut the notches out of the corners.
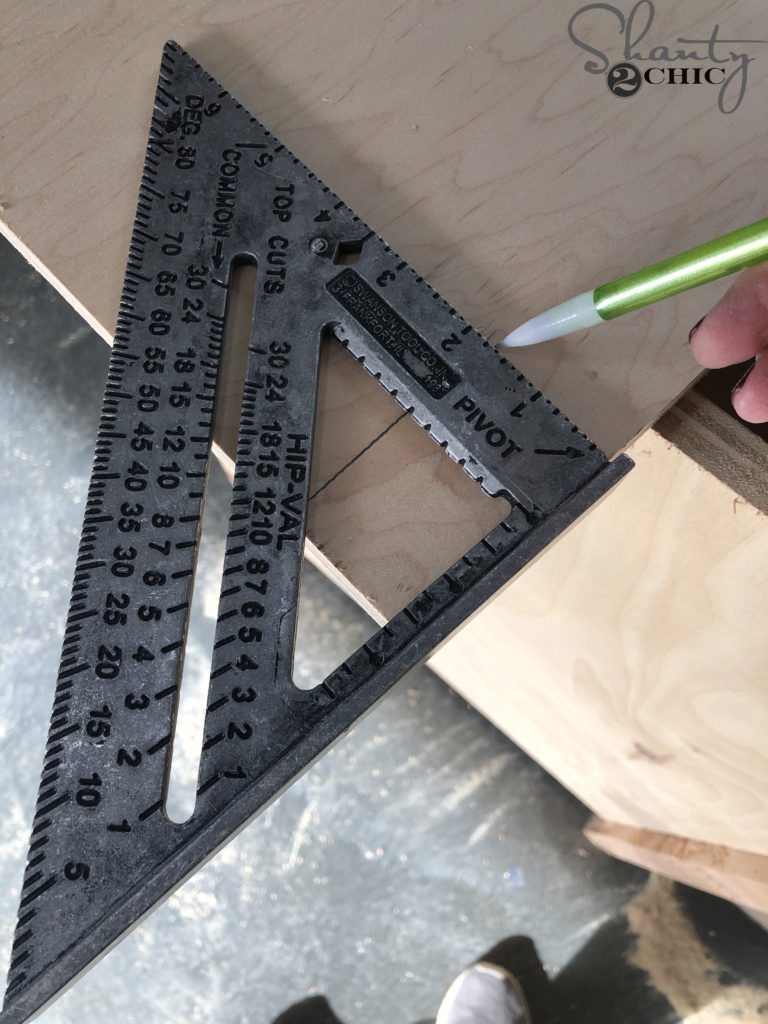
I used my speed square to mark for the notches.
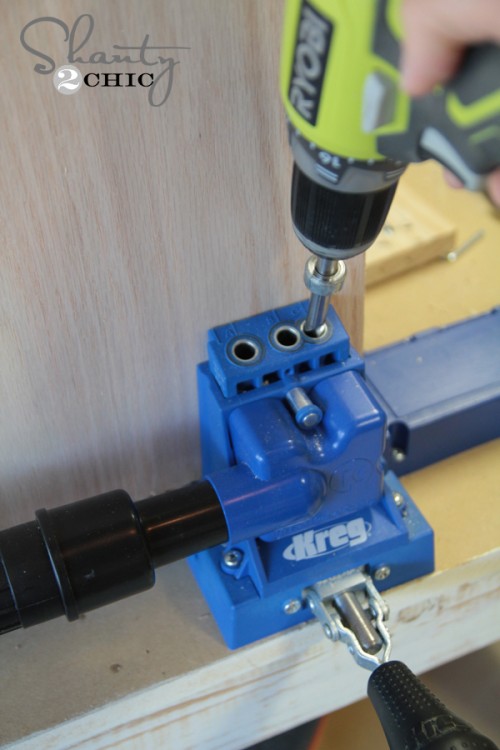
Use a Kreg Jig to drill 3/4″ pocket holes into both sides of the shelves.
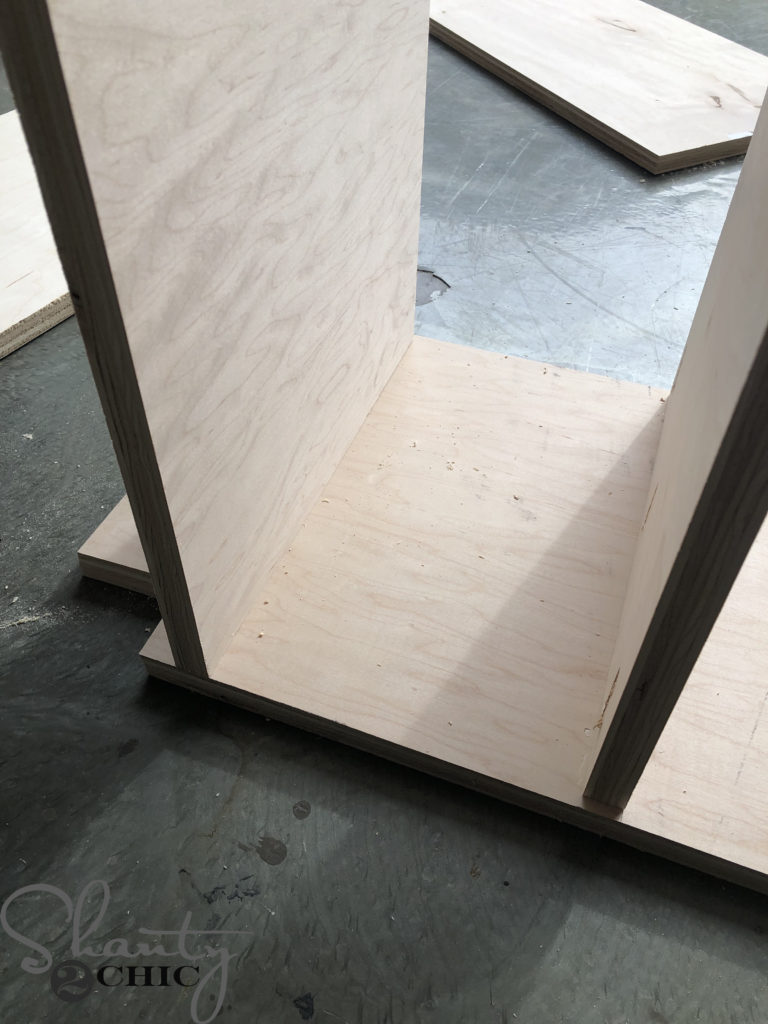
Attach the shelves to one sink side panel.
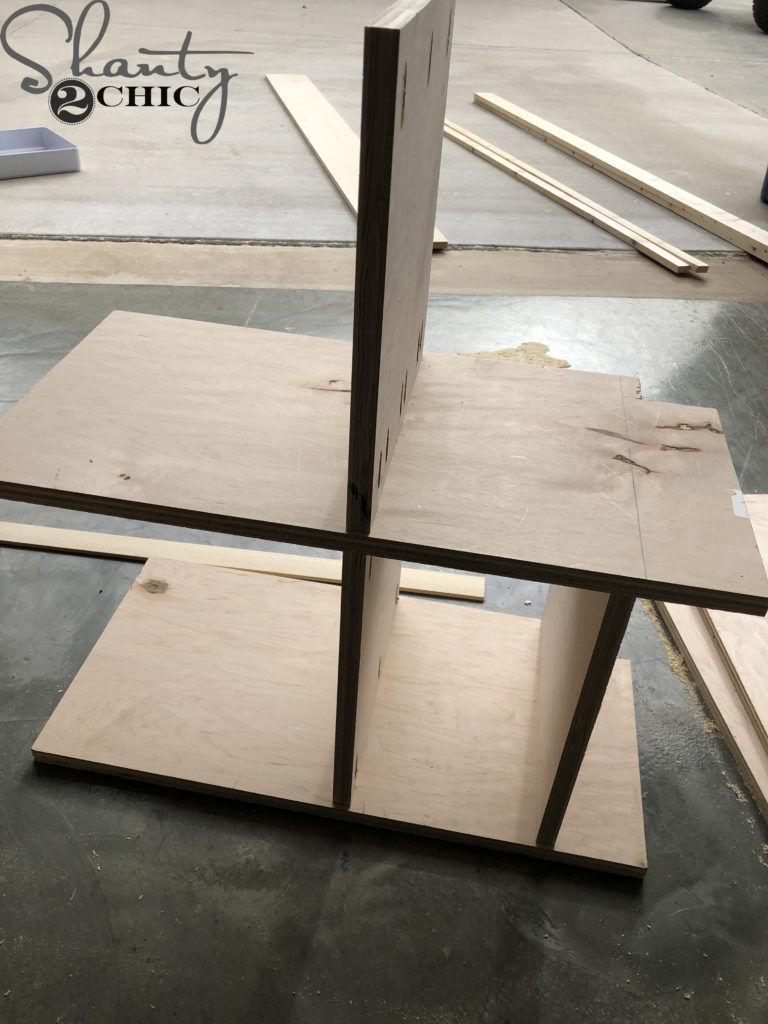
Then attach the middle sink panel.
Finally attach the other side. Use 1 1/4″ pocket hole screws and wood glue.
Step 2
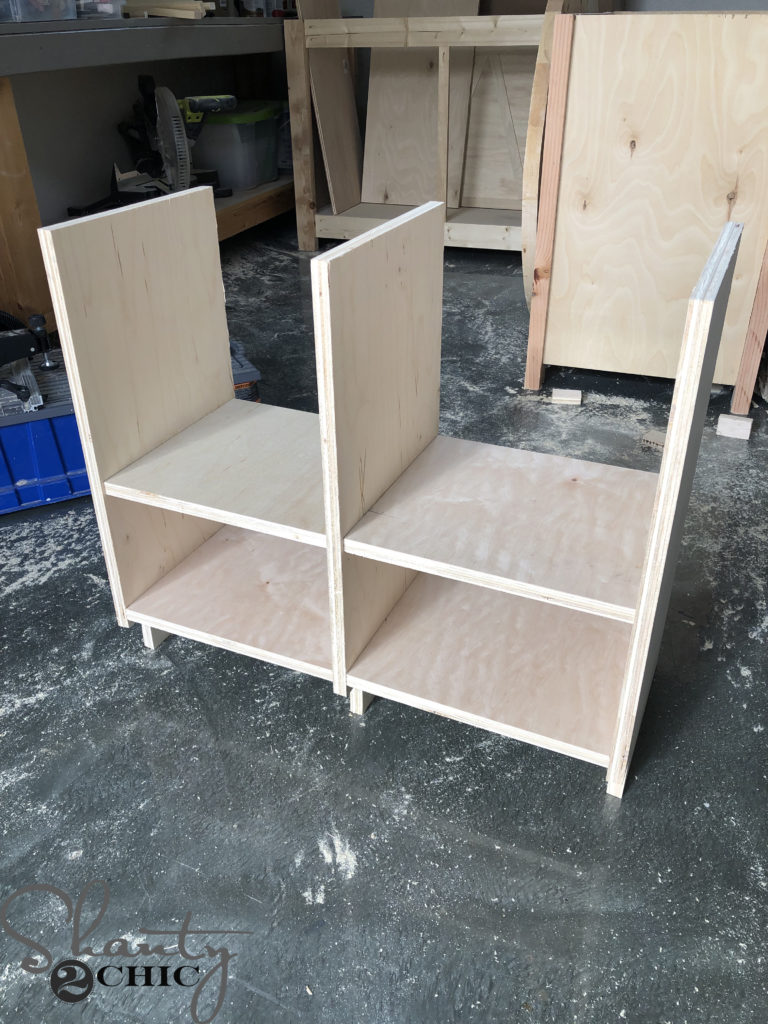
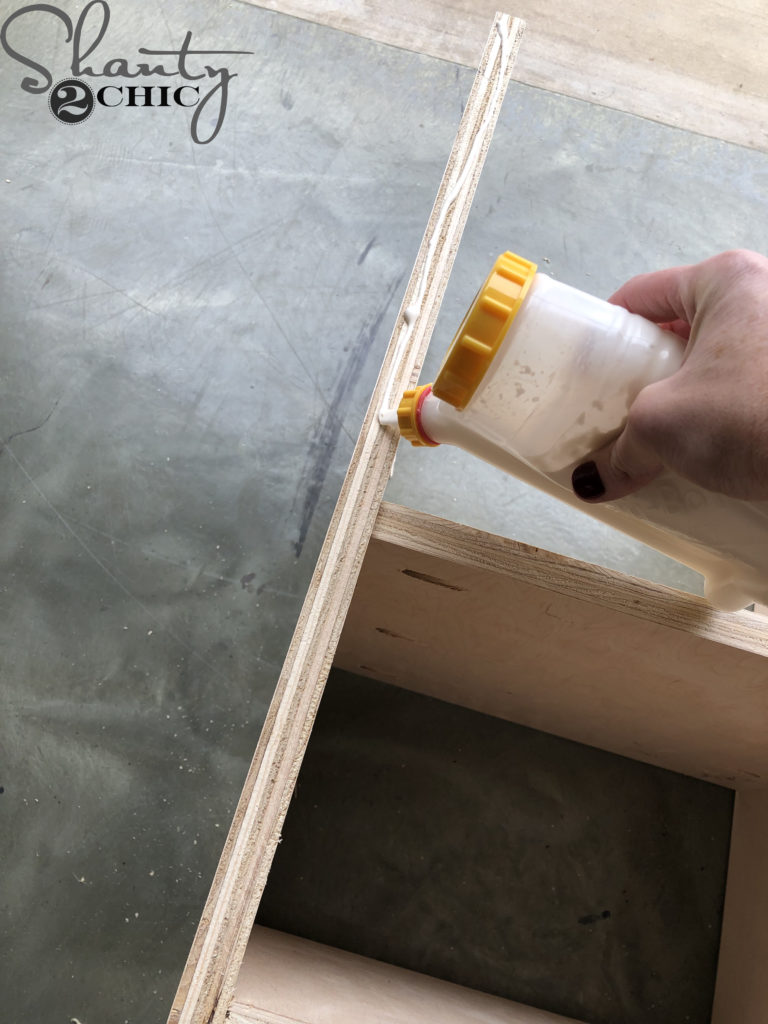
Cut the bottom, base frame pieces to size and drill 3/4″ pocket holes into both ends. Attach them to the side and middle cabinet pieces with 1 1/4″ pocket hole screws and wood glue.
Step 3
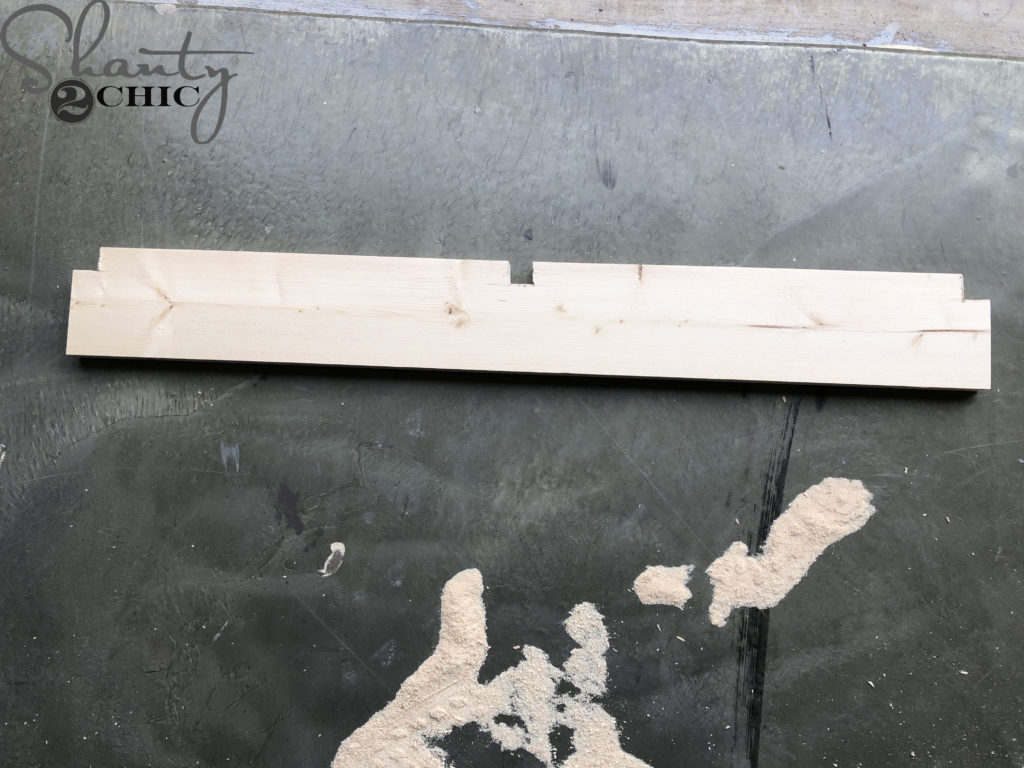
Cut the toe kick to size and notch out 3/4″x3/4″ squares to allow for the side and middle cabinet pieces.

Attach the toe kick to the base frame with 1 1/4″ brad nails and wood glue.
Step 4

Cut the face frame pieces to size. Drill 3/4″ pocket holes at one end of each vertical piece and both ends of the top and middle pieces. Attach them together with 1 1/4″ pocket hole screws and wood glue. I used my Kreg face clamp to keep the boards flush while I was attaching.
Cut the oven door catch block to size, center it on the face frame and attach it with 1 1/4″ brad nails and wood glue. This was an afterthought while I was building. I added it later in the build but it’s easiest to add when you are building the face frame.
Step 5
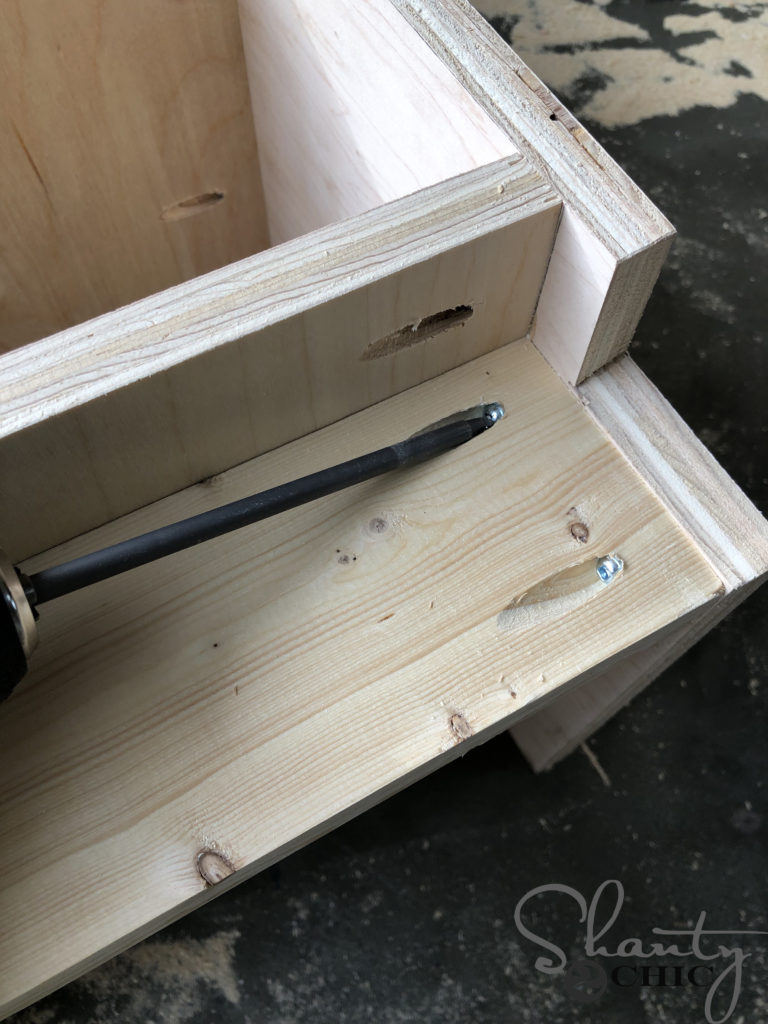
Attach the face frame to the front of the cabinet with 1 1/4″ brad nails and wood glue.
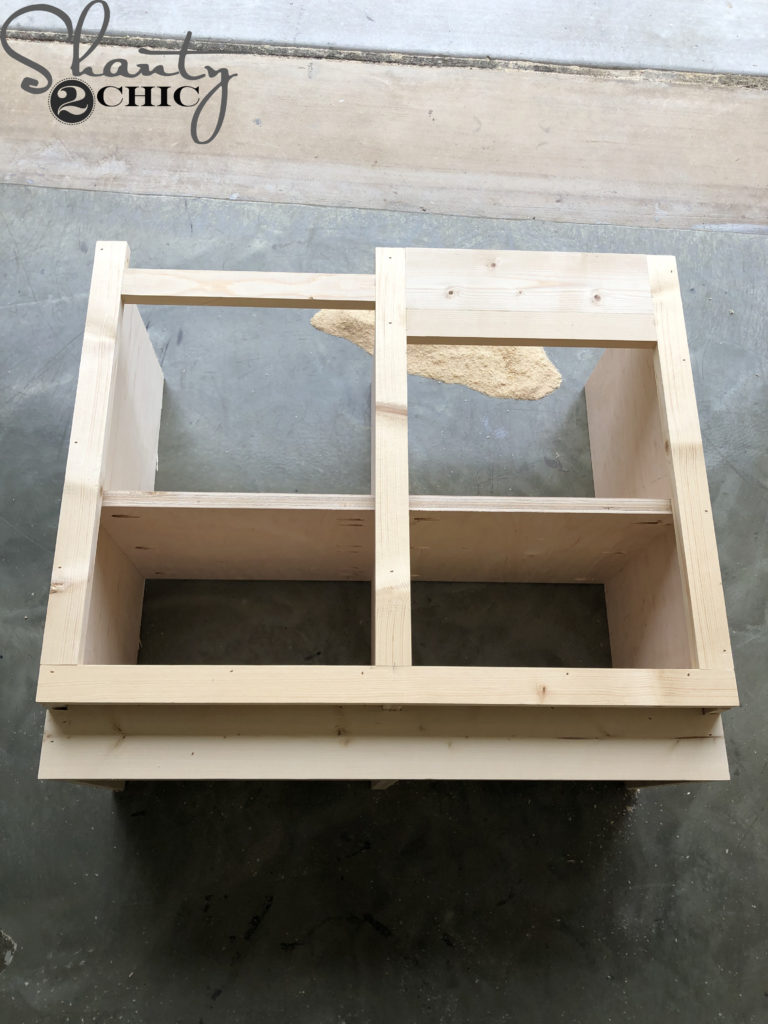
The top of the face frame should be flush with the top of the cabinet.
Step 6
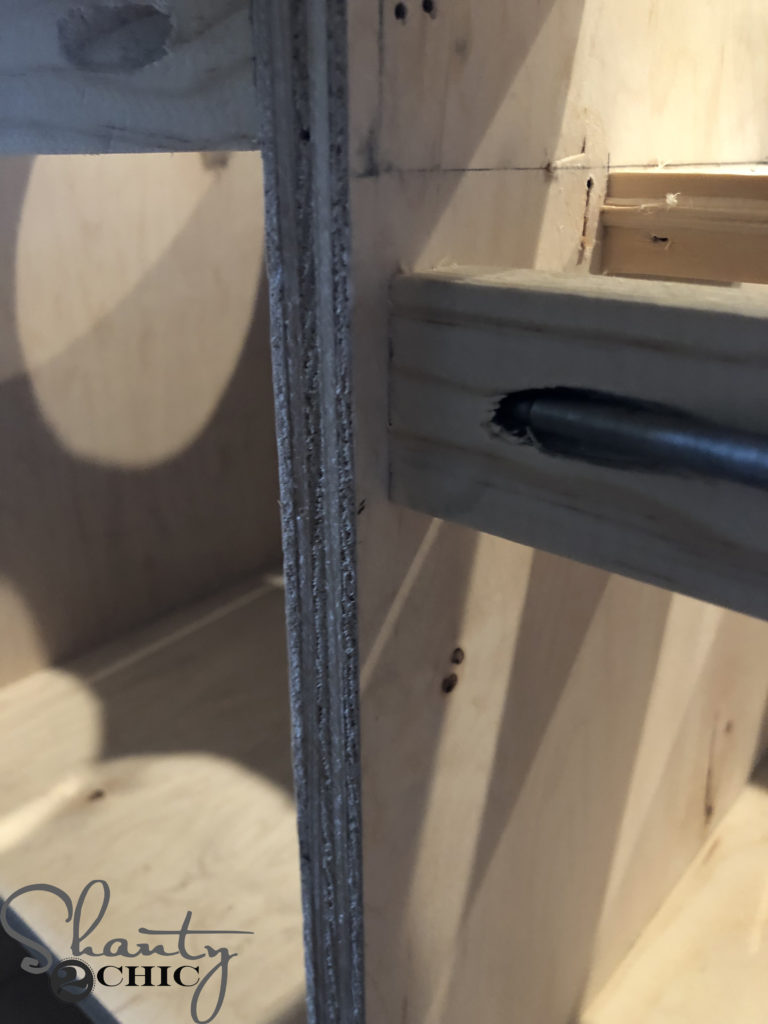
Cut the back support pieces to size and drill 3/4″ pocket holes at both ends of each piece. Attach them 1/4″ from the back of the cabinet to allow for the backing. Attach them with 1 1/4″ pocket hole screws and wood glue. The support on the sink side should be attached 1 1/2″ from the top of the cabinet to allow for the faucet.
Step 7
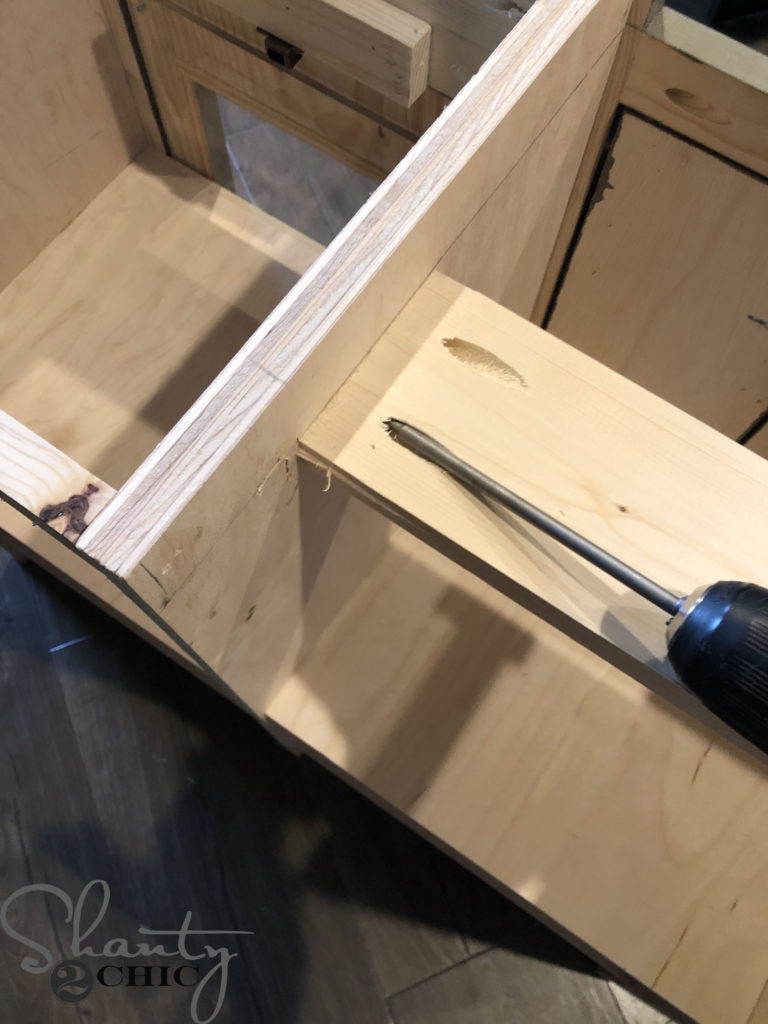
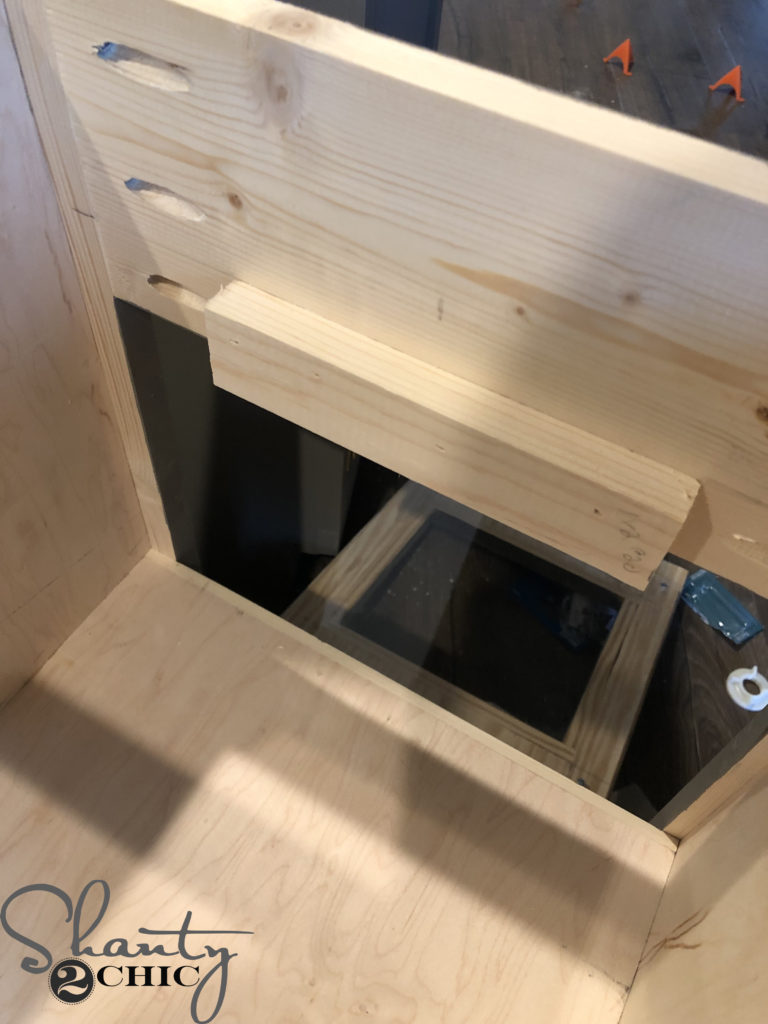
Cut the sink support to size and drill 3/4″ pocket holes at each end. Attach it to the sink side of the cabinet with 1 1/4″ pocket hole screws and wood glue. It should sit 7″ from the front of the cabinet panel, 2″ from the back and 1 5/8″ from the top.
Step 8
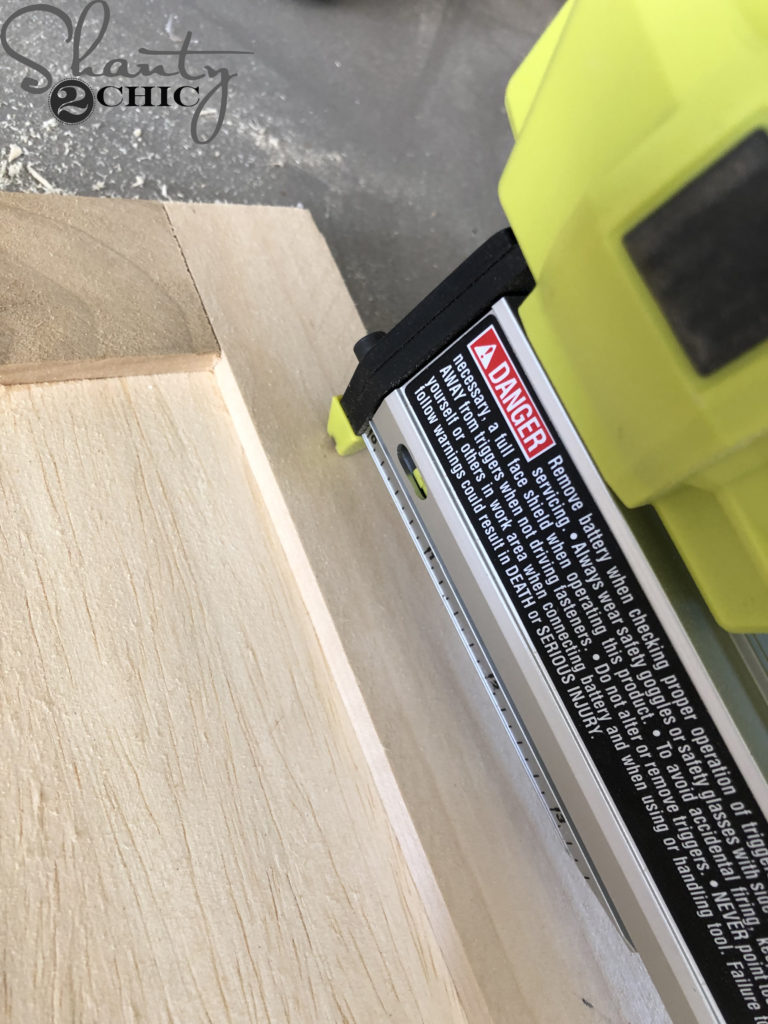
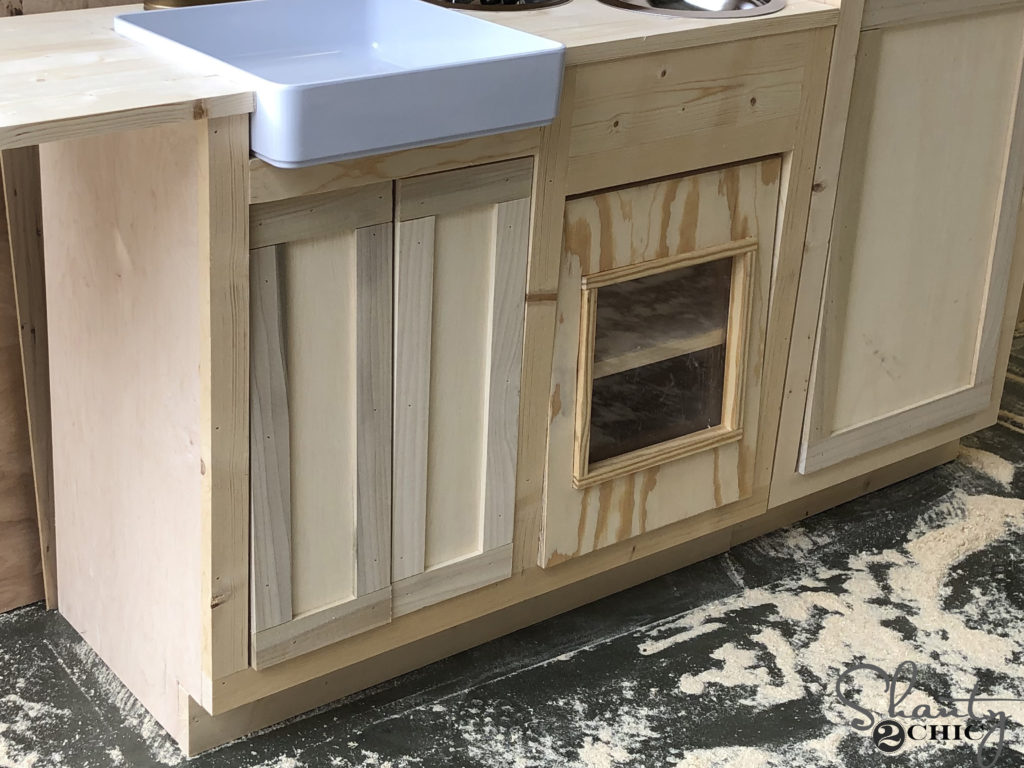
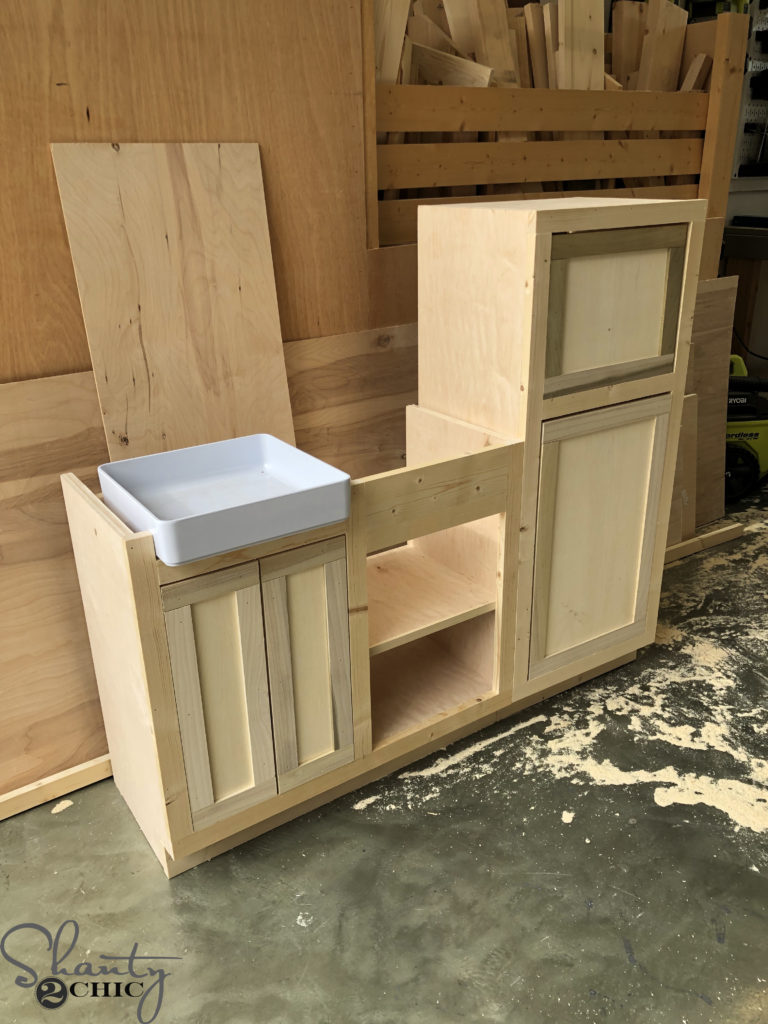
Cut the sink door planks to size. Then, measure and cut the 1/4″ trim to size. Attach the trim to the plywood planks with 5/8″ pin or brad nails and wood glue. Build two doors. (I had to try the farmhouse sink on for size).
Step 9
Cut the oven door to size and cut out a 9″x8″ square with a jig saw. Cut the plexiglass, with a miter saw, to size and attach it to the back of the oven door with 3/4″ multi-use screws in each corner.
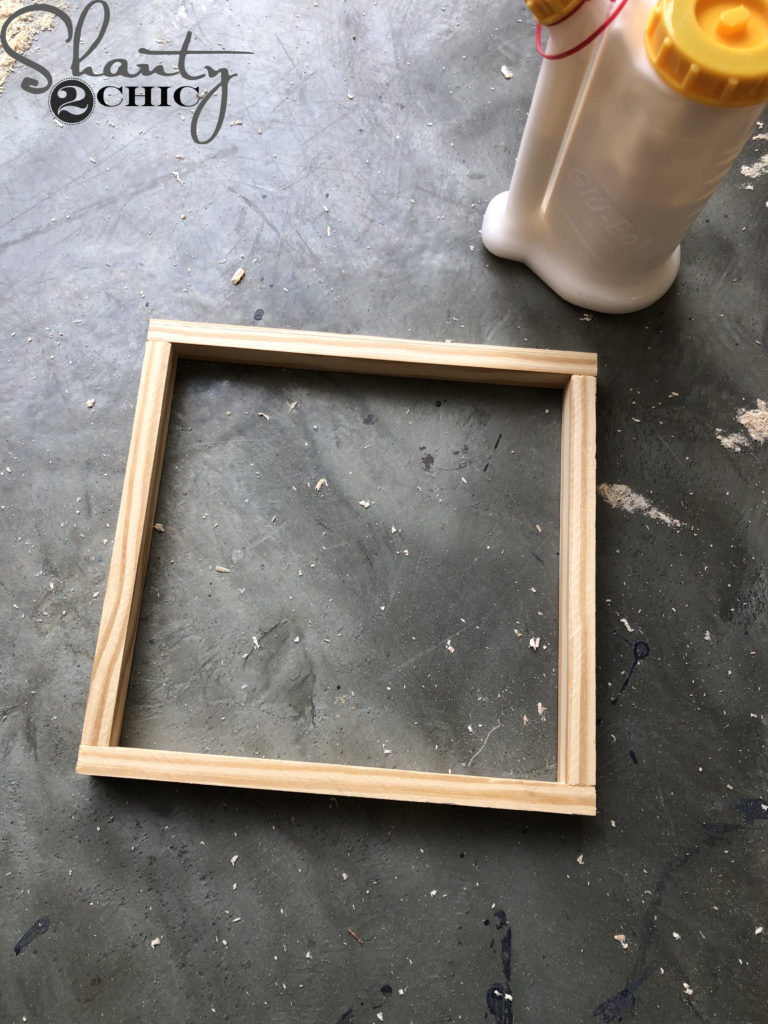
Cut the oven door trim to size. Attach the vertical pieces to the horizontal pieces with 7/8″ brad nails. Center the trim assembly over the front of the door, so that the trim covers the jigsaw cuts. Attach to the front of the door with 7/8″ brad nails and wood glue.
Step 10
Attach the sink and oven doors to the cabinet with hinges. Note: I waited to attach the doors after painting.
Refrigerator Build
Step 1
Cut the refrigerator sides and shelves to size. Drill 3/4″ pocket holes into the sides of each shelf.
Attach the shelves to the refrigerator sides with 1 1/4″ pocket hole screws and wood glue.
Step 2
Cut the refrigerator base, frame piece to size and drill 3/4″ pocket holes into each end. Attach the base piece to the refrigerator sides with 1 1/4″ pocket hole screws and wood glue.
Step 3
Cut the refrigerator toe kick o size and cut out 3/4″ notches at each corner. Attach the to kick piece to the refrigerator base frame with 1 1/4″ brad nails and wood glue.
Step 4
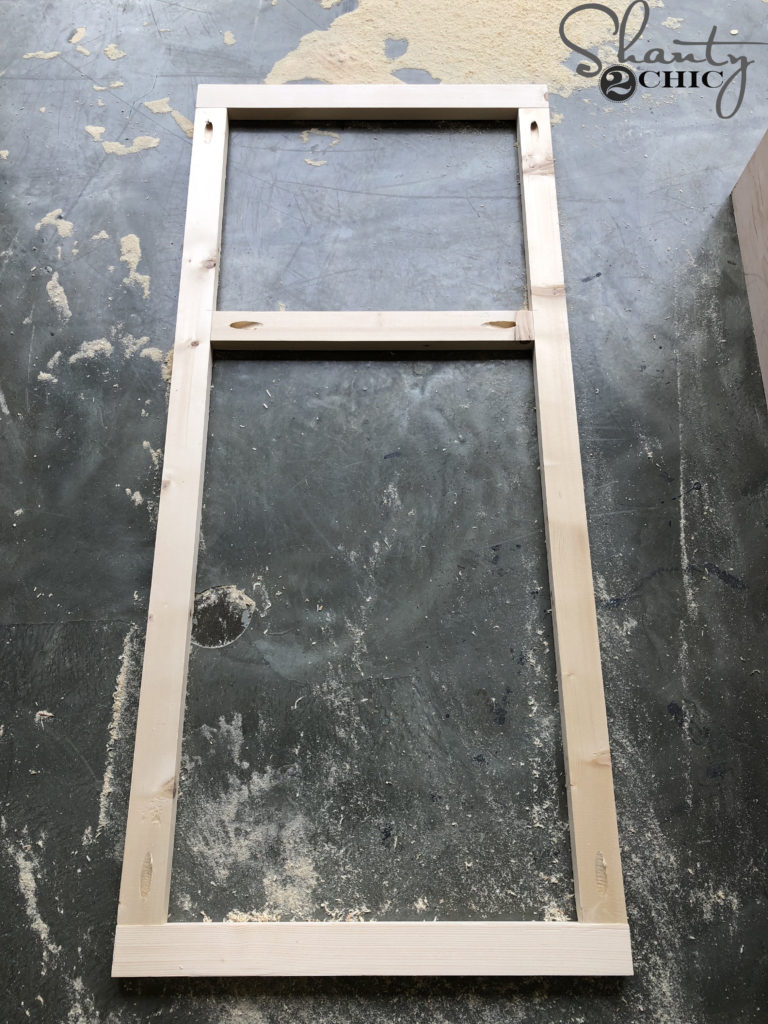
Cut the refrigerator face frame pieces to size and drill 3/4″ pocket holes at each end of the vertical pieces and each end of the middle pieces. Attach them together with 1 1/4″ pocket hole screws and wood glue.
Step 5

Attach the face frame to the cabinet with 1 1/4″ brad nails and wood glue. The face frame should be flush with all edges of the cabinet.
Step 6
Cut the refrigerator doors to size. Then, measure and cut the trim to fit. Attach the trim to the doors with 5/8″ pin nails or finish nails and wood glue.
Step 7
Attach the doors to the refrigerator with hinges. Note: I attached the doors after painting.
Countertop Build
Step 1
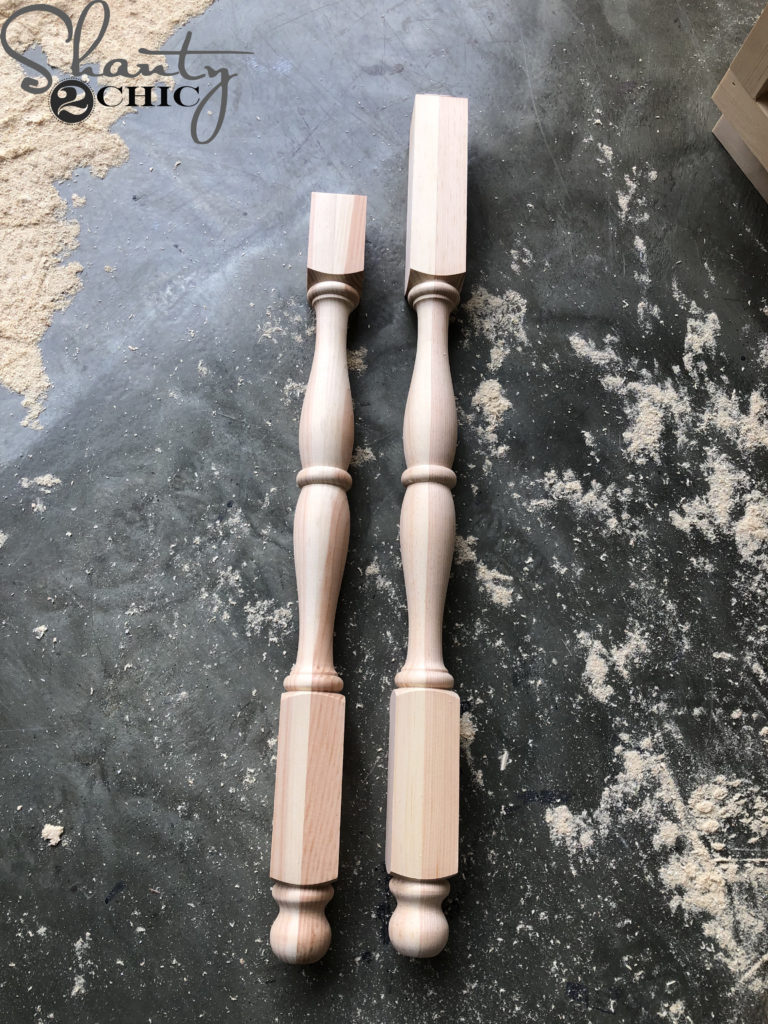
Cut the legs and the apron piece to size. Drill 3/4″ pocket holes in each end of the apron piece.
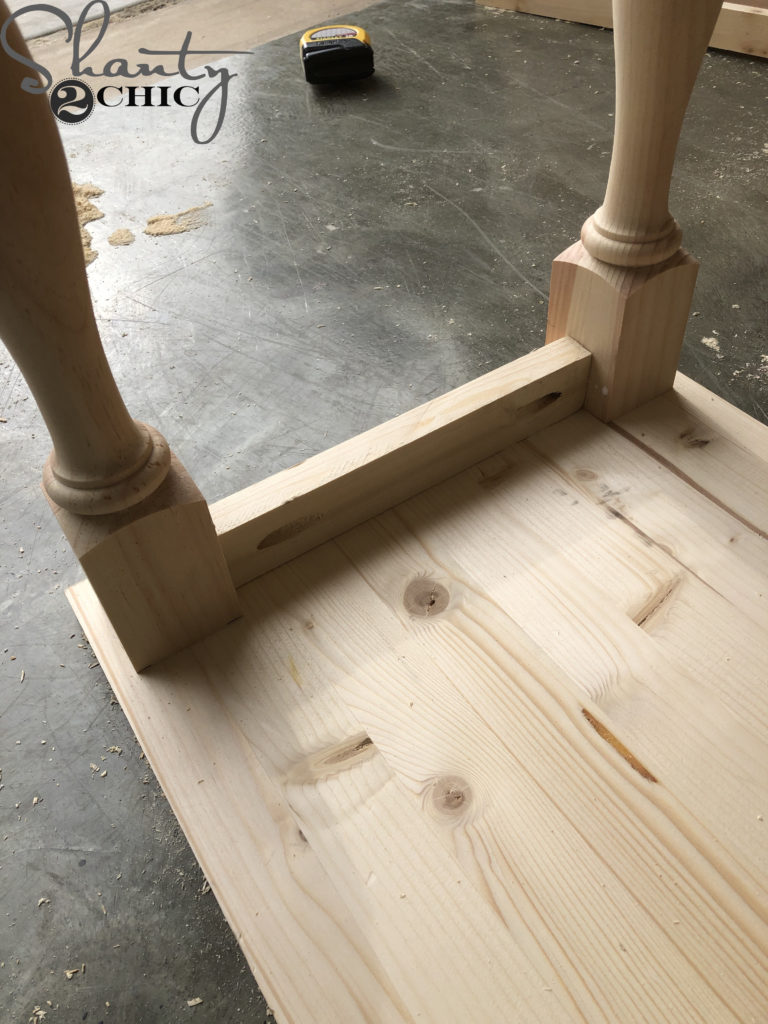
Center the apron piece on each leg and attach it to the legs with 1 1/4″ pocket hole screws and wood glue.
Step 2
Cut the countertop to size and use a jigsaw to cut out a spot for the sink.
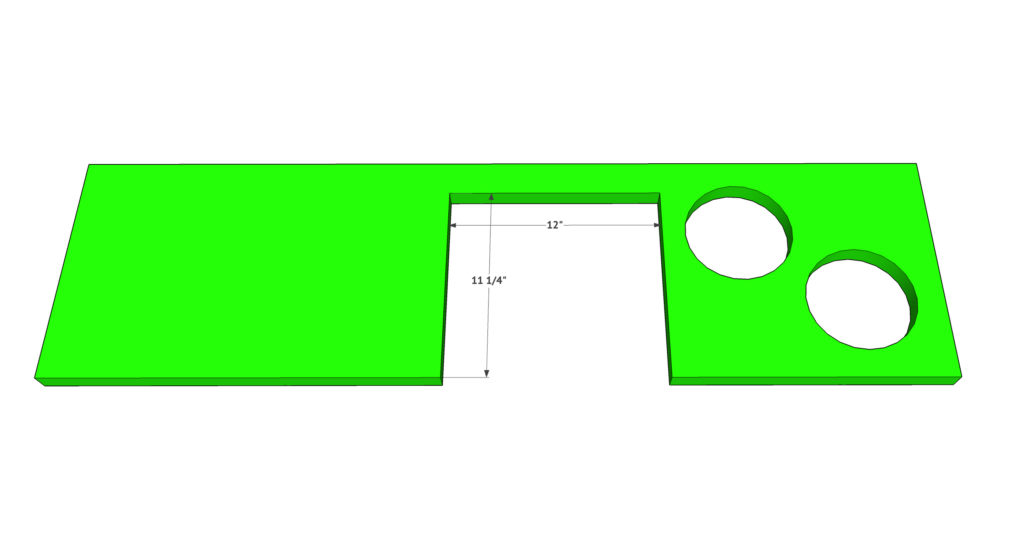
Use a jigsaw to also cut out two 6″ circles for the burners.
Attaching the Countertop
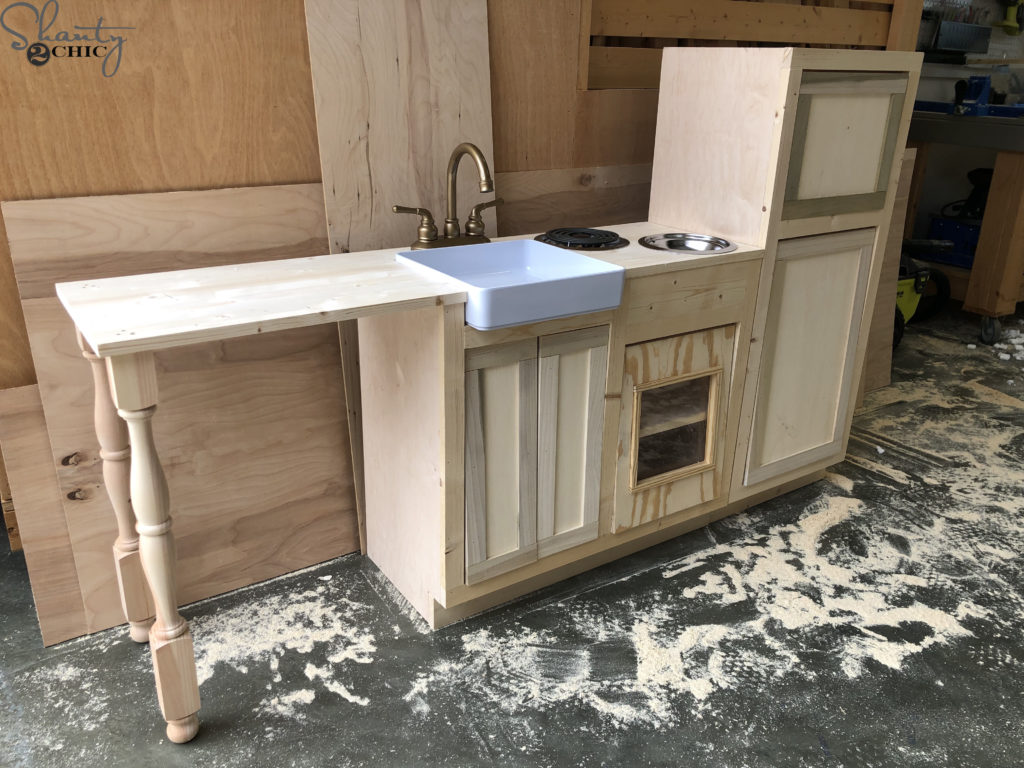
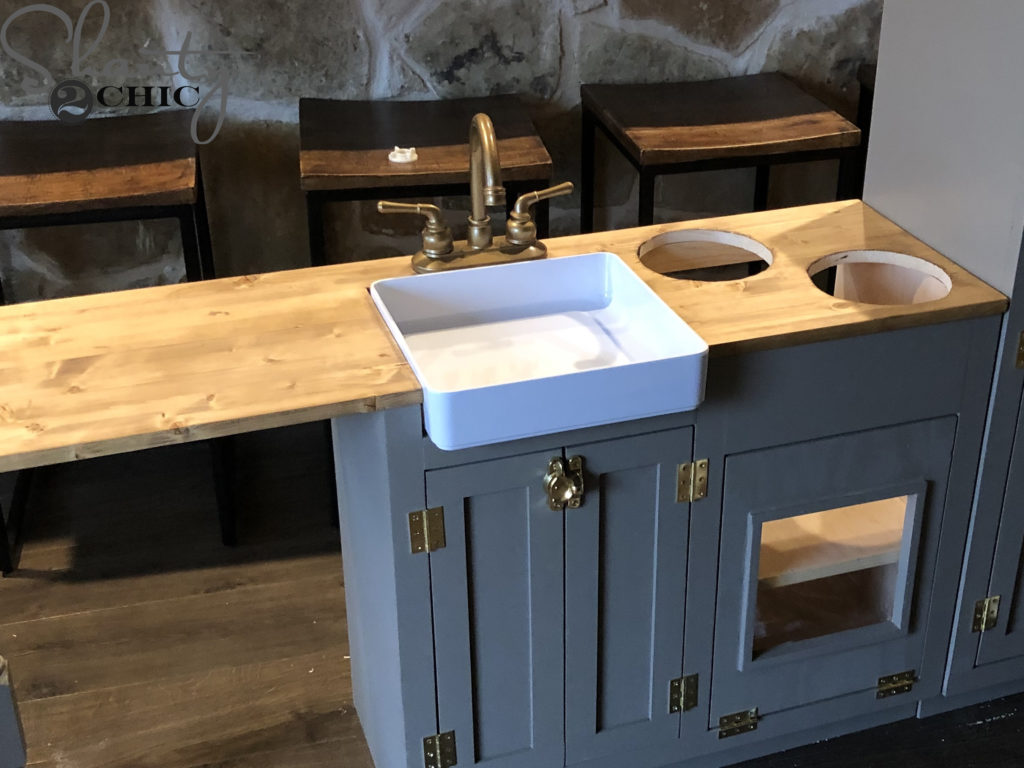
Attach the countertop to the leg assembly first. Use 2 1/2″ wood screws from the top of the countertop and into each leg. Attach the countertop to the sink cabinet with 1 1/4″ brad nails and wood glue. (I had to try all of the cute accessories on for size).
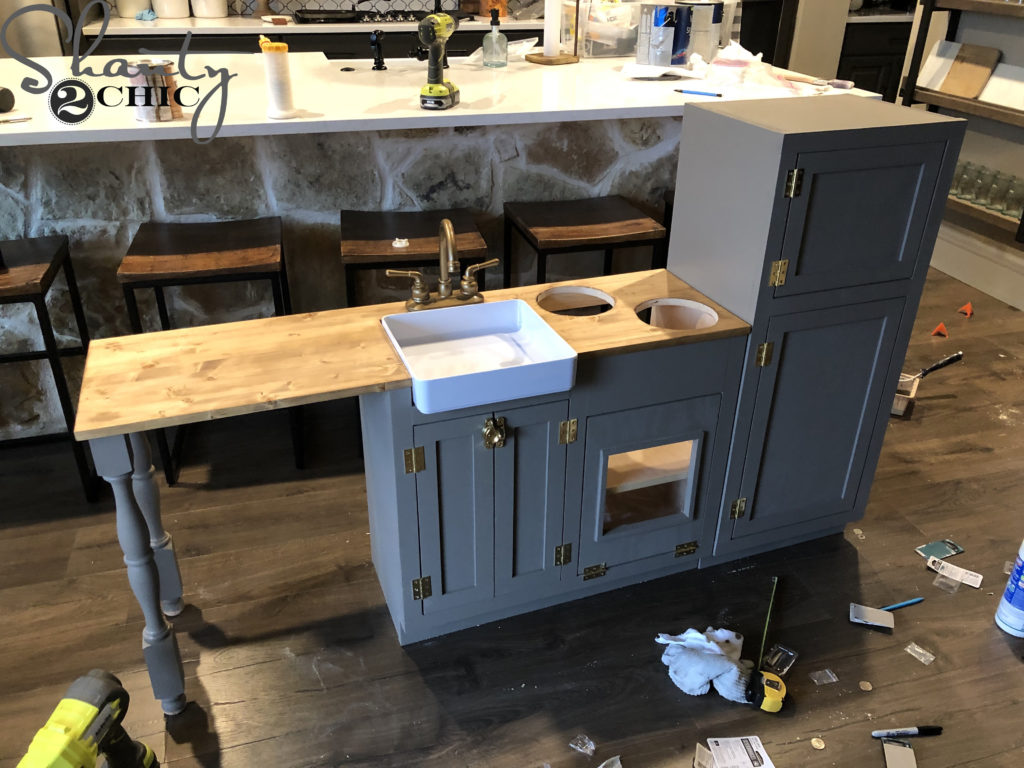
Add a finish! I chose to stain the countertop and paint the rest of the kitchen with Seine by Valspar.
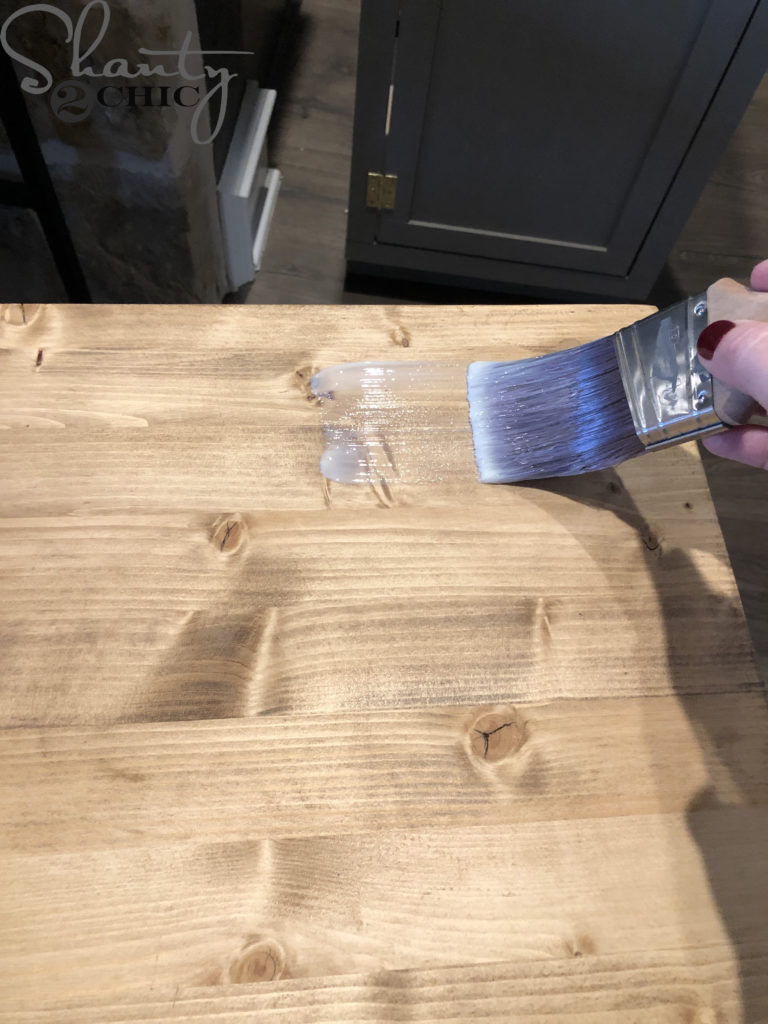
Once the stain was dry, I applied a protective finish.
Adding the Finishing Touches
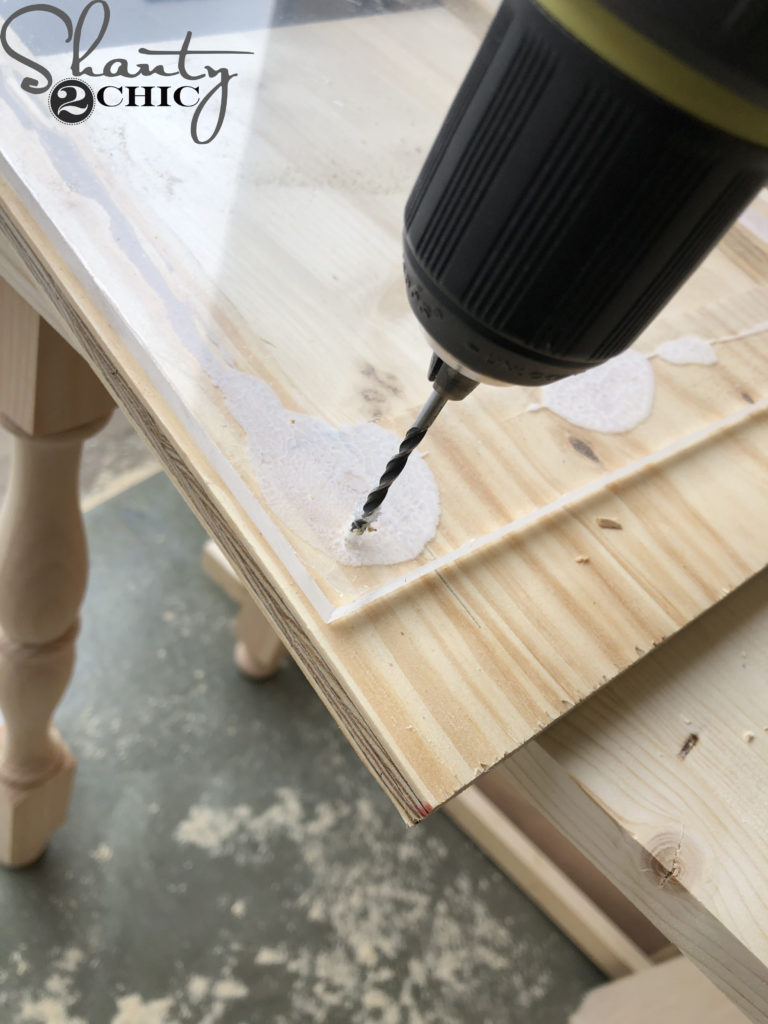
Step 1 – Play Kitchen Faucet
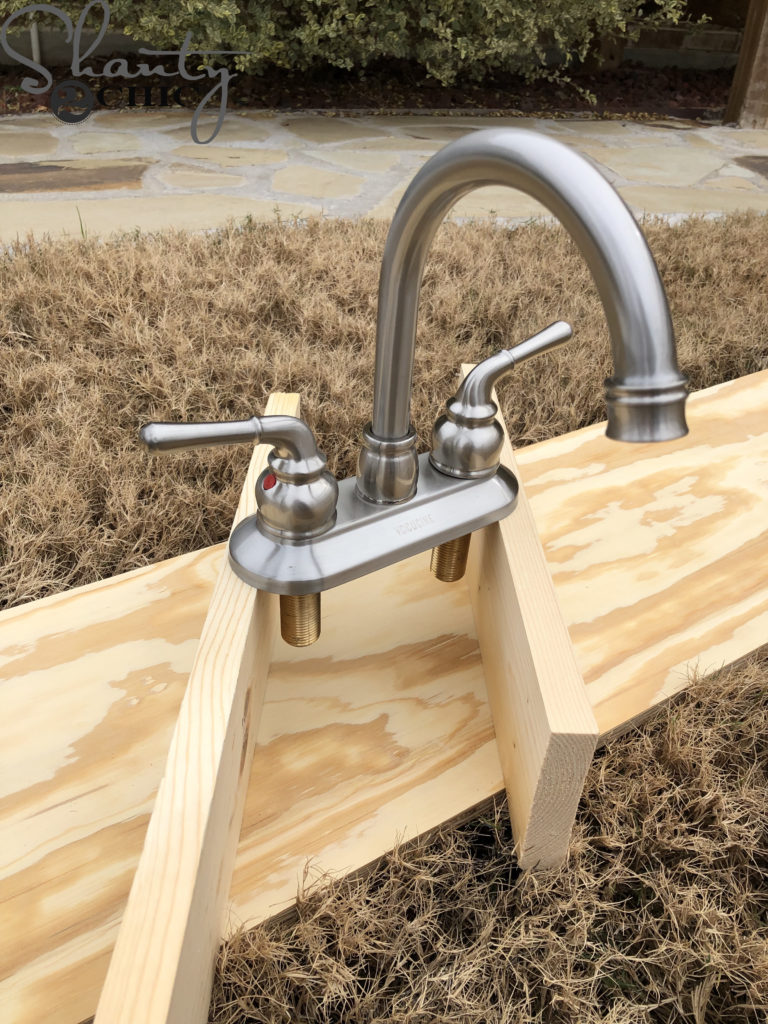
I spray painted the faucet to give it a modern gold finish.
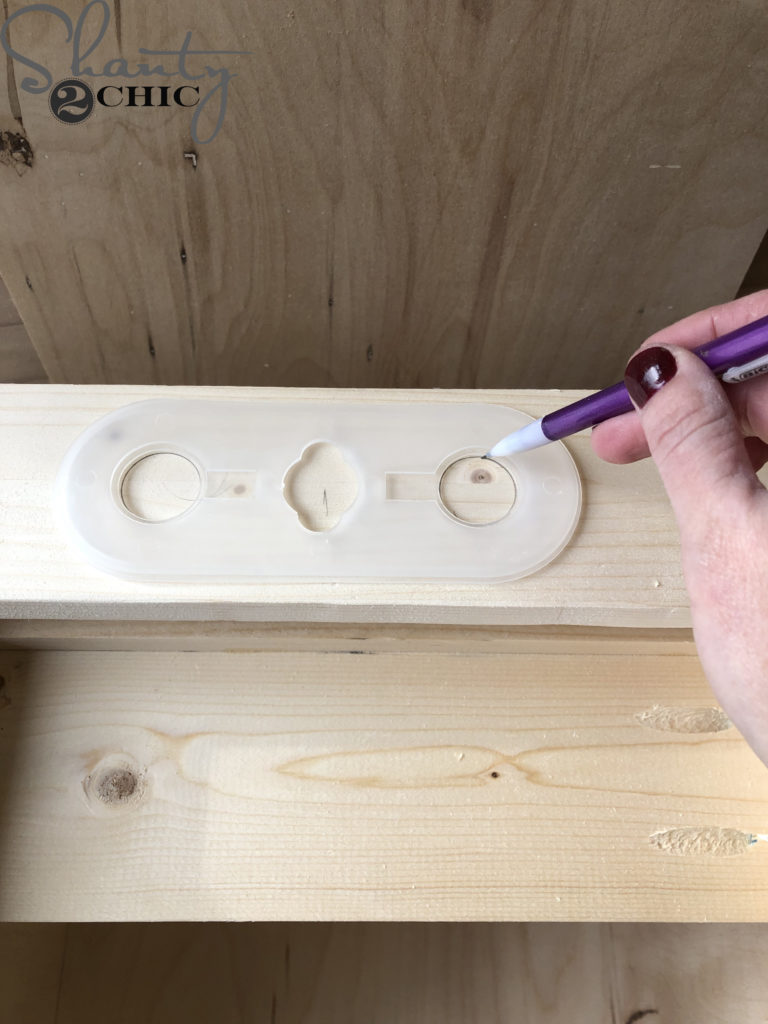
Use the plastic piece that comes with the faucet to mark for the faucet holes. Use a 1″ drill bit to cut the faucet holes.
Slide the faucet into the holes and use the plastic fittings to screw the faucet in place. Note: You may need to remove the back support to attach the faucet. Reattach the back support with wood glue and 1 1/4″ pocket hole screws once the faucet is in place.
Step 2 – Play Kitchen Farmhouse Sink

Apply contact adhesive to the sink support and the bottom of the sink. Slide the sink in place. Note: I searched high and low for the perfect farmhouse sink. A bathroom/utility sink was too deep and expensive. This piece is the perfect size and weight but I can only find it at the restaurant supply sites. If you can find the same one somewhere else, please let us know!
Step 3 – Play Kitchen Knobs
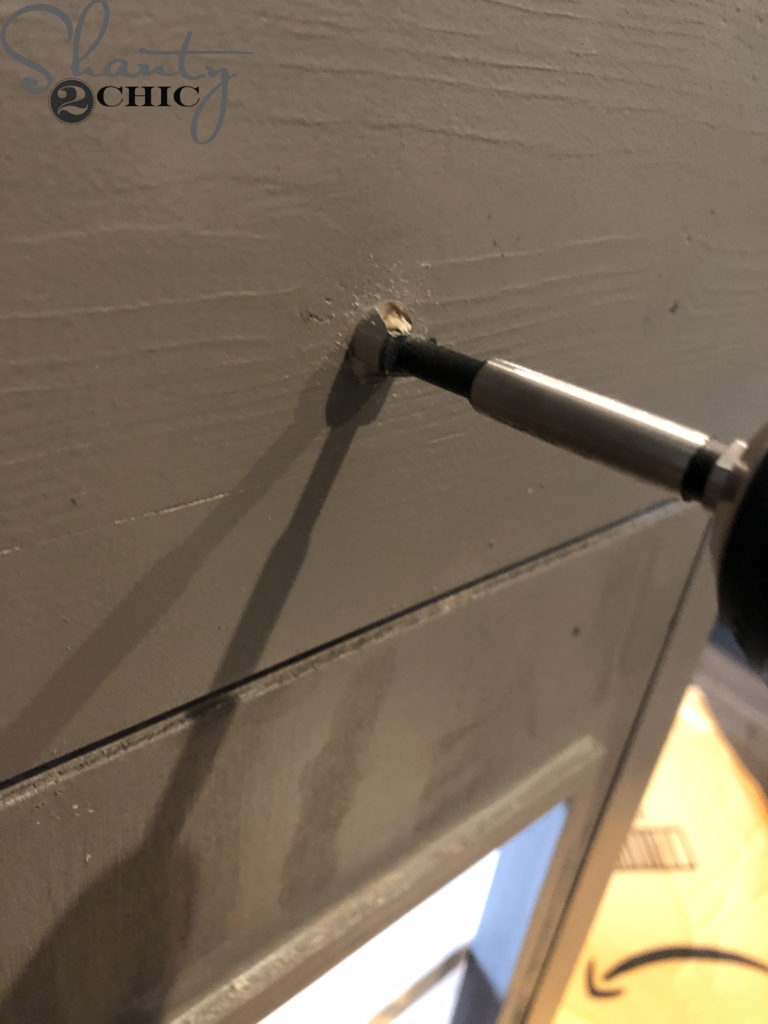
Drill holes for the Play Kitchen Knobs with a 1/2″ drill bit.
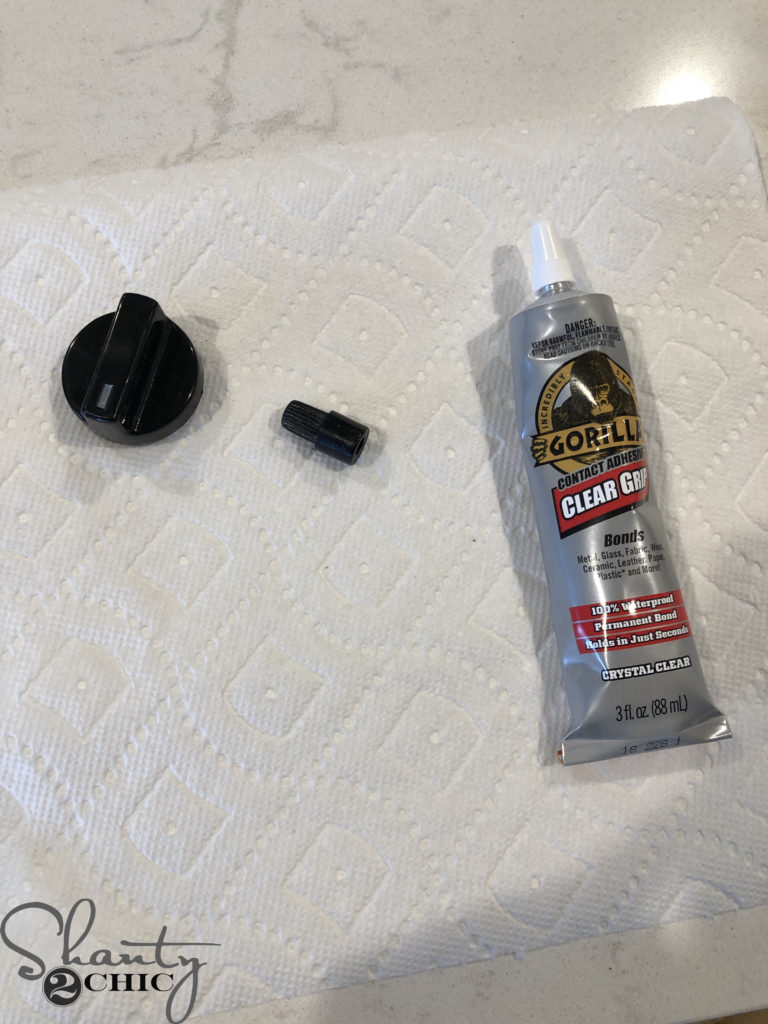
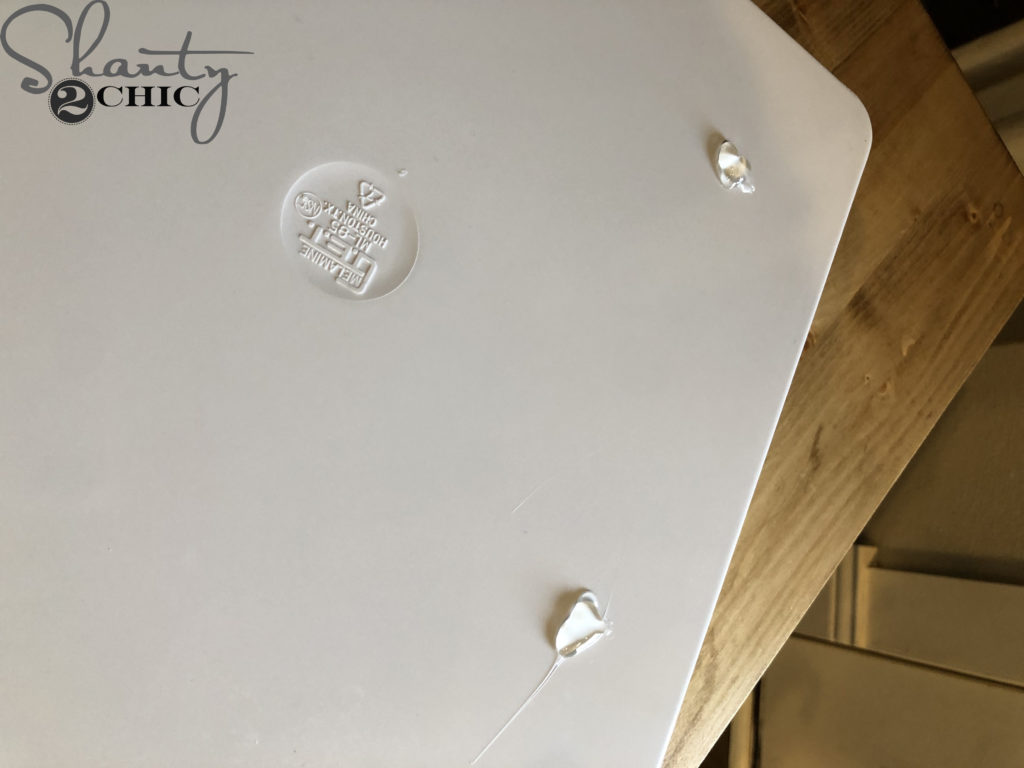
Glue the plastic piece to the knob with contact adhesive.

Slide the knob assembly into each hole and secure them with a screw and washer. This will allow the Play Kitchen Knobs to turn.
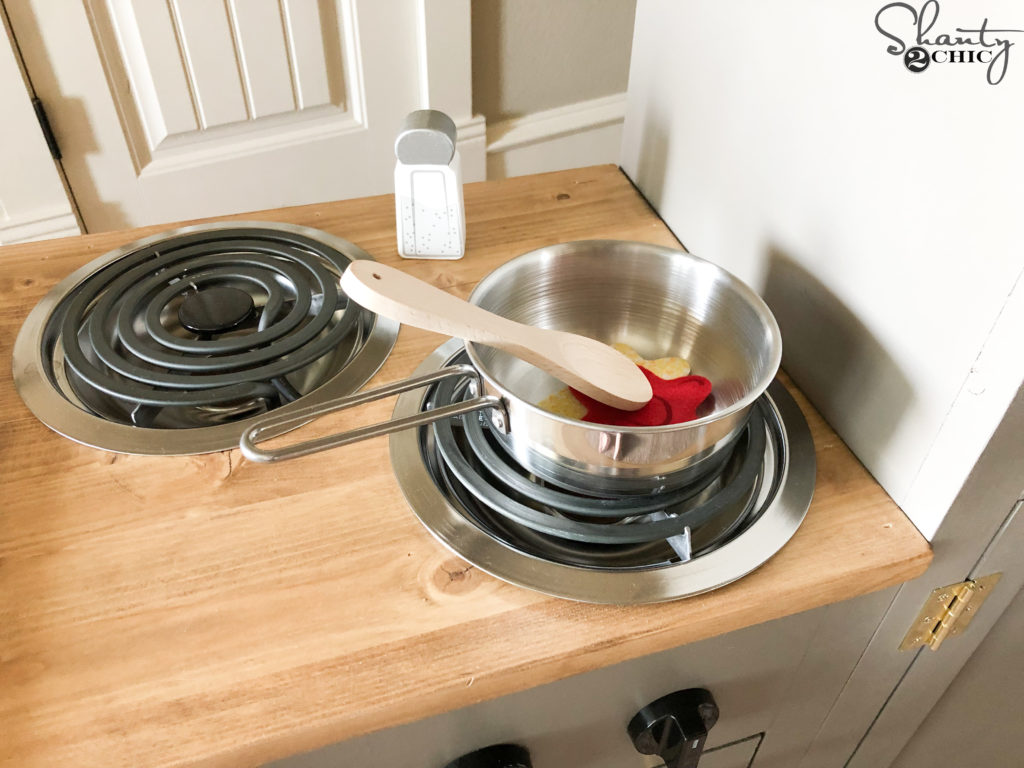
Step 4 – Play Kitchen Stove Burners
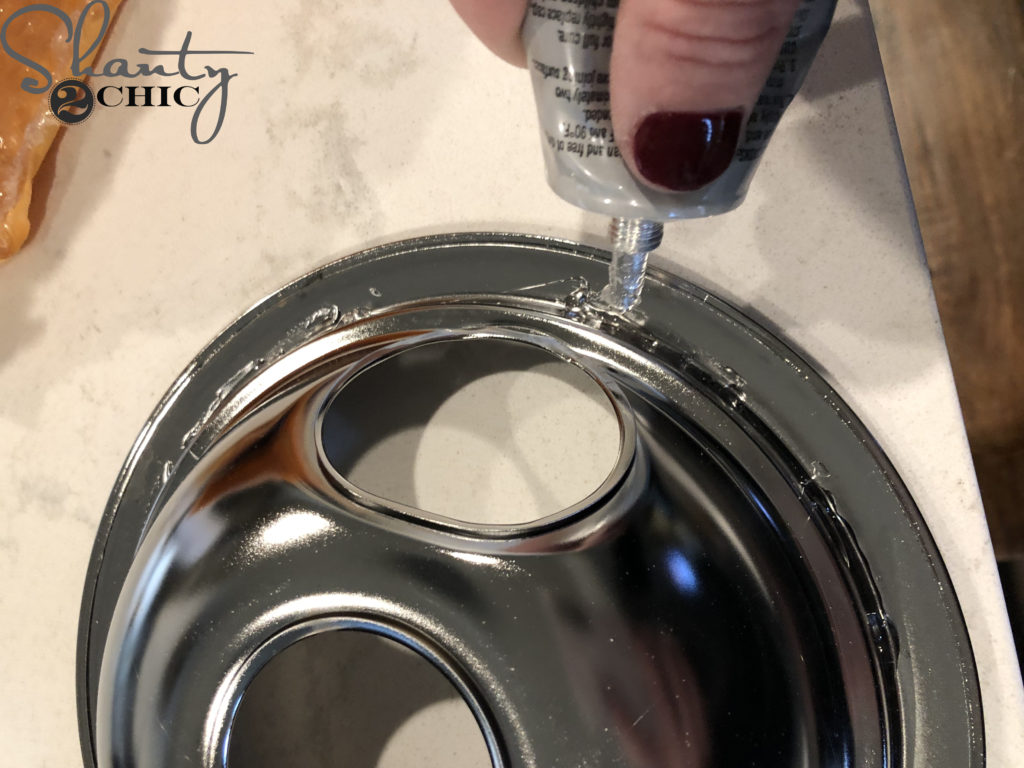
Apply contact adhesive to each burner drip bowl and set the bowl in the 6″ hole on the countertop.
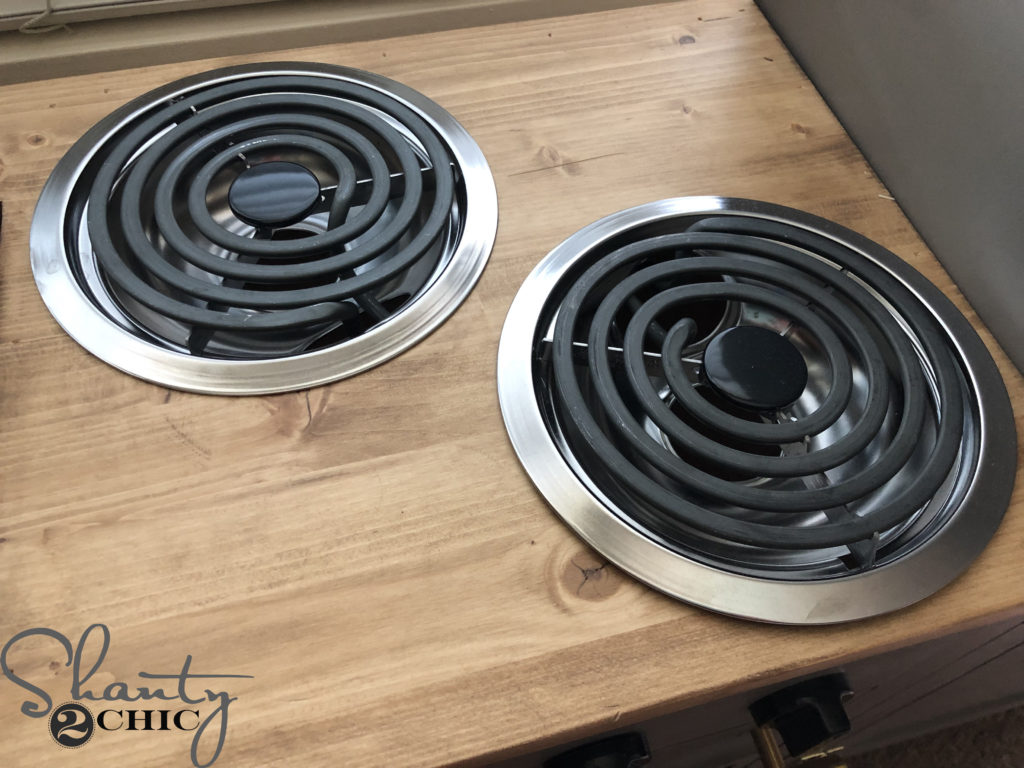
Slide a burner into each bowl.
Step 5 – Pulls and Hinges
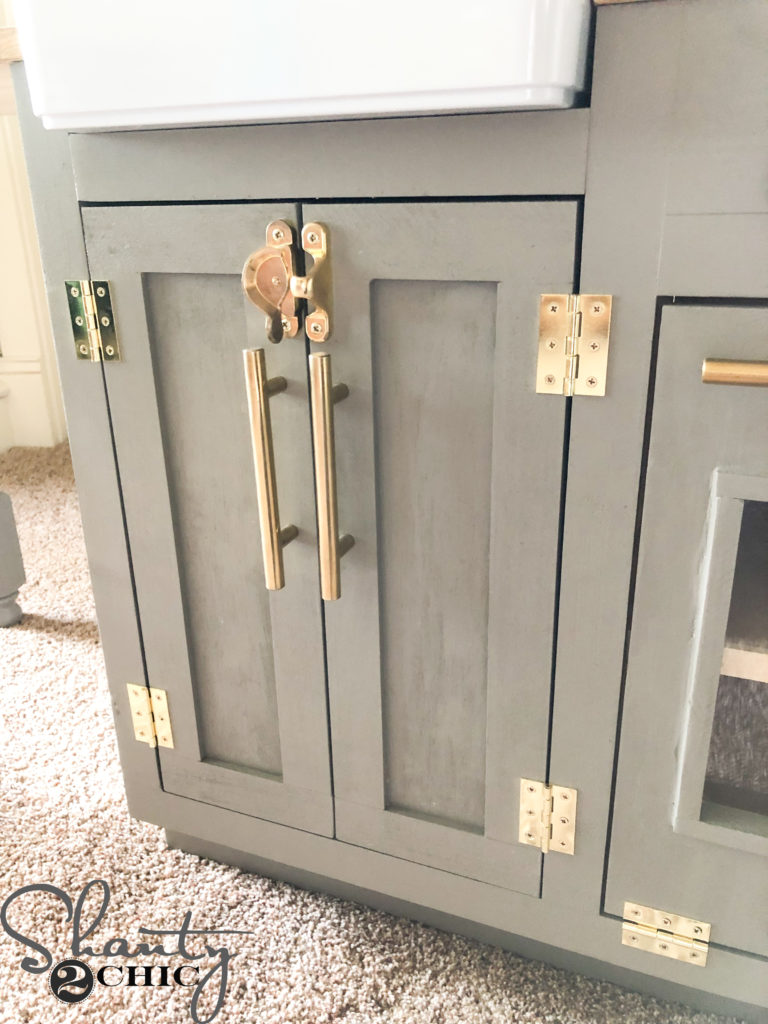
Attach the sink, oven and refrigerator doors with 2″ hinges.
Add cabinet pulls to the refrigerator doors and a clasp closure to the sink doors.
- Yyou can find the long cabinet pulls HERE.
- You can find the short cabinet pulls HERE.
- You can find the sink door latch that I used HERE.
Step 6 – Oven Door Catch
I used a cabinet door catch at the top of the cabinet door to keep the oven door shut.
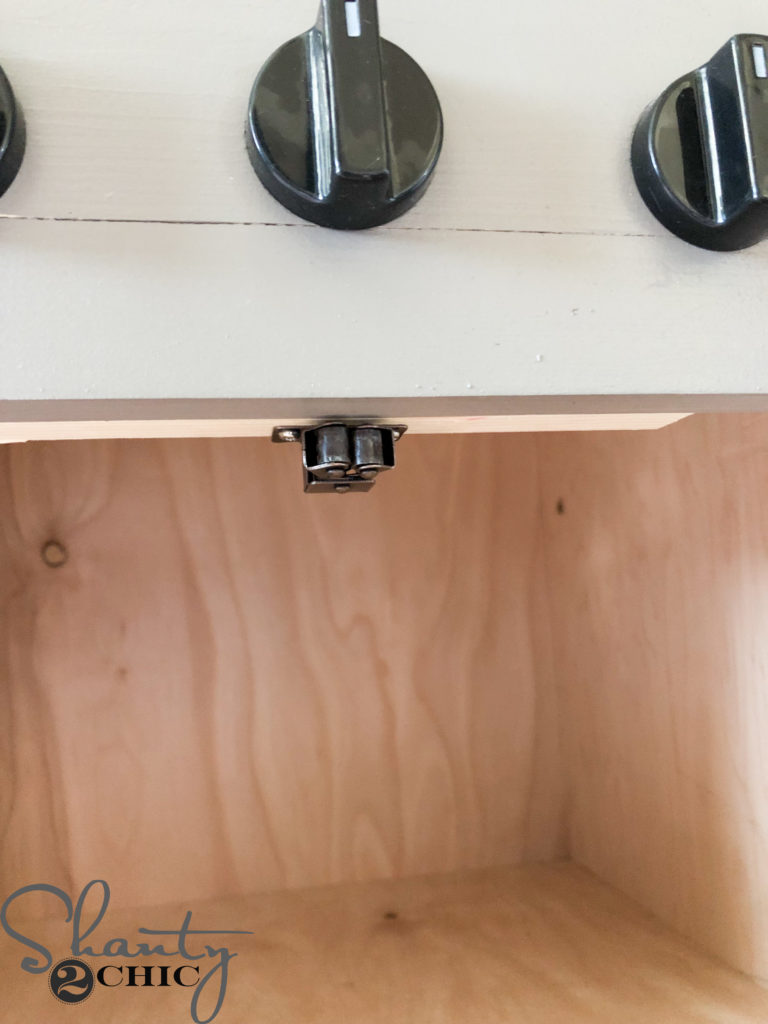
Attach the receiving end to the bottom of the oven door catch block.

Attach the other side of the closure to the top, inside of the oven door.
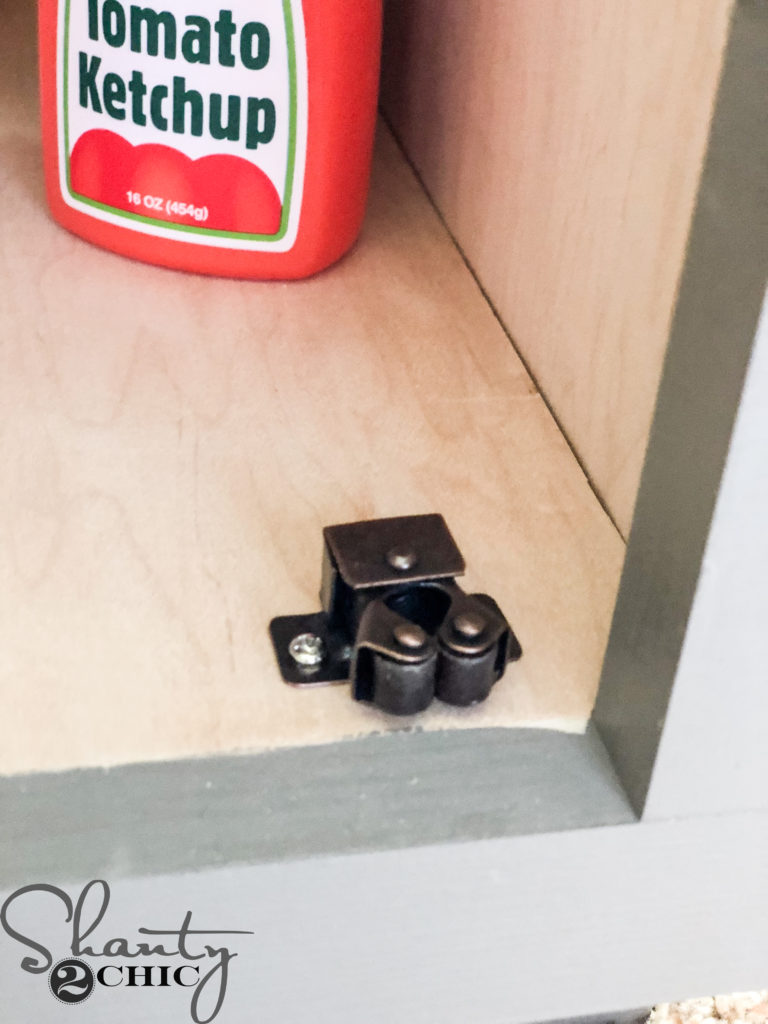
I also used a door catch at the top and bottom of both sink and refrigerator doors.
Step 7 – Attaching the Back Panels
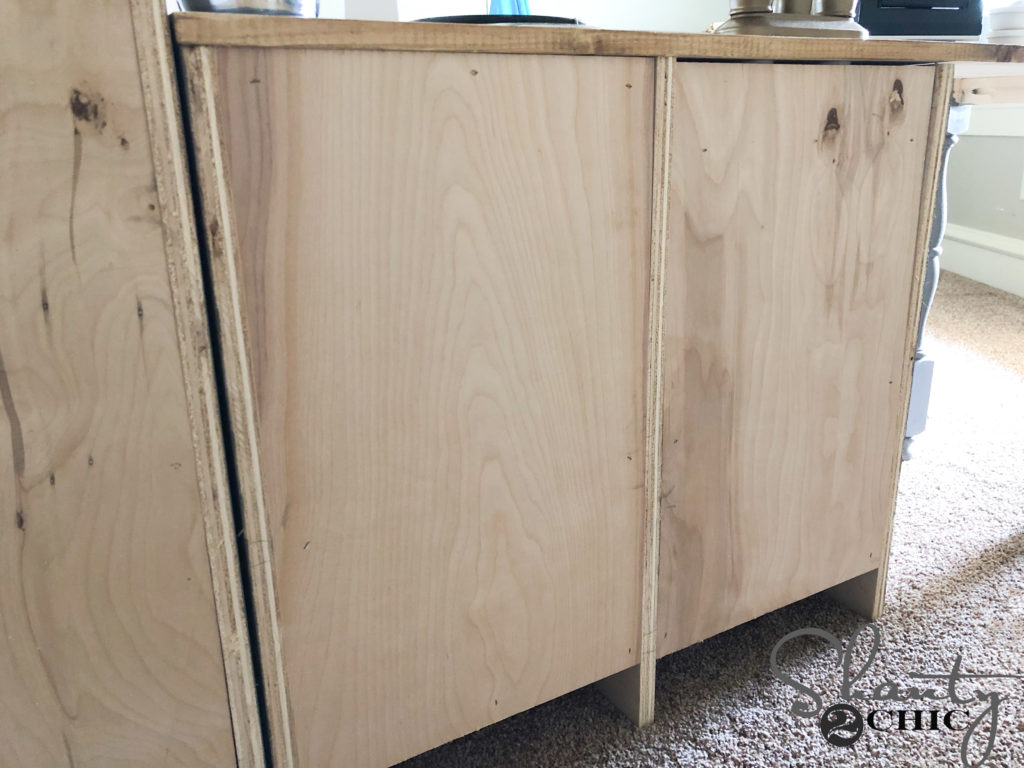
Once every accessory is attached, attach the back panels with 3/4″ staples and wood glue, from the back panels and into the shelves and back supports.
All Done!
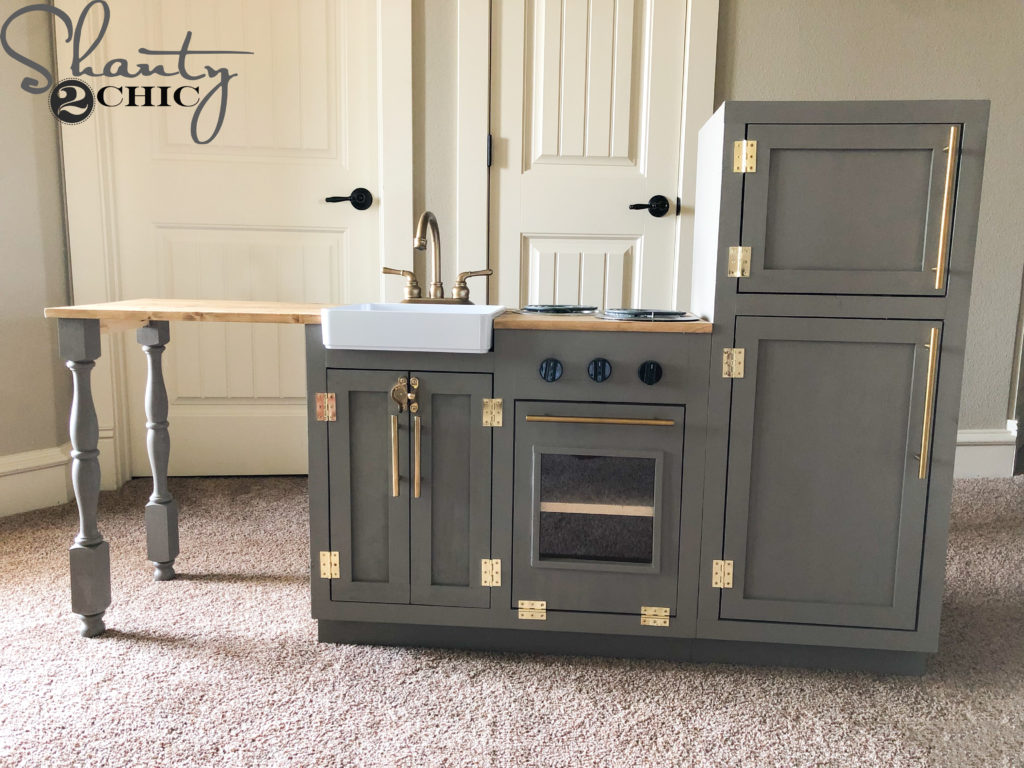
I totally built my daughter the Play Kitchen of my dreams 😉 She was so excited to see it on Christmas morning!
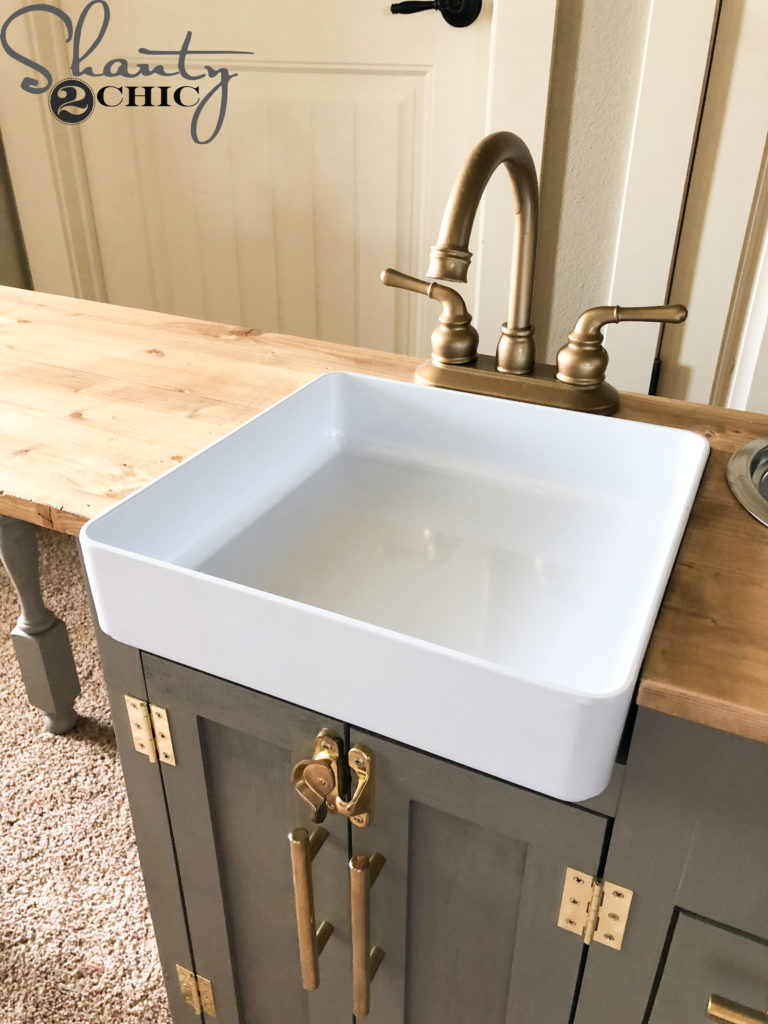
My favorite feature is the realistic farmhouse sink!
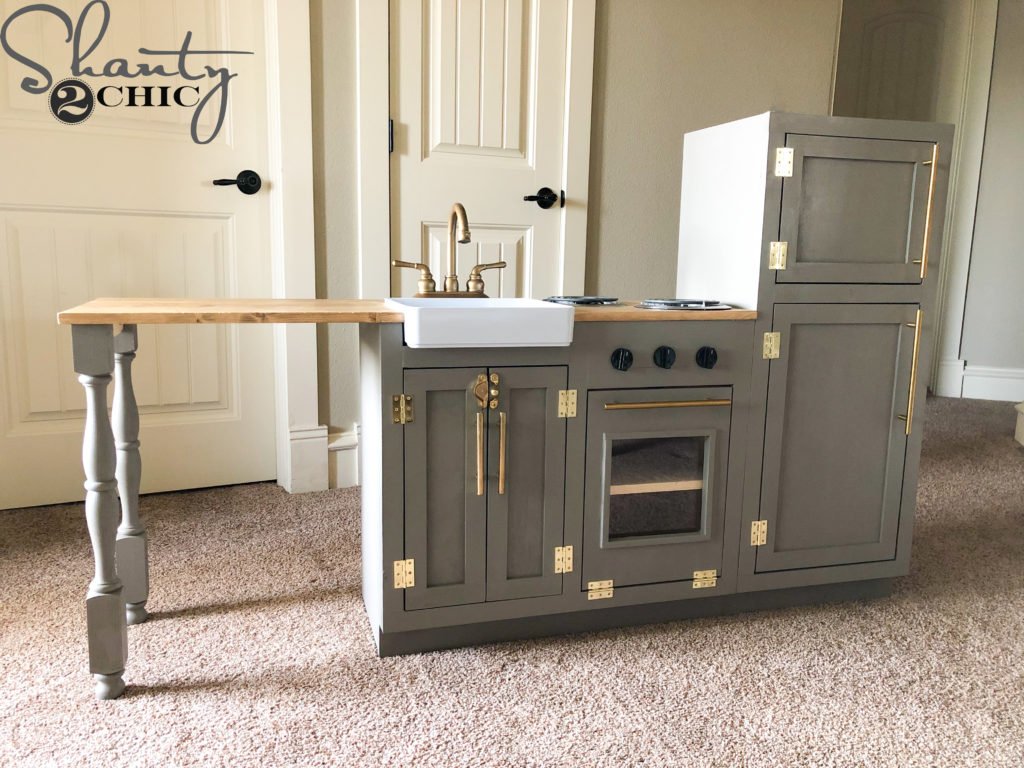
I tried to make the DIY Play Kitchen resemble my own kitchen 🙂 I used a similar color paint and modern hardware.
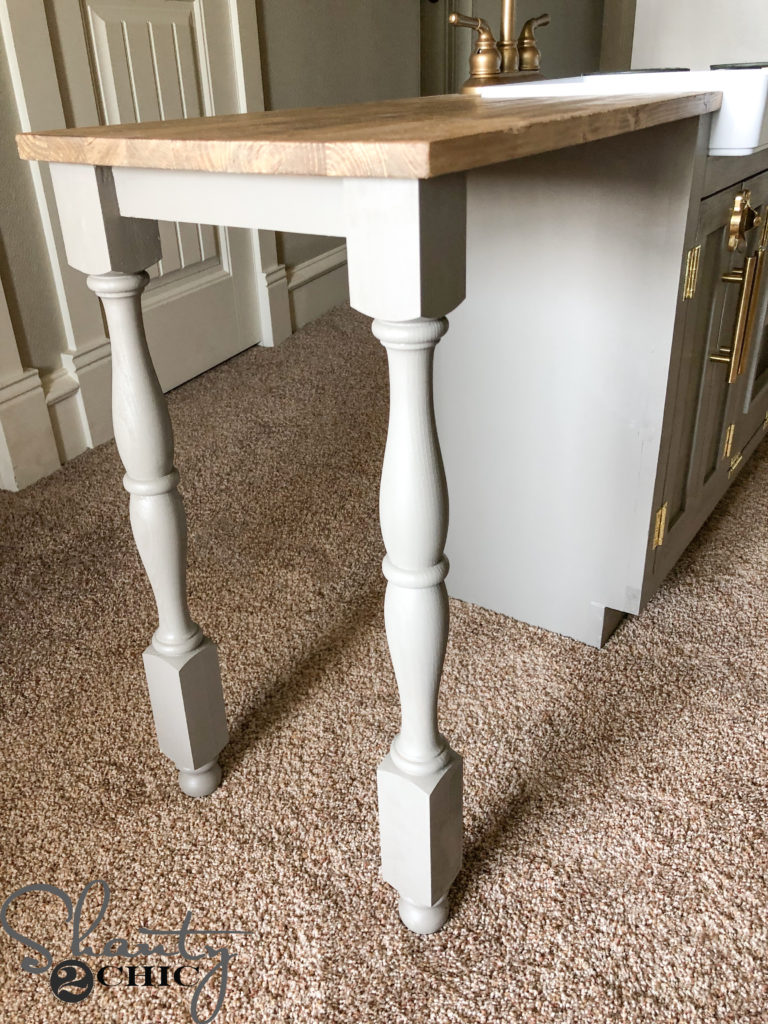
I love how fancy the legs look and they help add an island and extended countertop to the kitchen.
My daughter LOVES the real stove burners!
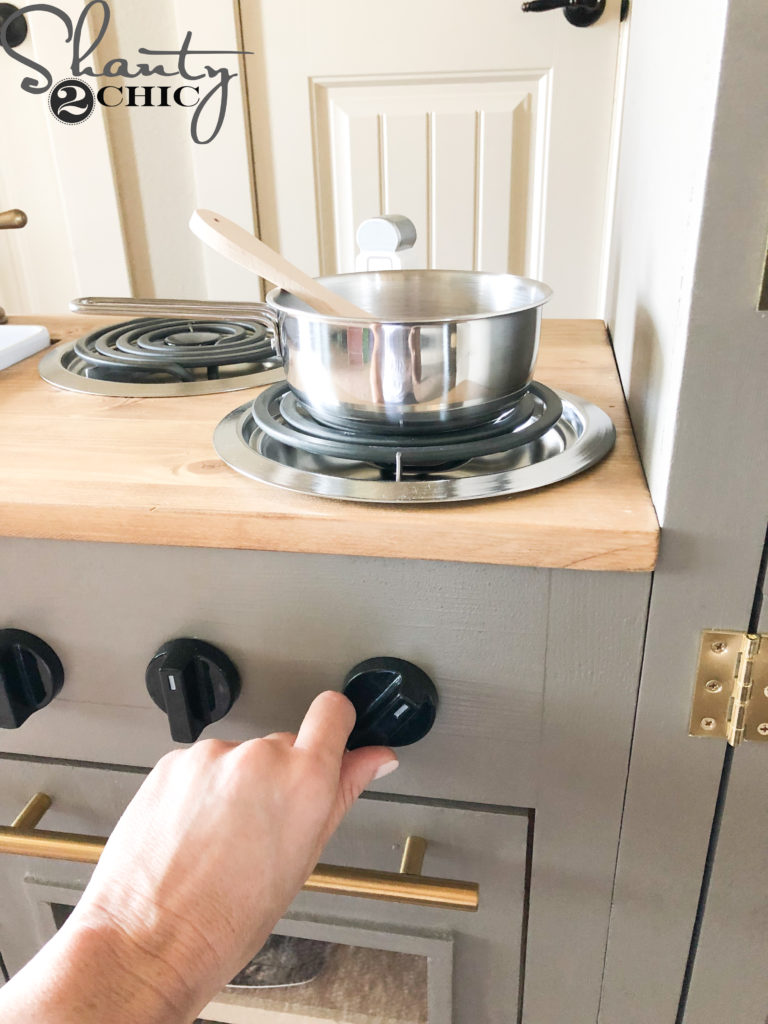
She also loves that the oven knobs can turn!

The size is perfect for big kids but also a great size to grow with littles too!
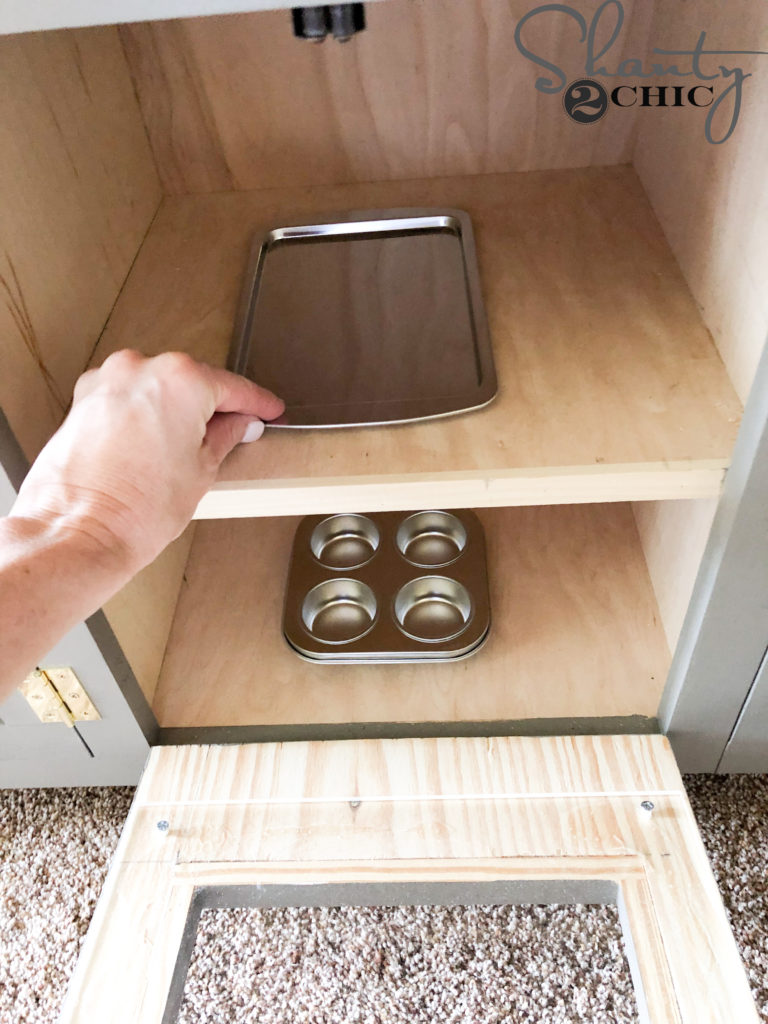
How cute is the oven door with the plexiglass window?!
This was such a fun piece to build and I loved getting to use my creativity in the design to make it feel and look realistic! I wish that I had built it years ago instead of purchasing the little kitchen that I did! If you build one, send us your pics and share them on social media. Just use #shanty2chic so we can share them too!
All the play food!
I found some super CUTE play food sets that make me so giddy!! I love finding good quality play food (some of it can be very flimsy). So, I’m sharing my favorite finds below!
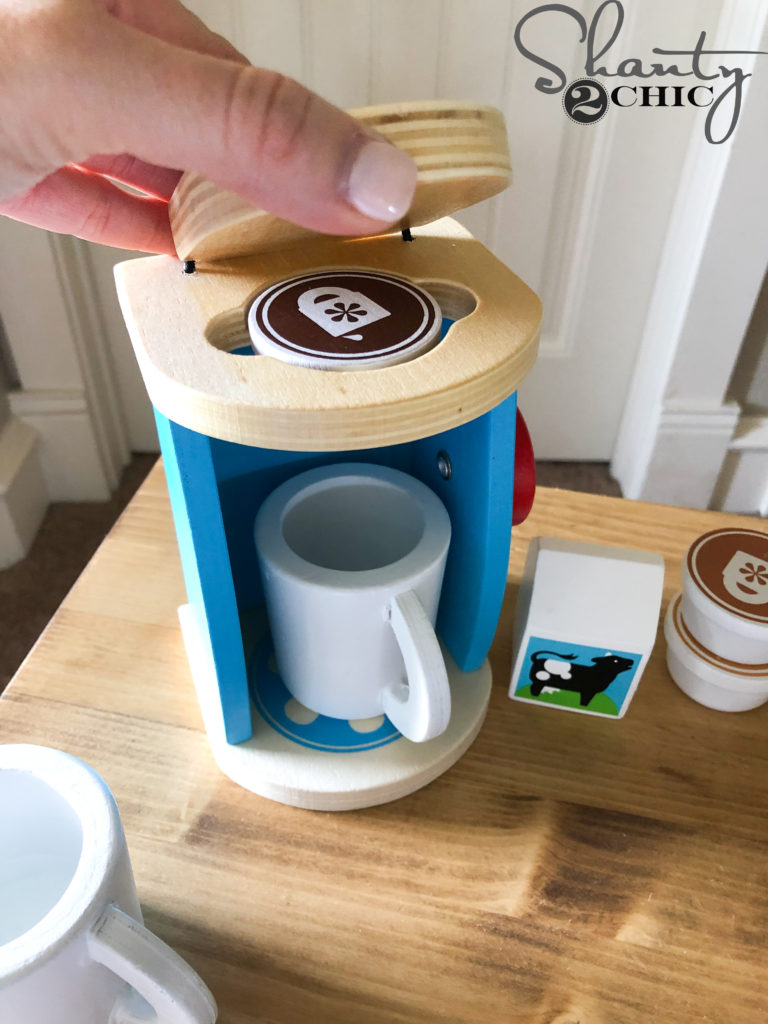
First up, this wooden play food coffee maker – it’s works like a Keurig. I can’t handle how cute it is!
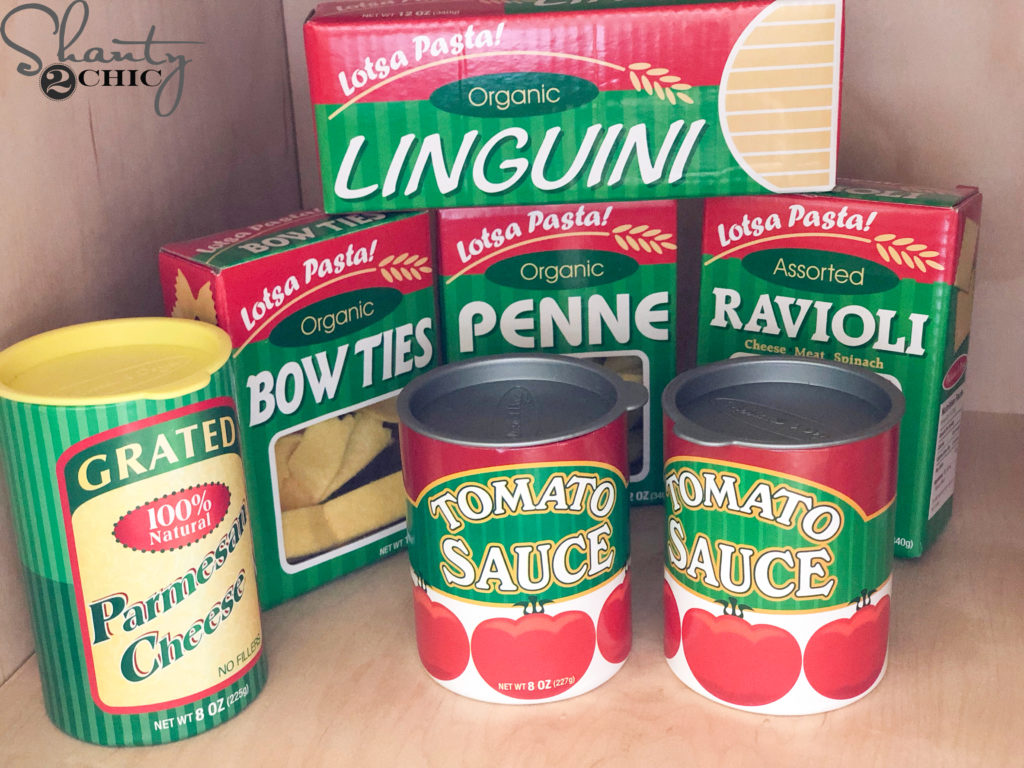
I’m really happy with the quality of this play food pasta set! The boxes of pasta are very thick and sturdy and they have fabric pasta inside!
The pasta set also includes fabric sauce – STOP!
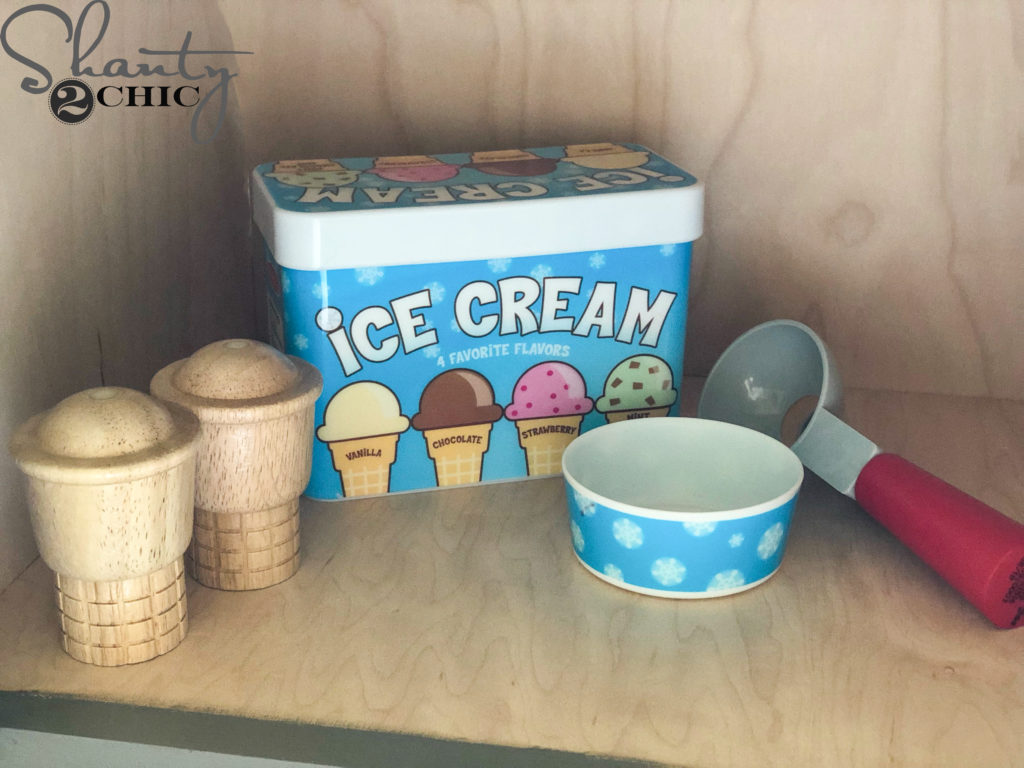
The play food ice cream set is my daughters favorite!
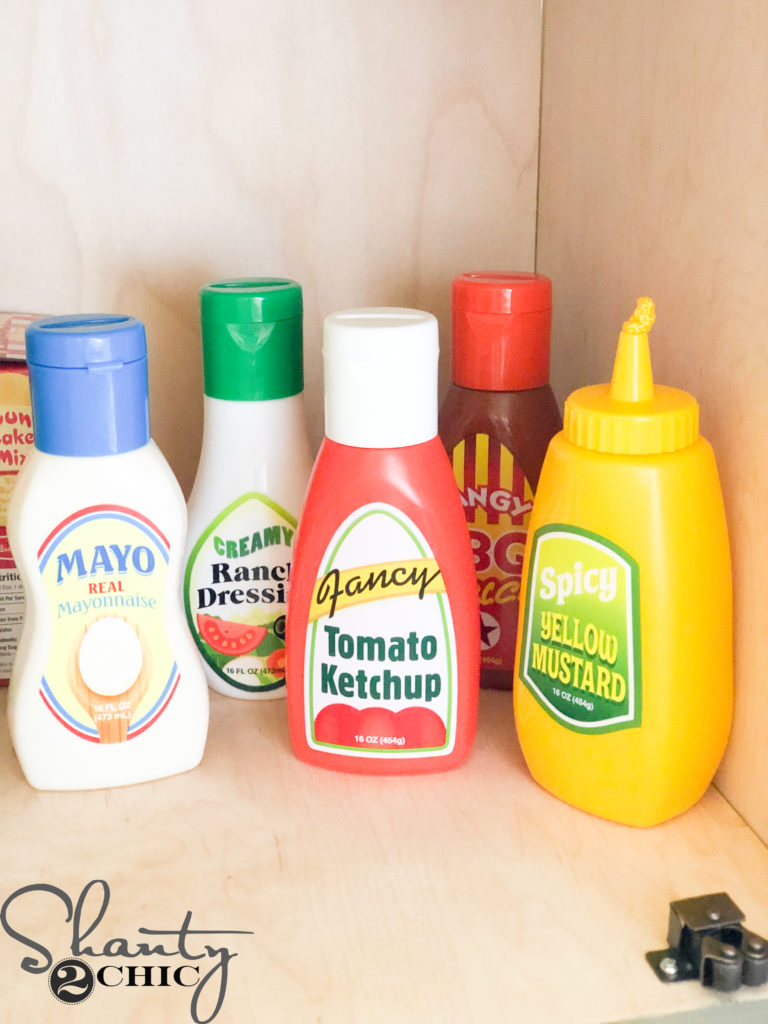
I LOVE the play food condiment set! The bottles are very sturdy, the mustard squeezes out a yellow rope and some of the bottles rattle.
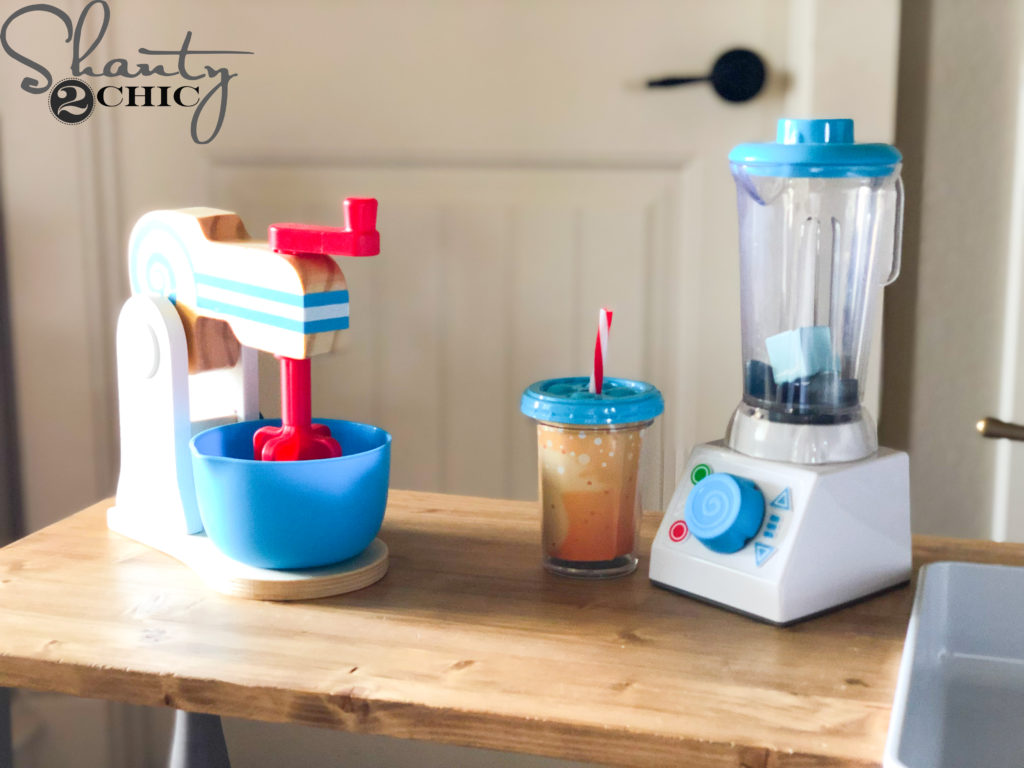
The play food mixer and blender might be tied as my favorite to the coffee maker! The mixing set comes with a few mixing bowls and the blender ones with different smoothie inserts, ice cubes, a smoothie cup and a recipe card!
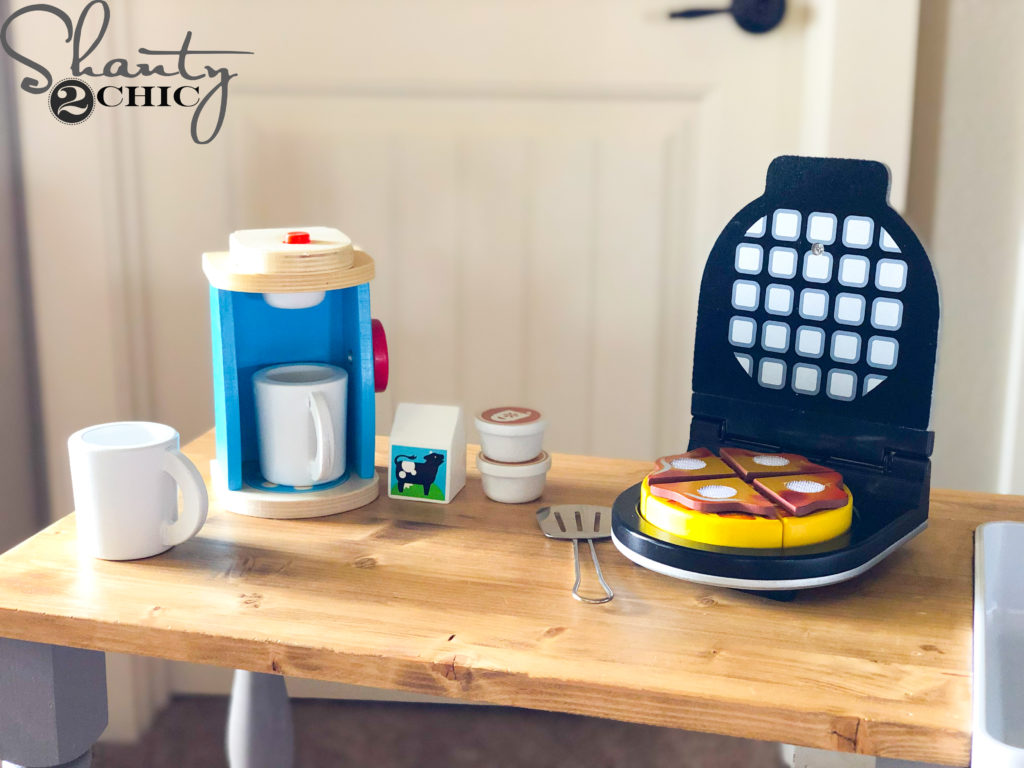
The play food waffle maker is adorable! It comes with velcro butter and syrup pieces 🙂
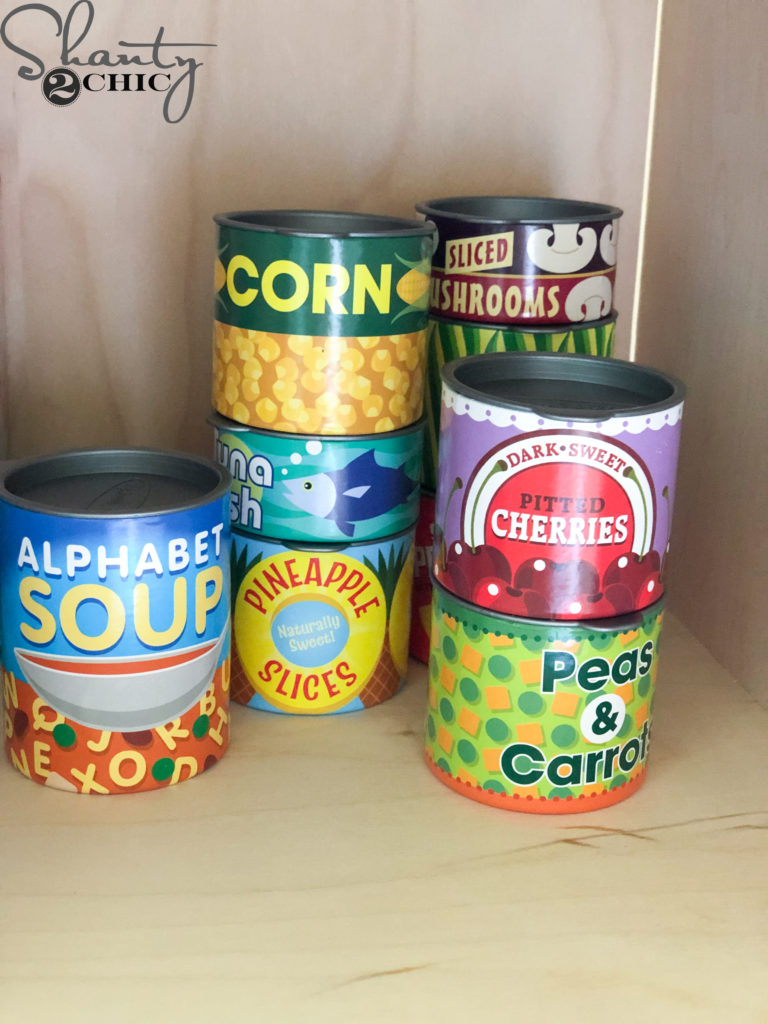
Finally, I also found a large set of canned food. These are very sturdy, not the cardboard type that crush easily. They are super cute and fun for the kids to stack and play grocery store with.
That’s it! Thanks so much for stopping by!
Happy Building!


What was the total cost of this project?
Do you think this could be made taller? We have a daughter with DS that is 13 and nearly 5’ tall and would love a play kitchen.
thats absolutely stunning! so different and still so shanty!!;))
one question, since the link u gave doesnt work – the burners – what is it exactly? or is there another link on amazon?
thanx in advance and greetings from germany!
I can’t find the link to the laminated pine board either! I can’t find anything like that at Home Depot. Can you help??
I may have missed this somewhere but do you have the overall dimensions of this? Thanks!
64 1/2” W x 13 1/4” D x 40” H
All of the exact Measurements down to each piece are in the building plans that she has put into a PDF download at the top of this page with a complete list for supplies, tools, cuts, where to find everything that she used in her kitchen and the entire building process step by step. Hope that helps. 🙂
Where did you get the 16″ X 48″ X 1″ Laminated Pine Panel? I can’t find that link in the post.
My husband and I are currently working on this project for our daughter, we love it! Just wondering how/if you attracted the fridge to the rest of it? Thanks!!
I absolutely love this beautiful kitchen! Your daughter is so lucky to have such handy and creative parents. Can you please let me know where you got the sink? Thank you so much! 🙂
Where did you get the 16″ X 48″ X 1″ Laminated Pine Panel? I can’t find that link in the post.Thank you!
Where do we get the sink ?
I wonder if you can tell me what color the doors in the background are? Thanks!
Amazing! What was the total cost in supplies? Not including tools?
It’s close to $475! The tax & shipping on the legs and sink are added in that as well 🙂
So adorable! All the details are what make it fun. Yay!
Wow! Gorgeous play kitchen. Another great project ladies!
You are so creative! One day I hope to have grandbabies to build this for! If you don’t mind sharing, what color paint did you use? You mentioned it is similar to your kitchen cabinet paint but it looks a little darker. Thank you!
Oops NM ? I reread it and saw it was Seine by Valspar. Thanks!
I can’t say enough how much I love this project. You have such a great blog for ideas and learning about woodworking. This is so so so beautiful!
Such an awesome and creative idea!!! I love it! Now time for me to go grab some wood and supplies!?