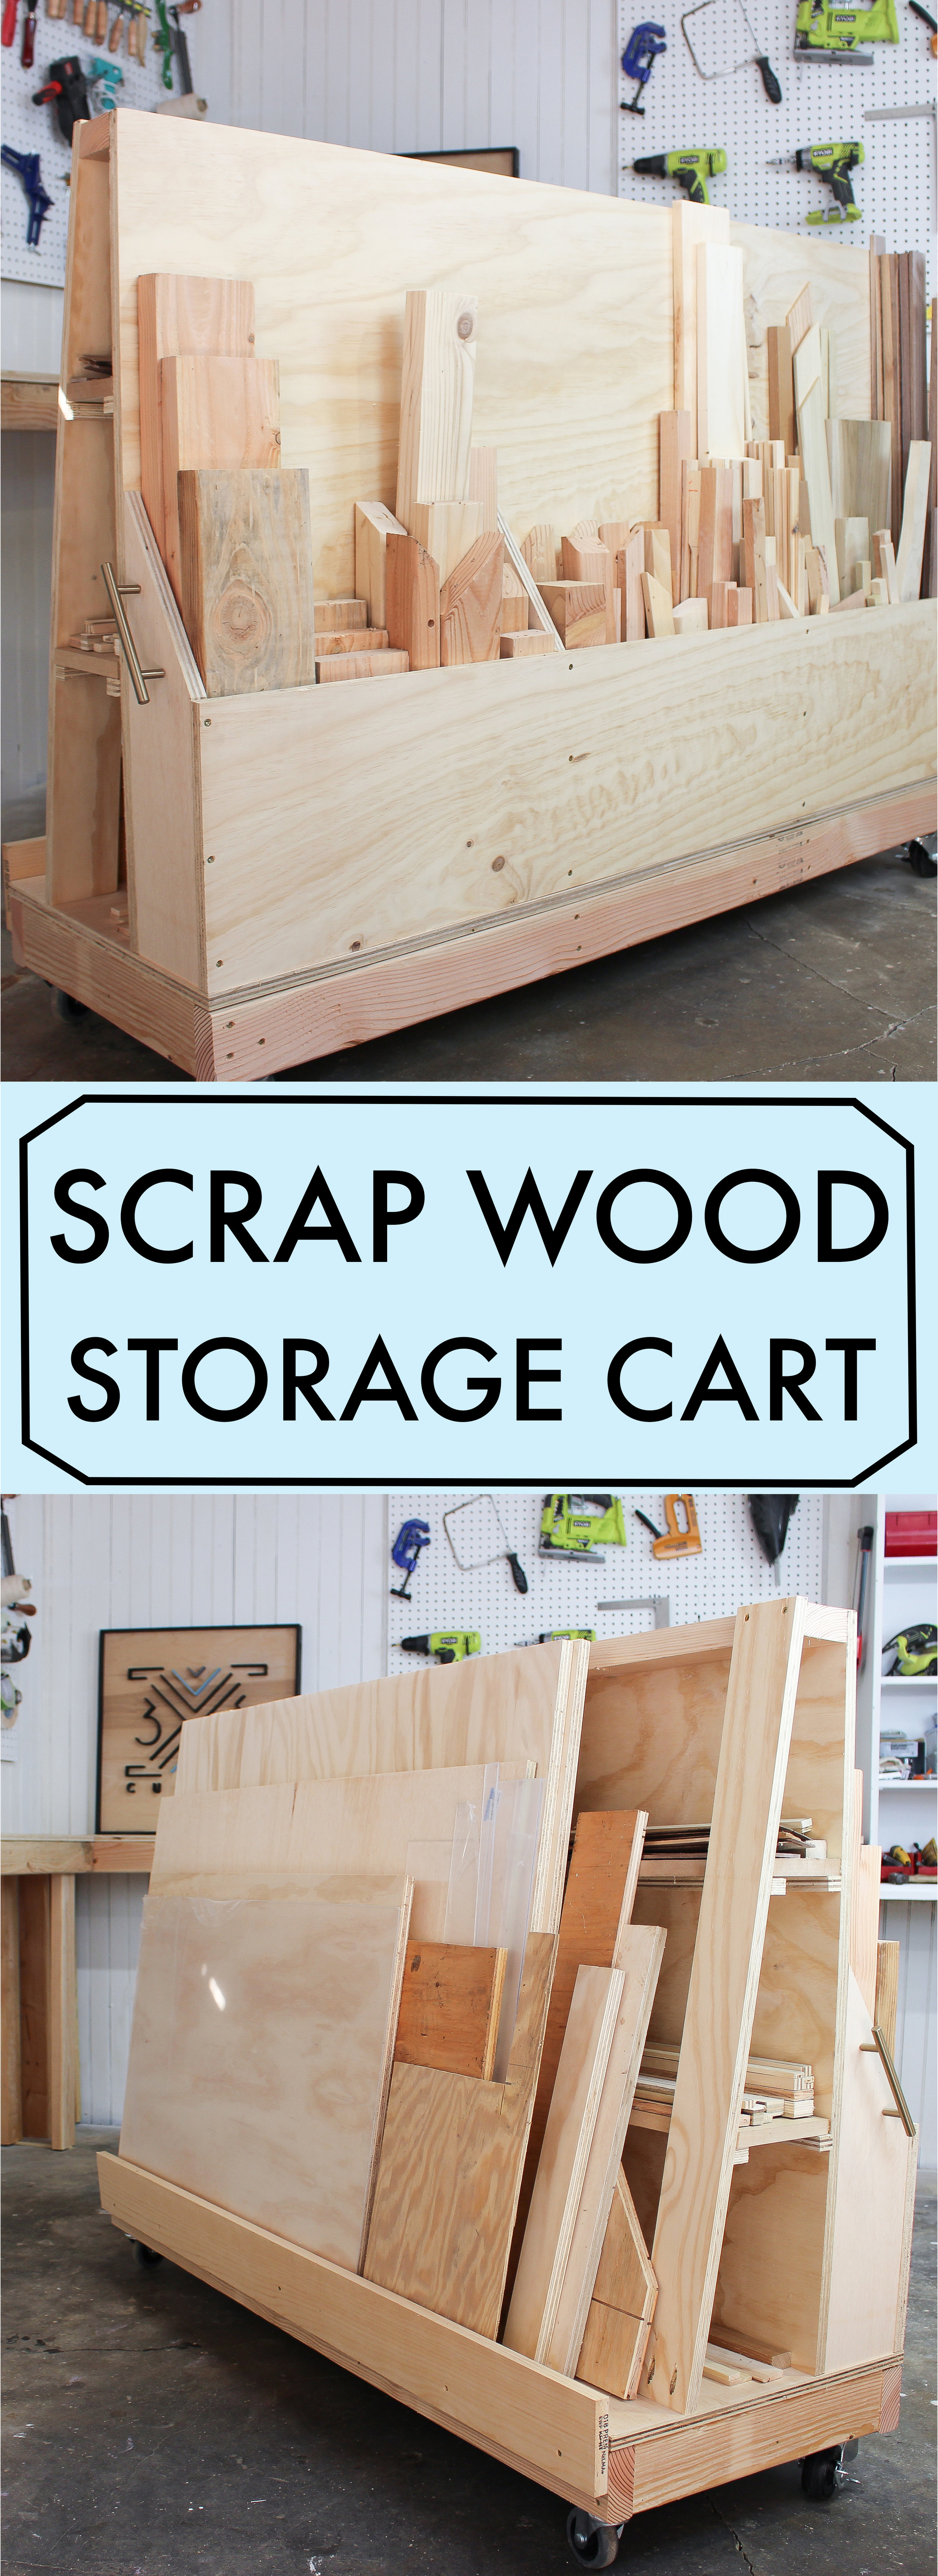
Rolling Scrap Wood Storage Cart
My scrap pile was getting out of control, so I decided to build a rolling scrap wood storage cart that can hold all my cutoffs and plywood too.
If you would rather watch a video, Click here: Scrap Wood Storage cart
(This post contains affiliate links :)
I saw a lot of pictures of lumber carts all over the interwebs, so compiled a bunch of those ideas together and figured out the size based on my workspace and the materials I had on hand at the time.
The Dimensions I ended up with is 5' wide, 3' high and 20" deep.
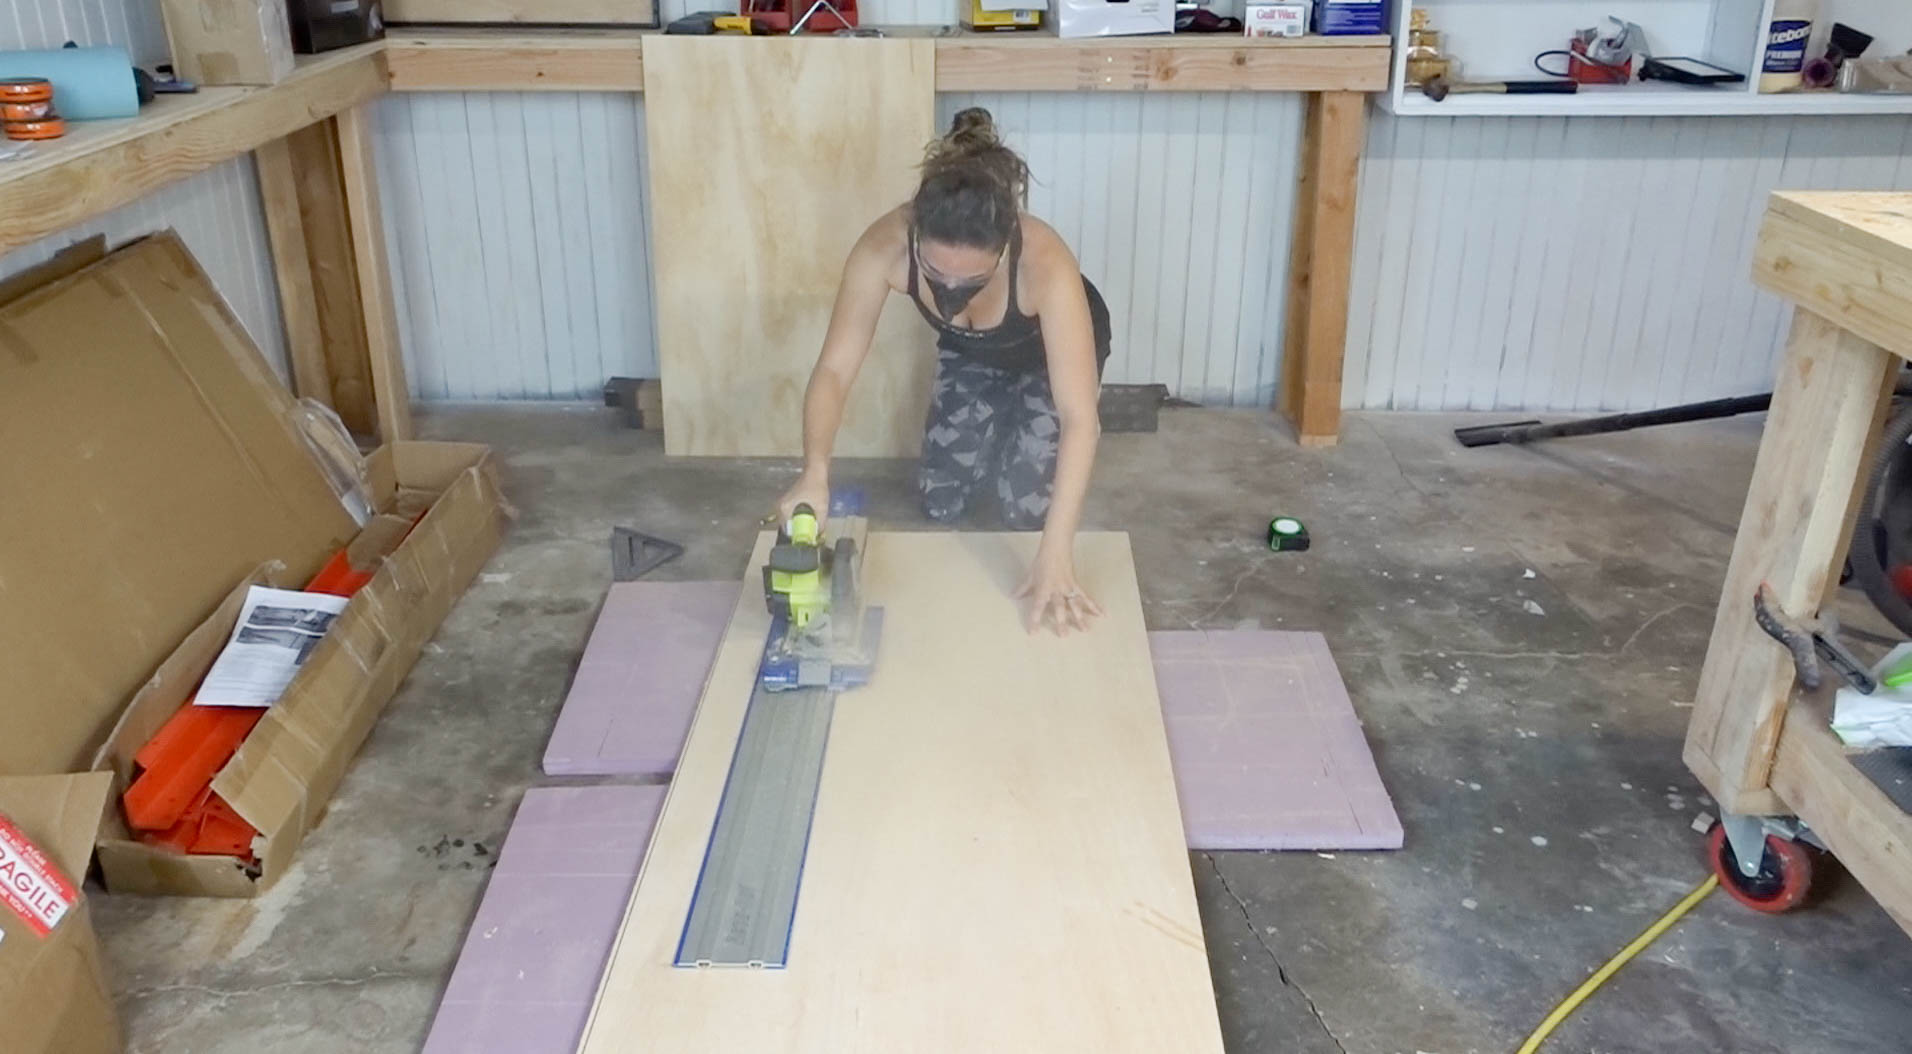
First step was to break down the plywood using the Kregjig Accu-cut
I cut the base to be 5' wide and 20" deep. The Accu-cut only has a 4' track so I just flipped it to the other side to finish the rest of the cut.

Then I took a 2x4x10 and cut it in half to get two 5' long pieces. These will be used as a support for the base.

Next I used my Kreg track and stop to cut 4 pieces of a 2x4 at around 16-7/8". The stop helps ensure that all 4 of those pieces will be the exact same length.
These pieces will be the cross braces for the base support.
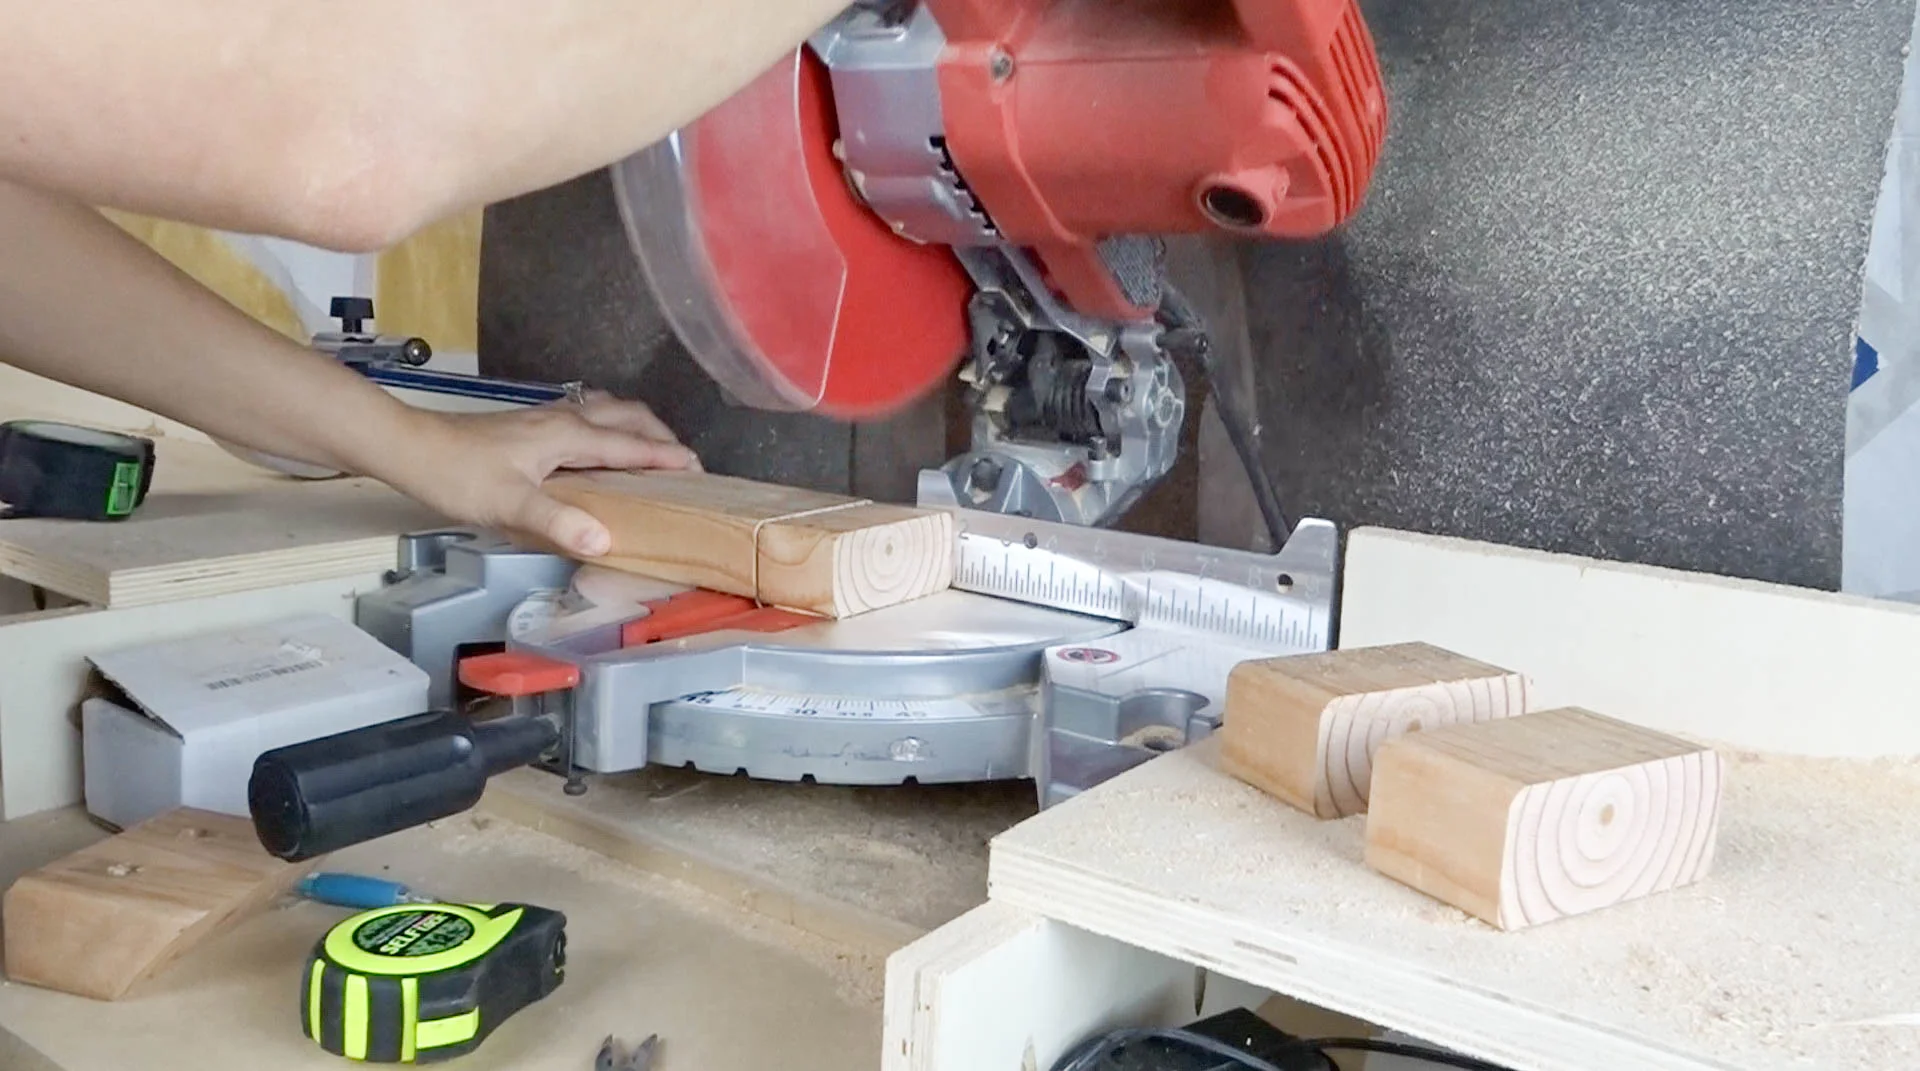
I cut 2 inch blocks to place at all the corners of the base so the casters had something to screw into.

Then I screwed it all down.

Next I attached the casters to the base. If I didn't cut those 2" blocks I would only have been able to attach the caster with 3 screws. Not good enough....

I used a brad nailer to attach the plywood to the base.

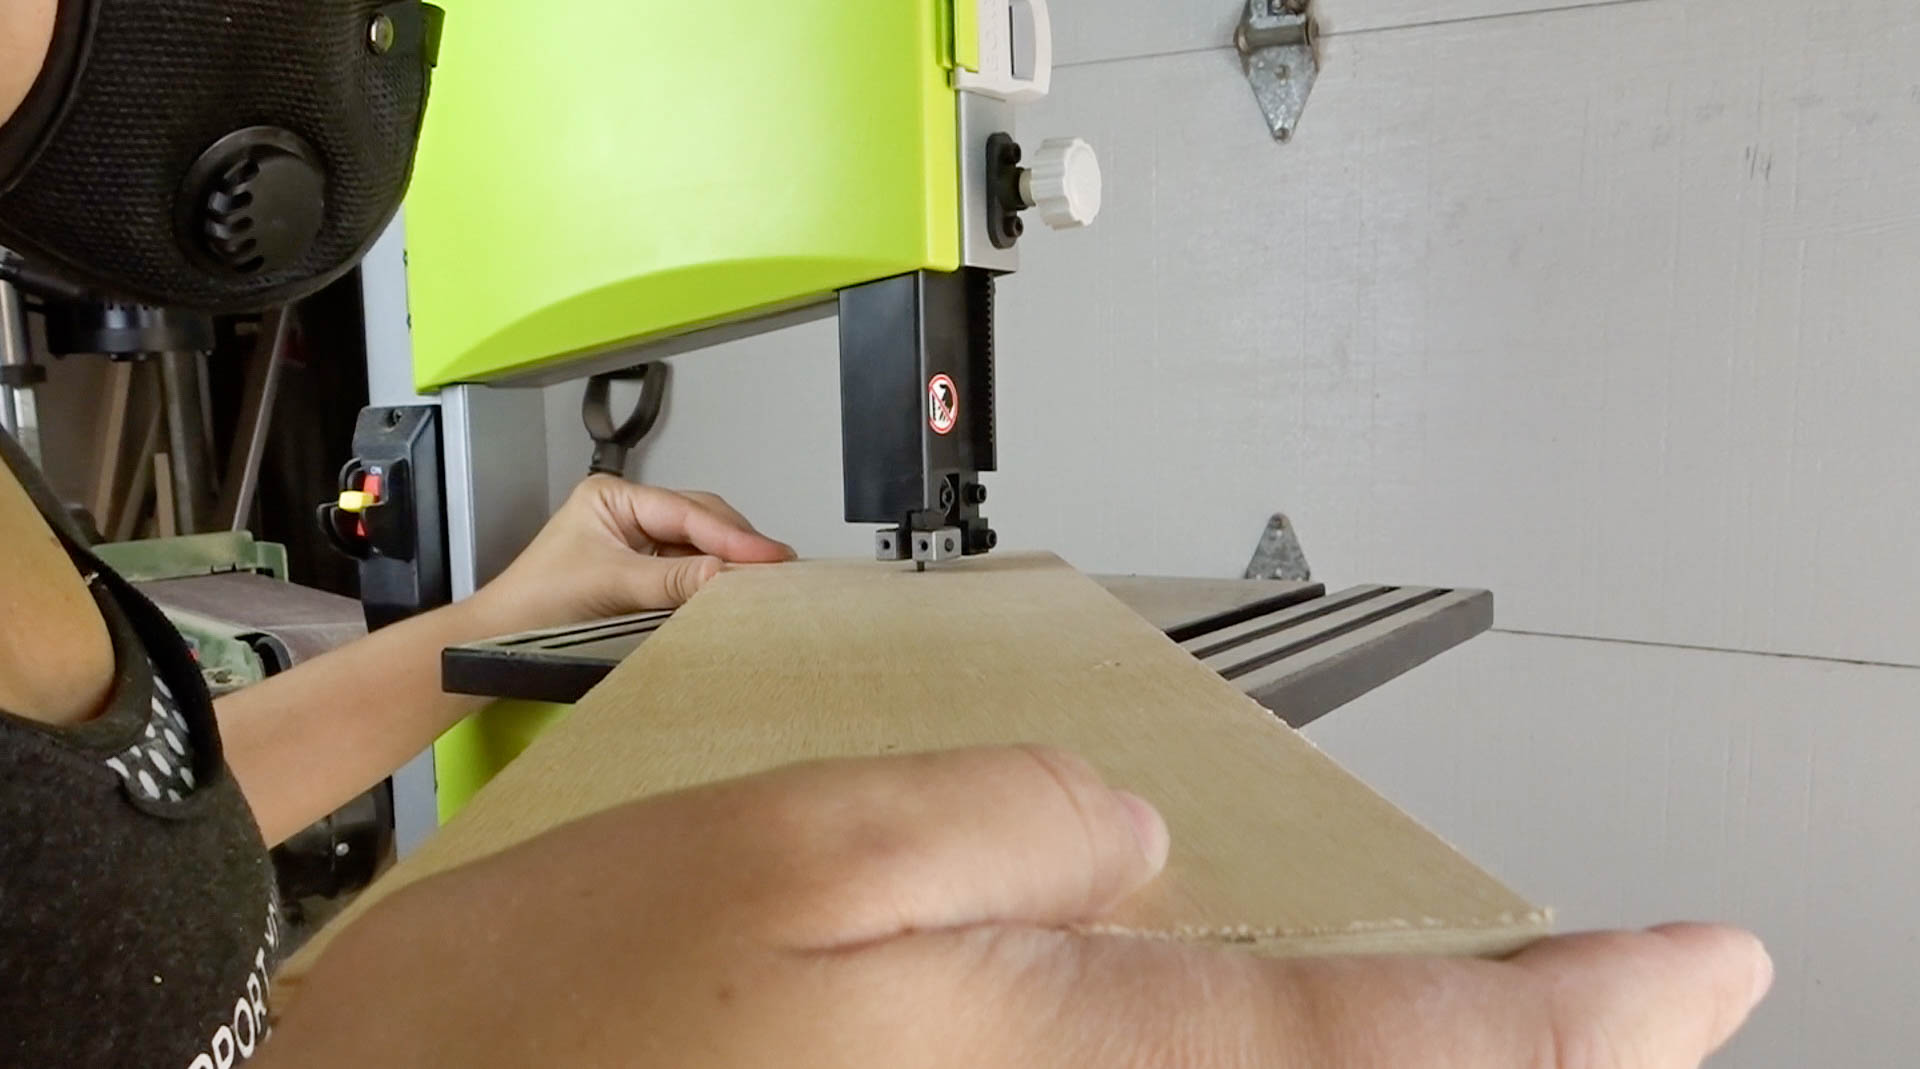
Next I worked on the shelf back support. I ripped plywood with the kreg-jig accu-cut. 5' wide and 3' tall.

Here is how you can finish the cut if your piece is bigger than 4'

I drilled some pocket holes in the bottom of the plywood. Don't forget to adjust for material thickness!


And attached it to the base.

Next I cut the dividers for the storage bins. I ripped them to about 5-1/4'" wide then cross cut them to each be about 20" tall. The front of the bins will be 12" tall so I marked an angle from 20" top in the back to the 12" mark on the side (which will be the front).

I drilled pocket holes in the bin dividers and the bottom of the front apron piece and screwed it all down. Then I just screwed the front piece to the sides of the dividers.

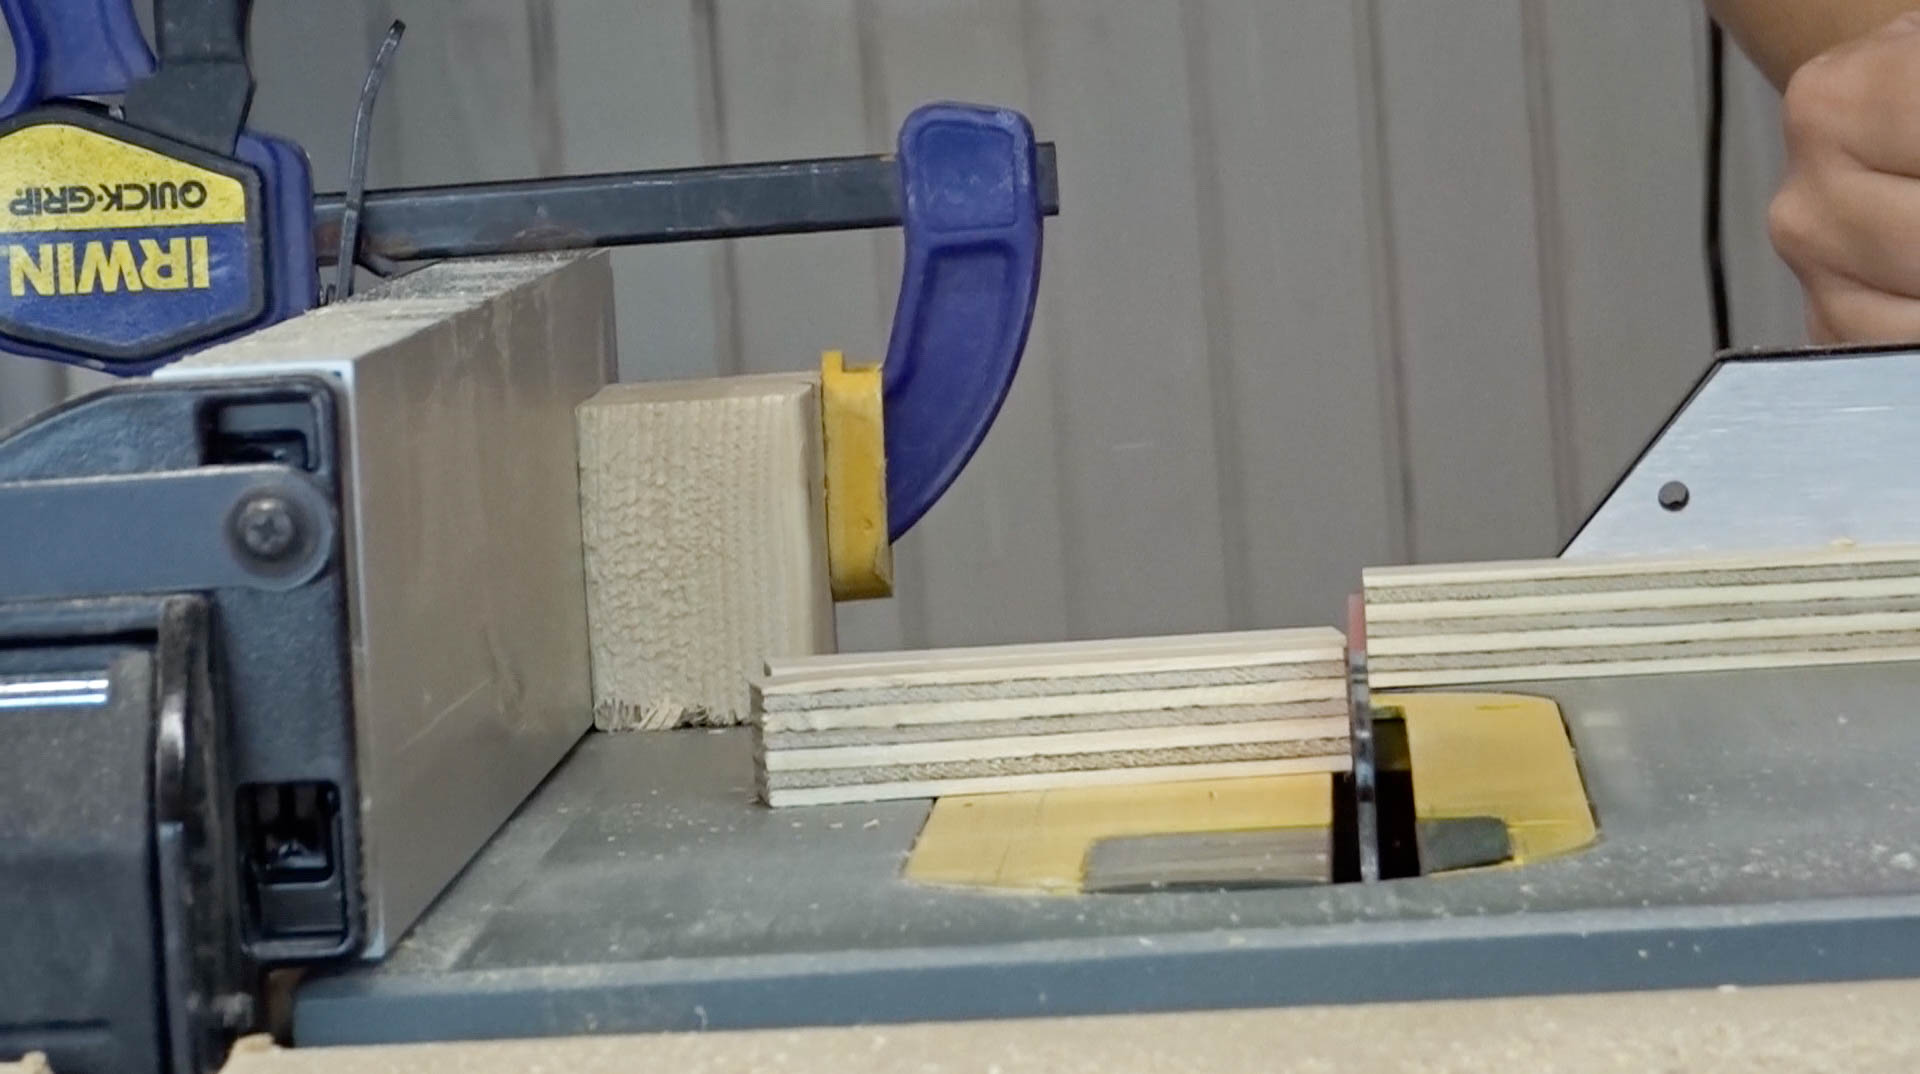
Now it was time to work on the back plywood storage rack. I took a 5' long 2x4 and ripped down one side to take off the rounded edge. Then ripped off the other side at an 8 degree angle. This will make a leaning shelf for the plywood to sit on.

I drilled pocket holes to the flat side of the 2x4 and screwed it to the upright plywood on the cart.

Next up was to make the supports on the back that the plywood will lean on.
I ripped four 3-1/2" wide pieces of plywood at a little over 3' long and cross cut all the bottoms to have the same 8 degree angle as before. Once I cut the bottoms, I got the exact length I needed by lining it up against the shelf and just marking the cut. (I hate measuring)
I ripped another piece of plywood to have the same 8 degree angle all down its side and then cross cut (at 90 degrees) that piece into eight 3-1/2" wide pieces to act as shelf supports or cleats.
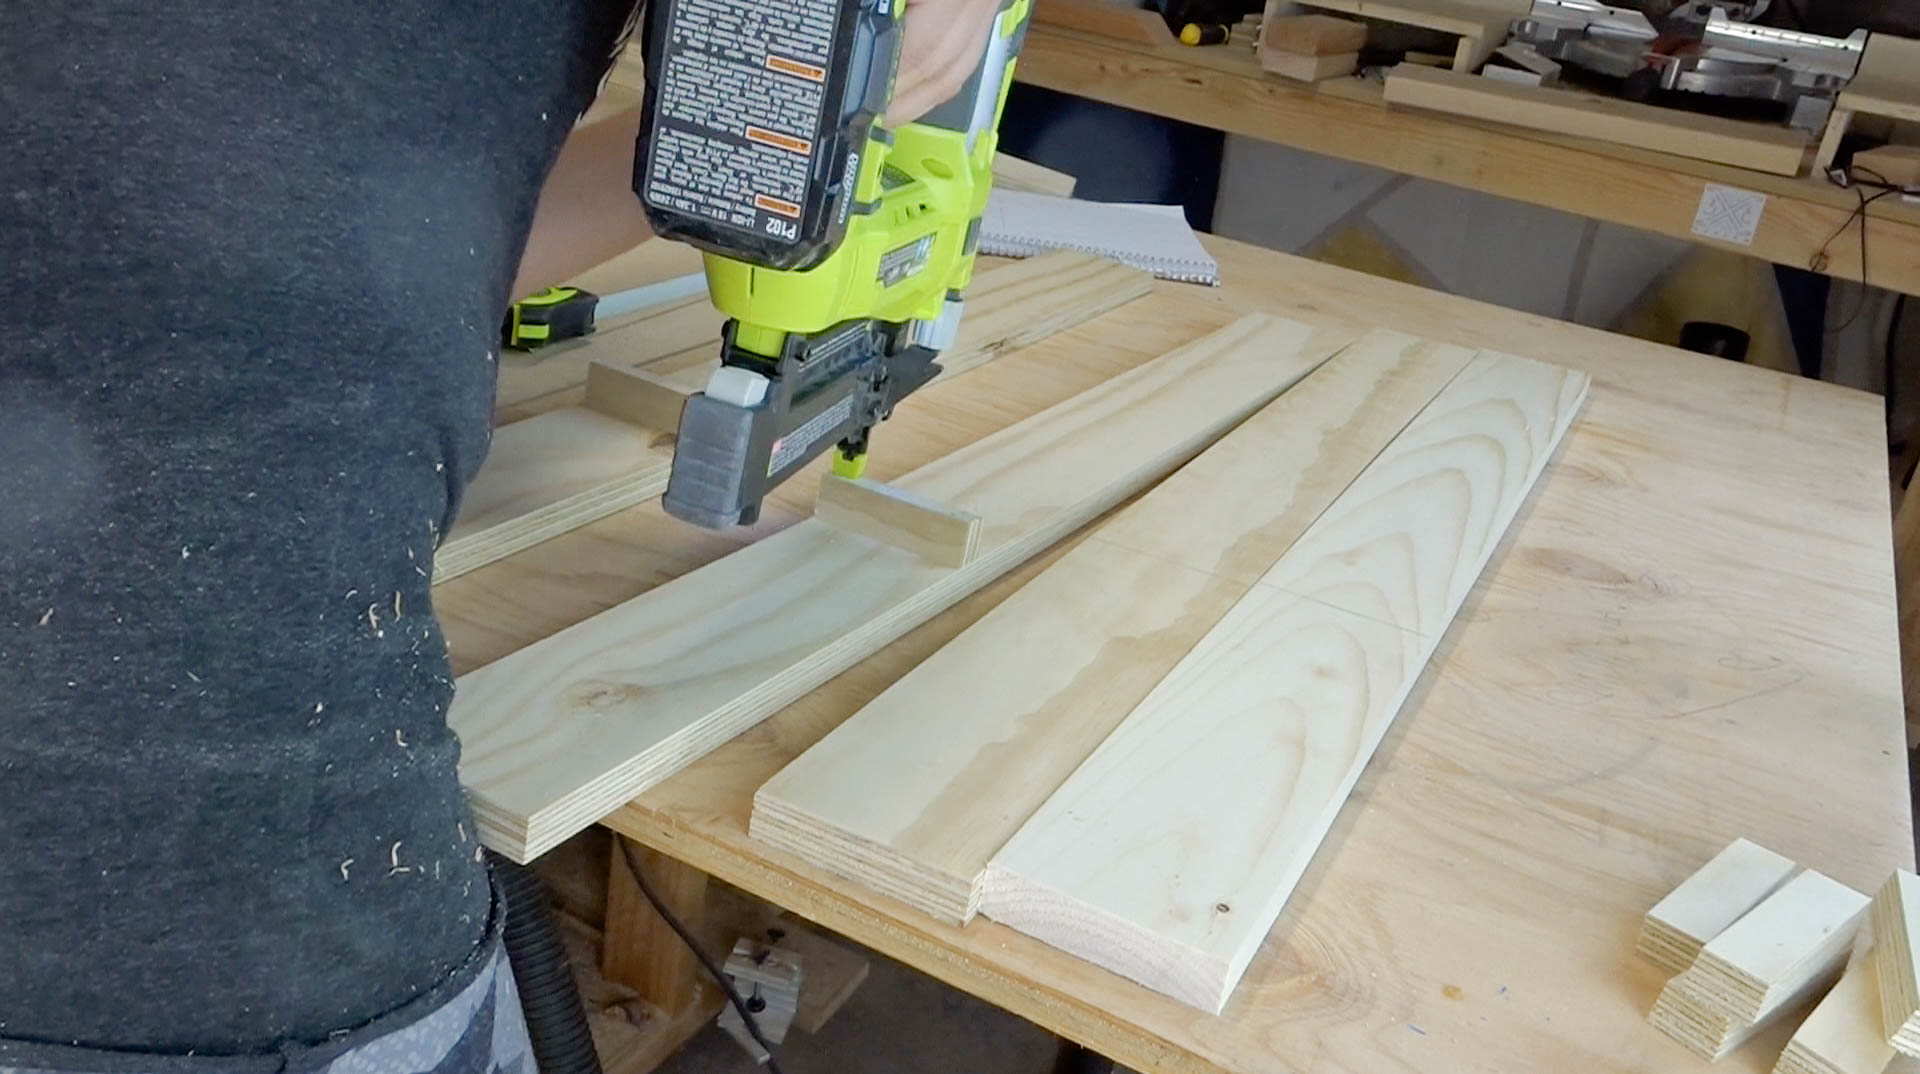
Then I used my brad nailer to attach those cleats to the upright plywood supports.
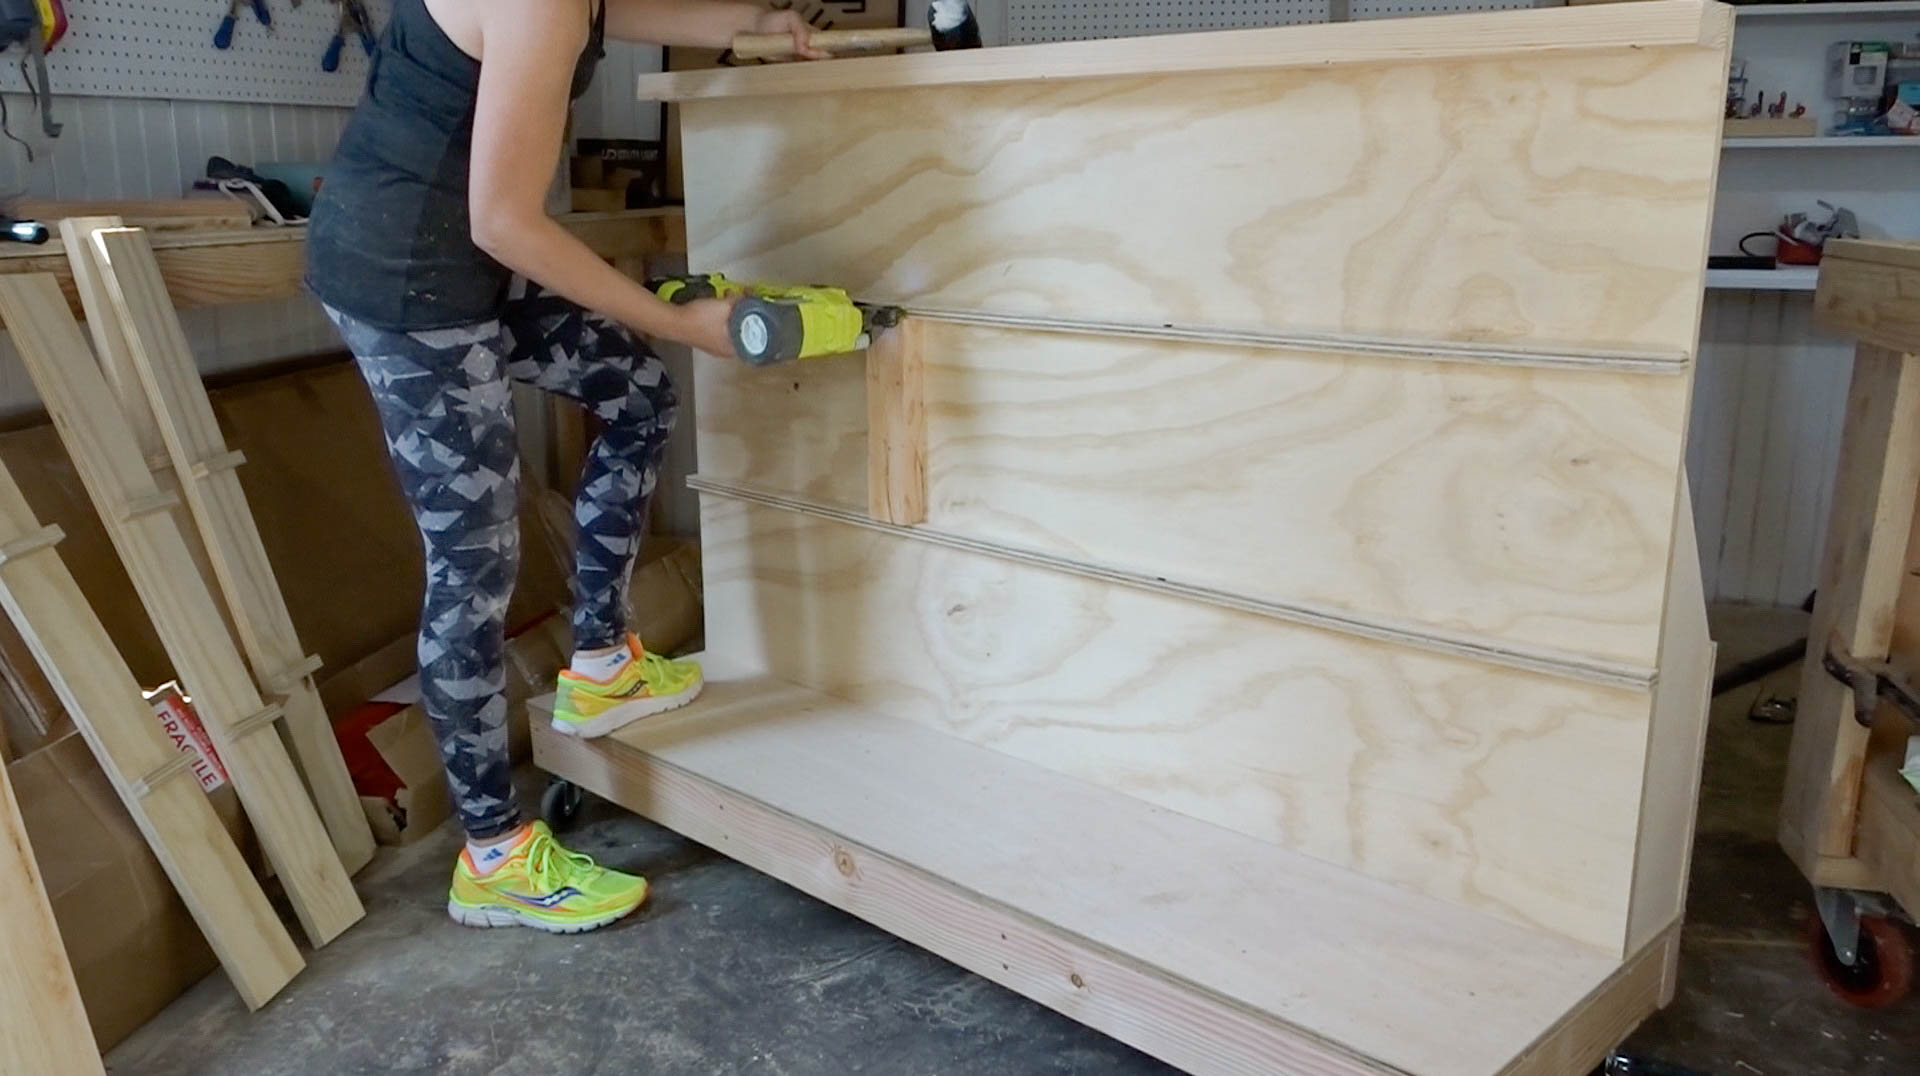
Using my brad nailer again, I attached 1" thick cleats to the plywood back support. I used a scrap 2x4 to act as a spacer to make sure it was all level.

Then I used pocket holes to attach the plywood supports to the base and regular screws at the top to attach the supports to the 2x4.

Then I screwed a lip at the back so I can store my plywood leaning on the supports and it won't fall off.

Last step was to rip the inner shelves and attach them with a brad nailer. And Done! (Wait, I also added a handle, so it can easily be pushed and pulled)
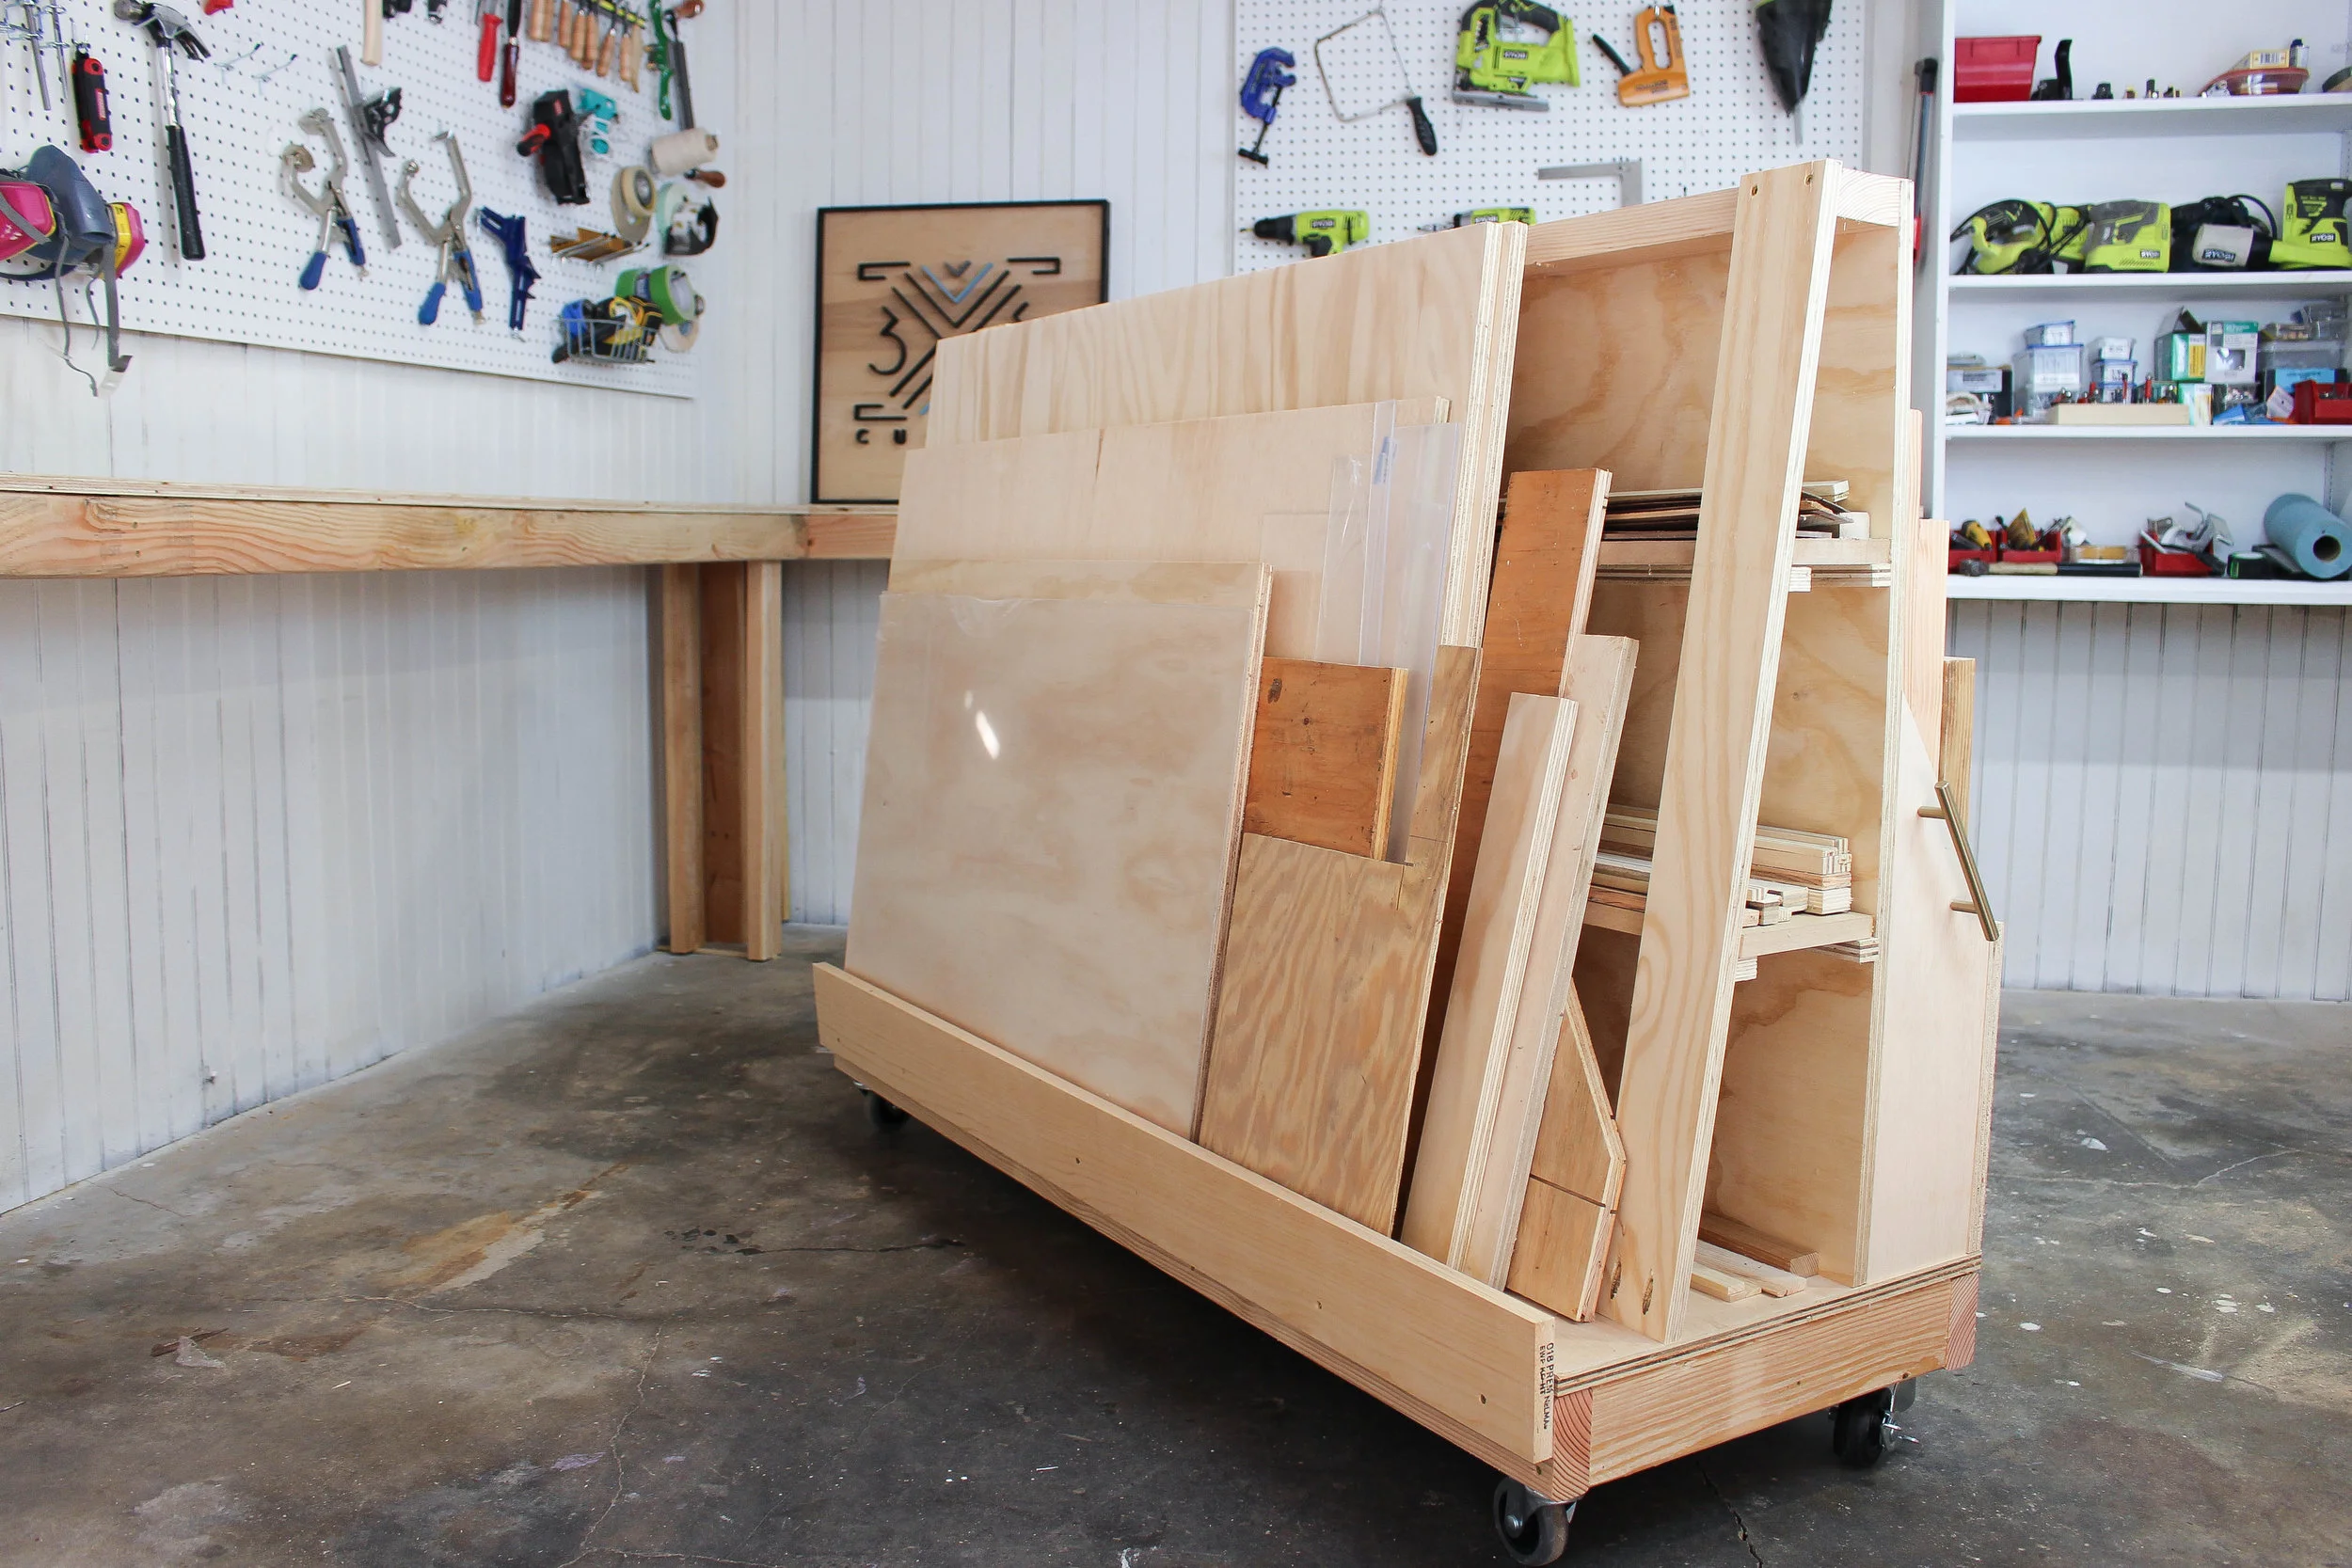
I'm really happy with how this came out. Now all my plywood cut offs have a home.
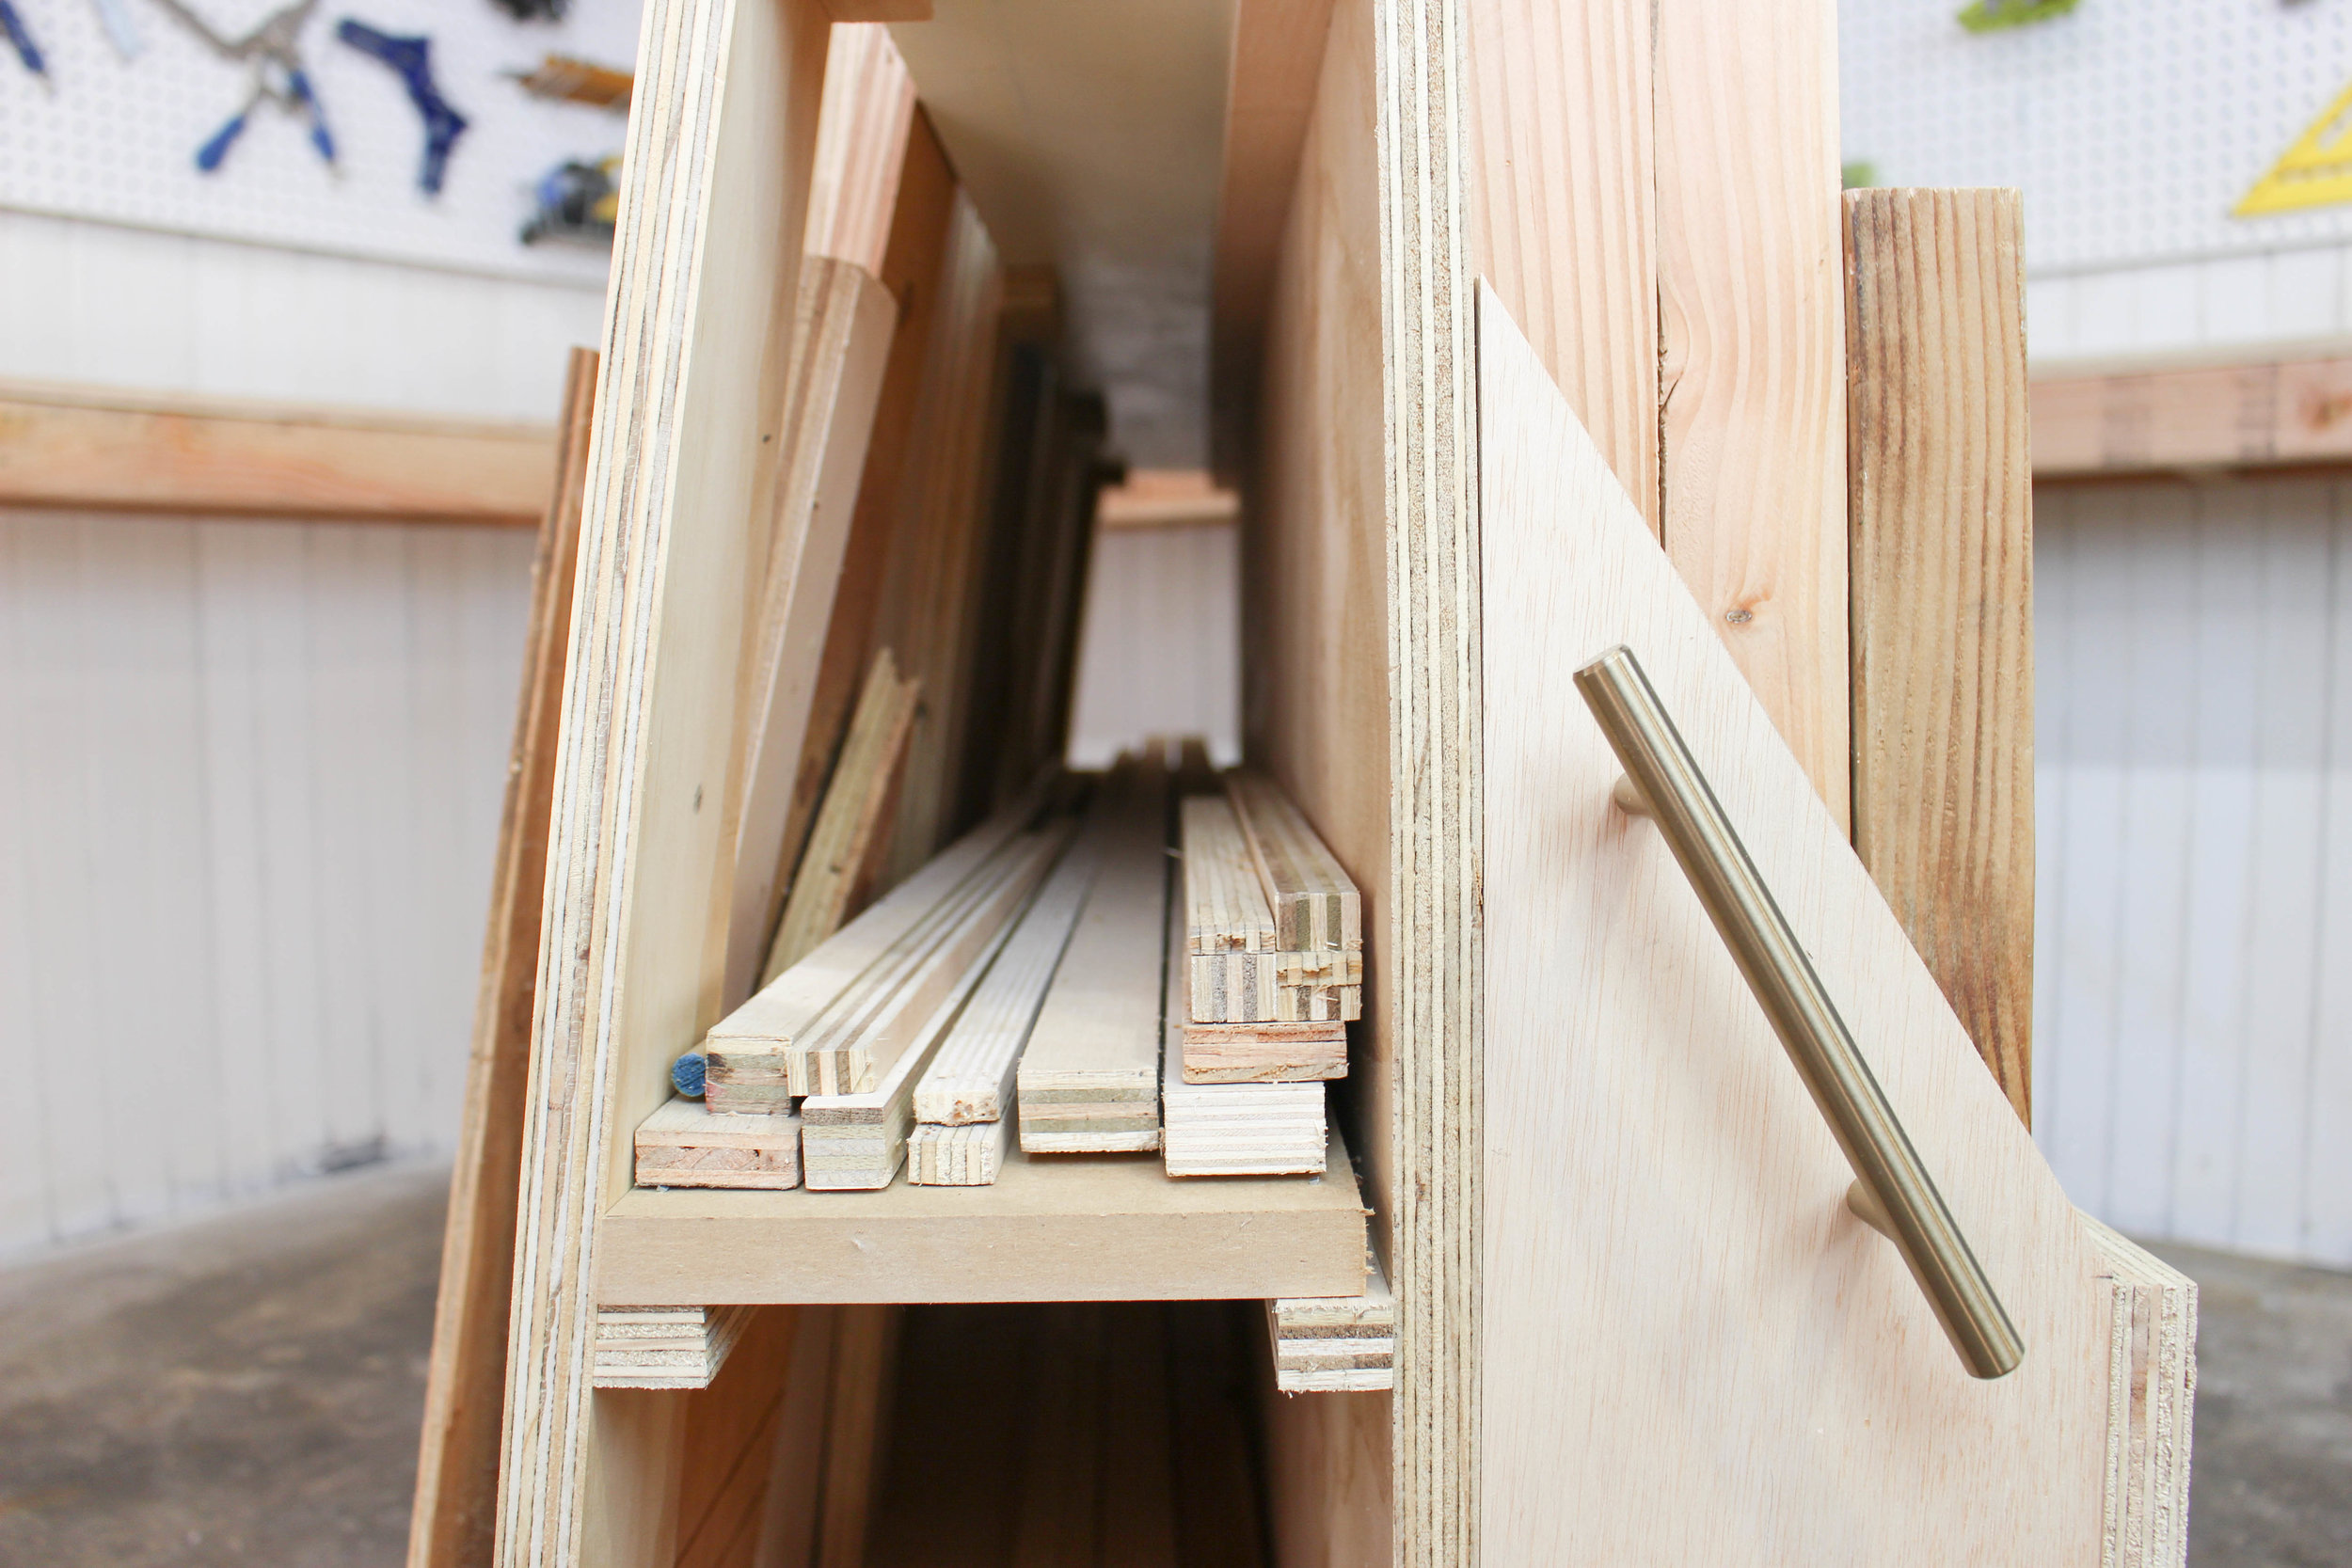
And the shelves in the middle hold random scraps that I just cant get rid of. Like these thin strips of ply wood. I know I can use them for something... Like the cleats I made to supports them, those were scraps!
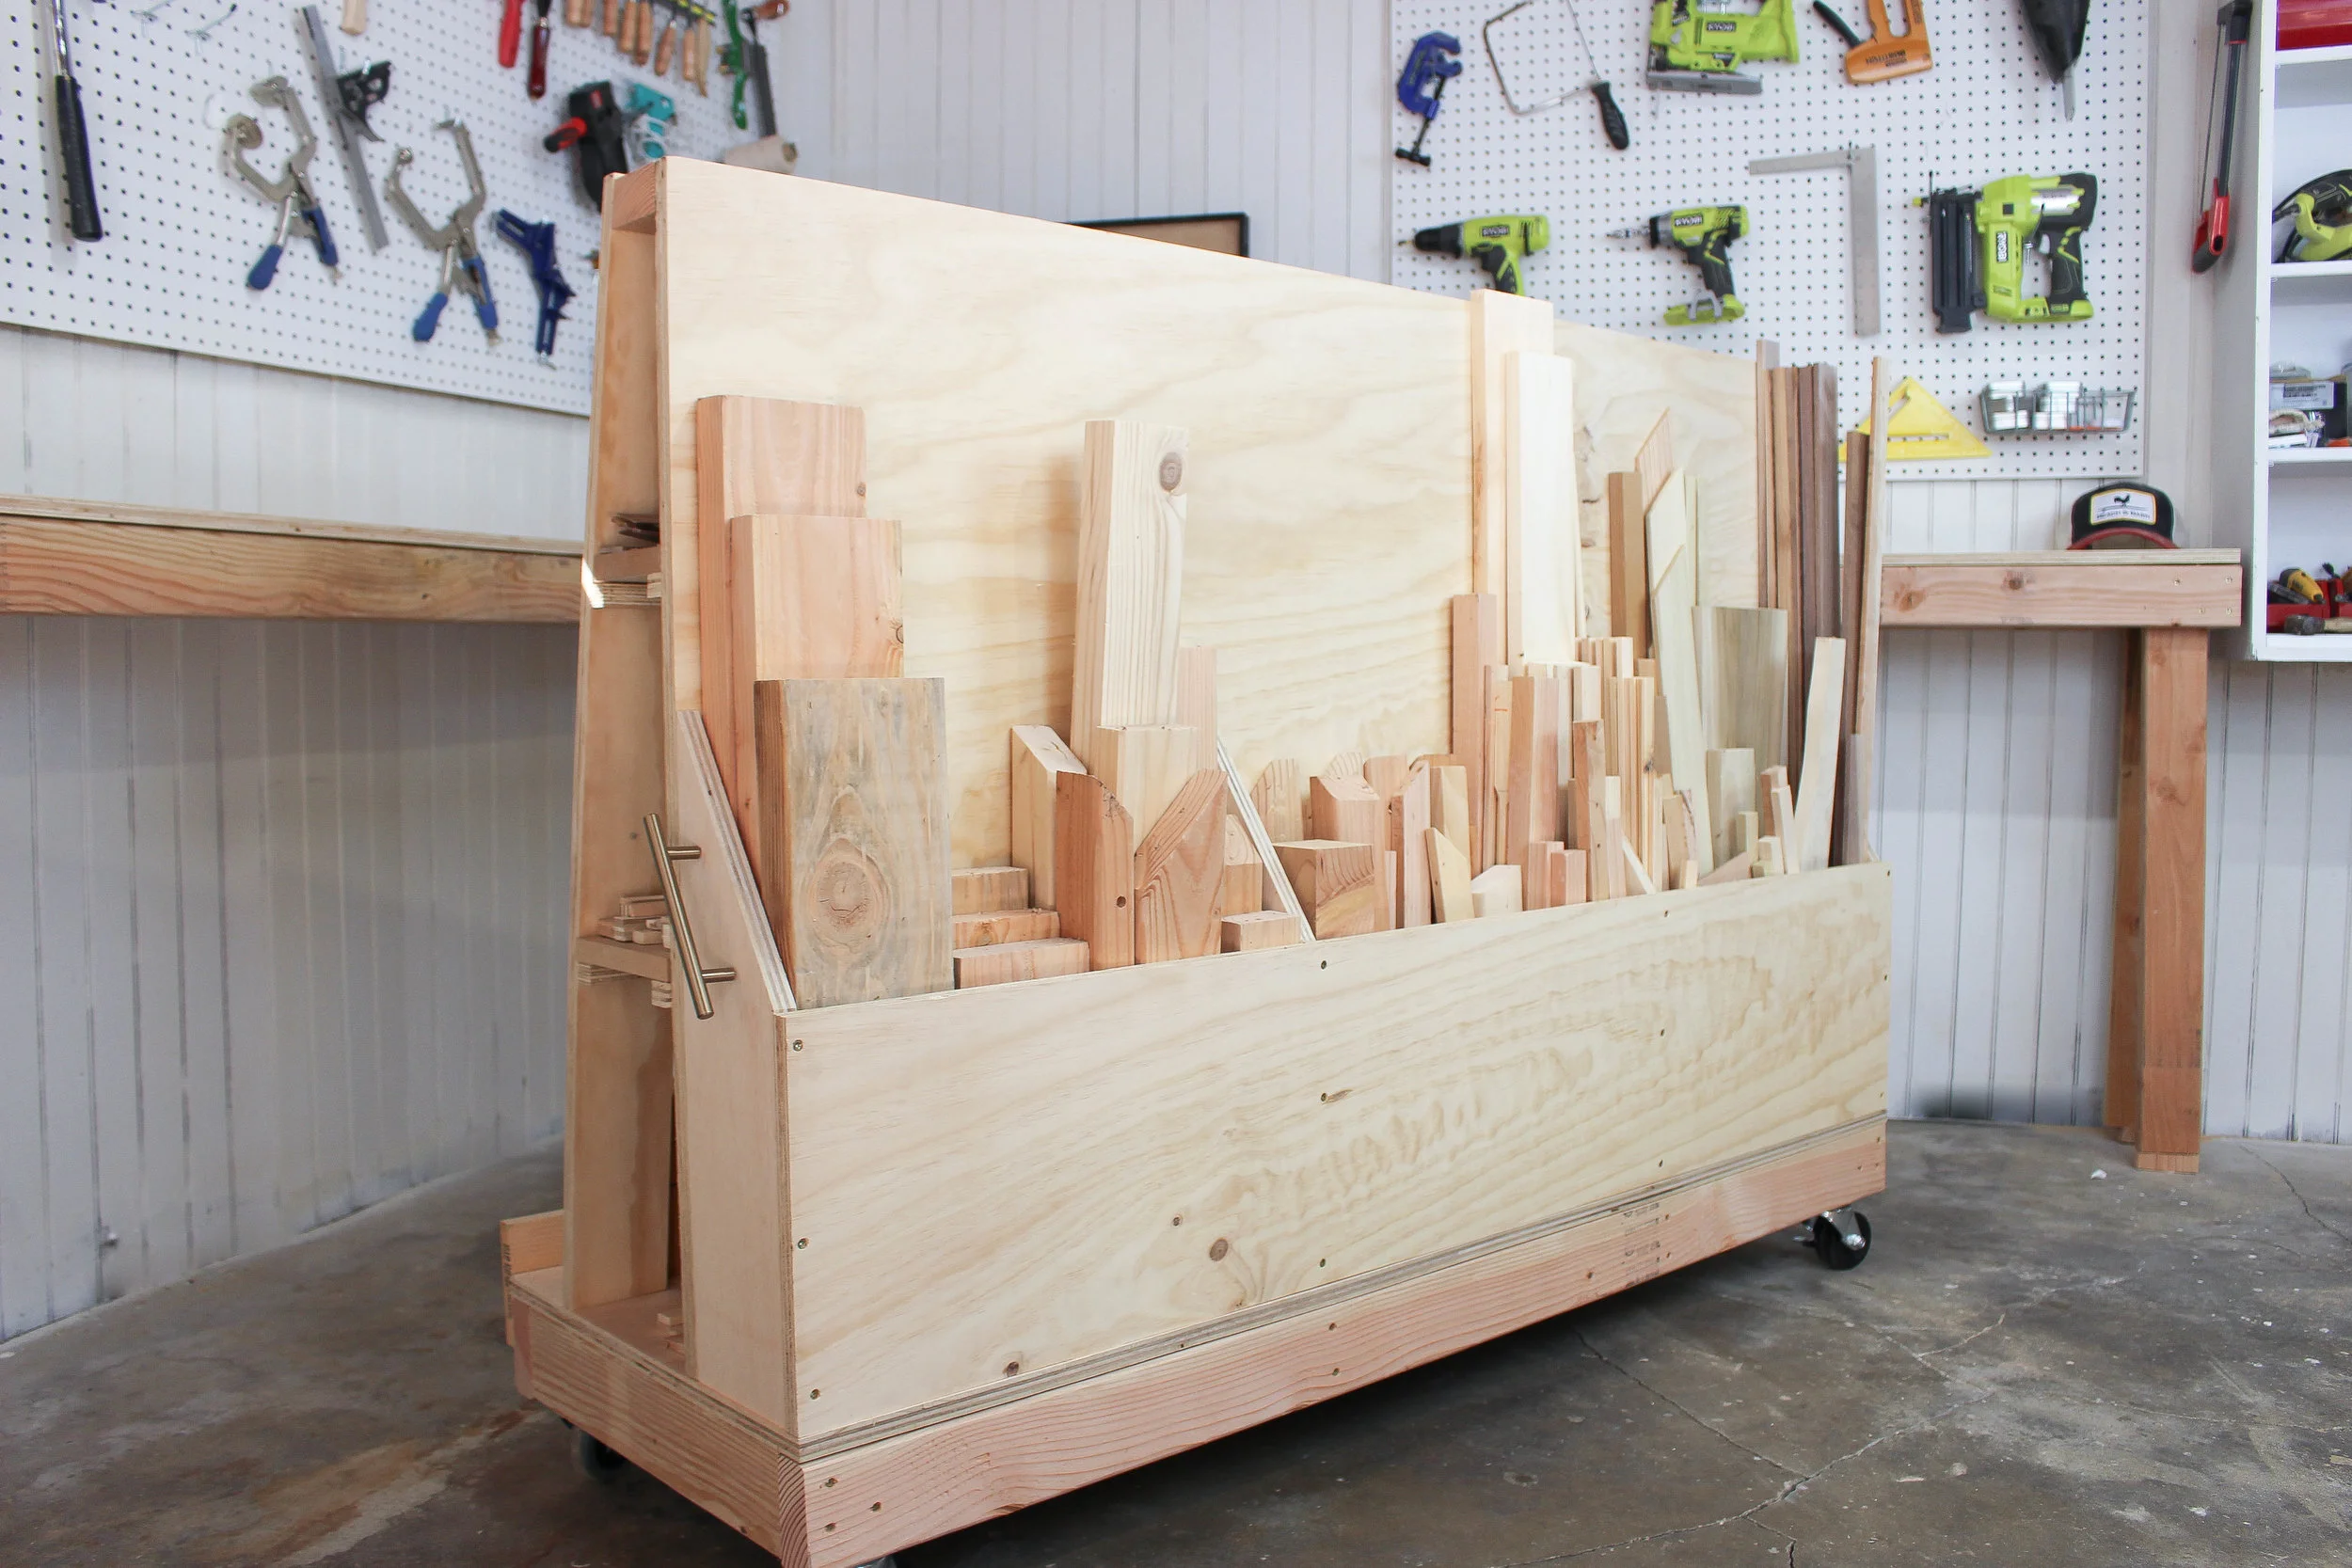
No more ugly pile of wood where I can't find anything. Hopefully now that I can actually see my scraps I will be using them more!