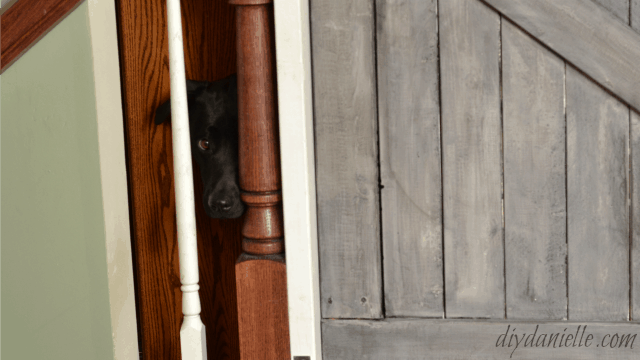
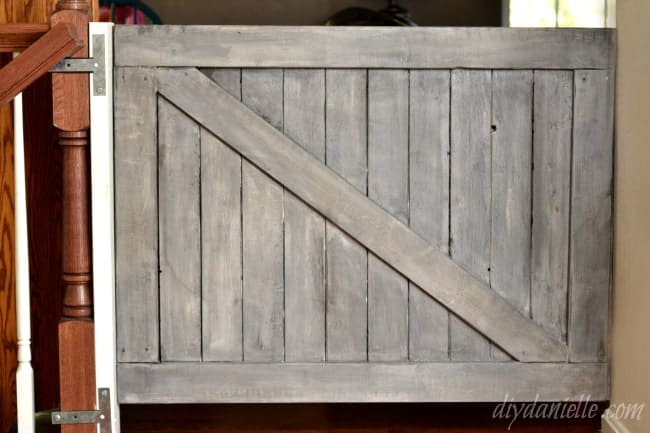
How to build a custom sized farmhouse baby gate or pet gate. This is also perfect if you mount it to the wall like we did so that small pets can sneak under, such as cats.
This post is sponsored by The Old Fashioned Milk Paint Company. They provided the paint necessary to beautify this piece of furniture. This post may also contain affiliate links. Using these links helps support my blog. Thank you!
We’ve been using this realllllly cheap gate to keep the dogs out of the rest of the house. We try to contain the hair and opportunities to eat the kids toys: my 1 year old dog really doesn’t “get” the difference between his stuffed toys and the kids. But he’s eaten through THREE of these gates and the last one finally bit it. Did we duct tape it to keep it together a bit longer? Yes, yes we did. But he was getting through so it had to go.
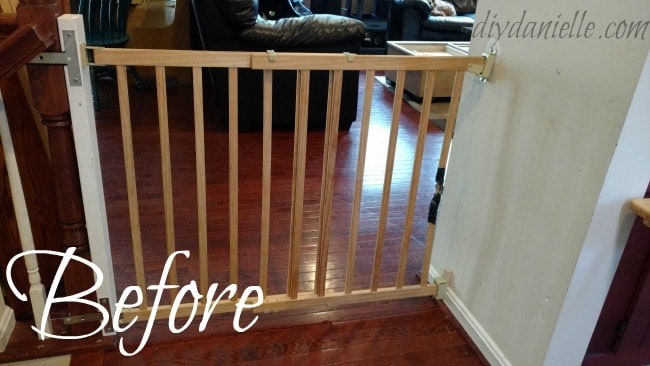
I decided that the structure of the gate was the problem- it was just too easy for him to chew a rung off because he could wrap his whole mouth around it. A flat gate would work better maybe? So we decided to create a farmhouse look on the opposite side and a flat gate on the side the dog will see. Less for him to grab onto.
Oh and guess what? My husband looks at me and says, “I think this gate cost less to build than the ones we bought!” Definitely should’ve made these years ago.
Here’s what we came up with.
Supplies Supplies listed below may include affiliate links to the products.
- Chalk marker or pencil (I like that chalk markers wipe off pretty easy)
- 1×4 wood: Make sure to use really lightweight wood because this will be too heavy if you don’t. We bought 10 pieces of 1x4x8’s at $2.15 each for a total of $21.50. We had extra wood left.
- Nails or screws
- Old Fashioned Milk Paint:: Snow White (I used Safe Paint because I had it on hand but usually for an item like this you’d just use regular OFMP)
- Stain: Rust-Oleum Ultimate Wood Stain in Ebony (Or you can try this Minwax Ebony Stain)
- I recommend Minwax Water Based Oil-Modified Polyurethane, Clear Satin, but I was all out. Anything I’ve painted with poly, the dog seems to leave alone (knock on wood). Maybe he can sense that he shouldn’t eat it? Although that didn’t stop him with any of the other toxic stuff he’s eaten so who knows.
- Sander or sandpaper, paint supplies
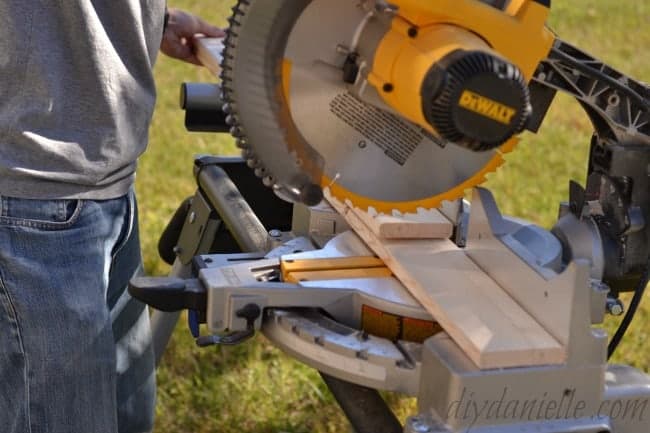
- Something to cut your wood, screw driver or hammer
- Hinges (cost somewhere between $3-4 but not 100% because I can’t figure out the receipt!) and a bolt ($3.98)
Tutorial
Here are some photos of the process:
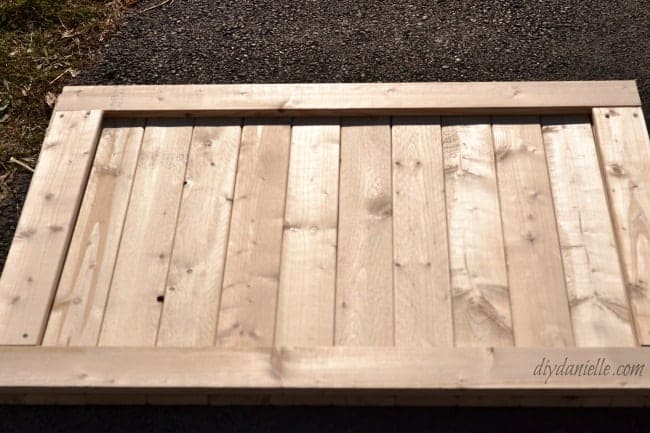
Our doorway was 42″ wide and 32″ tall. We cut 12 lightweight 1×4 boards to 32″ long, 2 boards at 42″ long, then two more to fit the sides. We also cut one more to go diagonally.
Note: If your doorway width is greater than ours, you’ll need to cut more boards at the height you want. If your doorway is thinner, you’ll need to cut fewer boards. You have to line them up to see if you have enough for your width. Or do math. I mean, your choice.
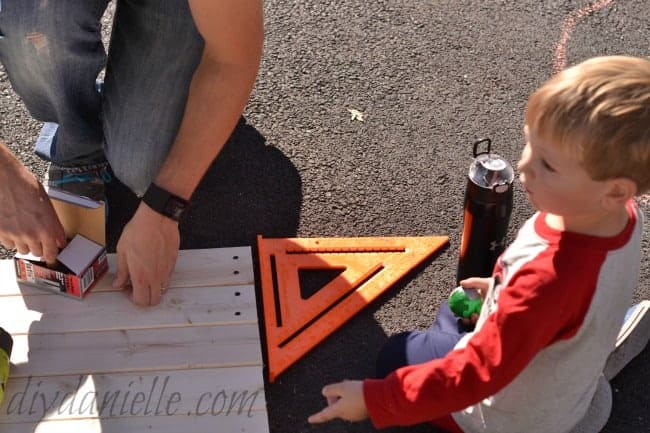
Now we needed to cut wood for the two short sections of the frame. Rather than doing math, I just marked on my wood the length of the wood I needed for the sides. I cut those pieces and screwed them in. Once that was done, I placed my diagonal piece of wood over the area. Then I used my chalk marker to draw where I needed to cut to make it fit. SO not mathematical.
My husband said he was thinking the whole time that he needed to come up with some cool equation using the Pythagorean theorem to impress me…. but then I just went and figured it out without math. Haha. Isn’t he sweet?
It ended up being a little tight but I was able to use a hammer to tap it into the space.
Once that was finished, I just needed to paint, distress, stain, then seal it. I used one coat of snow white Old Fashioned Milk Paint, let dry, then I used my sander to distress it. I dusted it off with my microfiber gloves (so nice to use for dusting sanded pieces), then used a brush and sock to apply my ebony stain. As you can tell, the stain REALLY changes the color. I love the result but I was actually thinking it would be a lot lighter. My ebony stain is at the bottom of the container and it’s super thick so everything has been coming out really dark recently.
Note that the stain may drip through to the other side through the gaps in the wood. Once I did my first side, I carefully flipped to the other side (holding it up so my stain wouldn’t get messed up), wiped the areas that dripped through, then flipped it back so the wet side could dry. Once that was dry, I was able to flip it and finish the other side (check for leaks through to the other side on this too). Now you can just add something like polyurethane to seal it.
This was such a simple project. Loved the results. And it’s SO much better than before. Now if you have small dogs, you would need to put this lower, but if you have big dogs (or kids) and cats then it’s perfect so the cat can just sneak underneath!


Ways to save money on a new baby - Babies don't have to be expensive!
Tuesday 3rd of April 2018
[…] IF you are really wanting certain items that would usually be expensive, find ways to do it yourself. You can get a baby gate for pretty cheap, however, maybe you want something more visually appealing. This is the time to get creative or find a great tutorial like this DIY farmhouse style baby gate. […]