
DIY Upholstered X Bench

DIY Upholstered X Bench
Its about time I did this DIY upholstered X bench tutorial. Back when I remodeled my master bathroom for the One Room Challenge, I had many people ask me about this bench and I am barely getting around to having my feet back underneath me from all the crazy projects I had going on in the fall.
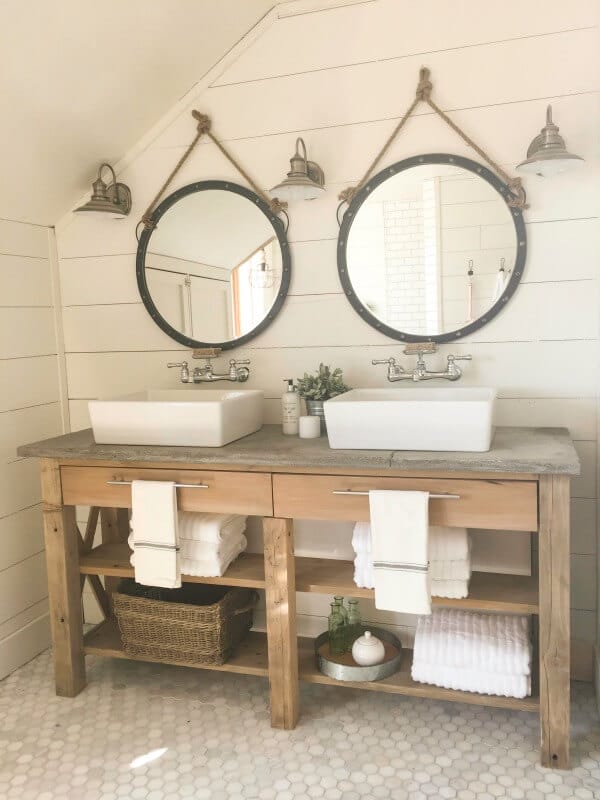
When I was planning the design of my bathroom makeover, I kept having this vision of the light streaming in through the window, a beautiful freestanding tub in the background, and a lovely bench atop a gorgeous rug, slippers and a towel draped across it.
That is my idea of a dream bathroom. I spend hours in my bathroom. I am an avid bath taker. It is where I sooth my muscles, calm my nerves and relax my mind. This upholstered X bench was the perfect addition to this space and I am so excited to show you how I made it.
The X bench design was very intimidating for me. Mainly because angles really throw me for a loop. I didn’t think I could get it right. And I am thrilled I did.
Here are the supplies I needed for this project:
(some are essential, and some are not, but will make the project so much easier.)
*This post contains affiliate links for your convenience*
For the upholstered bench:
- 4 inch foam
- batting
- 1 yard of fabric
- Staple gun, electric is so much easier
- 3/4 inch plywood cut to 32 1/2 ” by 15 1/2 inches
- spray adhesive
For the legs:
- 3- 1by2 inch wood
- brad nailer (hammr and nails is the alternative)
- compressor
- Cordless drill
- 1 1/2 inch screws
- wood glue
- miter saw
To Upholster The Bench:
1. Cut your 3/4 inch plywood to 32 1/2″ by 15 1/2″.
2. Cut your foam to the size of the board. Using a serrated knife will make this easier.
3. Spray the board with the adhesive and set the foam on the top of the wood.
4. Lay the batting over the foam and flip the whole piece over.
5. Start by stapling the batting to the wood. Start in the centers pulling taut and securing it.
6. Once the batting is secured, apply the fabric of your choice. I used this buffalo check fabric.
7. Now repeat the same steps from the batting, securing the fabric with the staple gun. Start in the center, staple on one side, and then staple directly on the opposite side. Make sure to pull taut.
8. Continue to staple as you move out toward the edges. Then do the same thing to the ends of the bench.
9. Once you get to the corners, fold the fabric over, I like to fold it like you would a flat sheet on a bed.
10. Staple the corners.
To Build The Bench Legs:
1. Start by cutting your pieces to length. You will need:
- 4 – 17″ cut at 24 degrees
- 8 – 7″ on the inside of the angle. Its about 8 1/2 on the outside. These and the 4 above need to be cut on a miter saw at 24 degrees.
- 2 – 15 1/2″
- 4 – 29″

These are the angled cuts for the legs. the 8 shorter pieces are cut at a 24 degree on one side and cut straight on the opposite end.
2. Take 2 of the long boards and set them on the ground.
3. Take two of the shorter board and dry fit them onto the longer one. The ends should match up, and there should be a space right in the middle.

4. Now glue and nail these into place. I used a nail gun, but you could use a hammer and nail also, or even screws.
5. Now repeat this step to the other 3 long boards.
6. Once they are all put together, you can make your X braces. Put two of the pieces together. If they fit well and everything looks right, glue and nail them at the center where they meet. Repeat with the other 2 pieces. Dont worry too much about these yet, we will add one more step of strength in a bit.

7. The next step is to lay your bench down, with the soft side down. You will now take the two 15 1/2″ length boards and screw them along the ends of the plywood and fabric.
8. Then repeat this step on the longer sides with the 2.
9. Its time to secure our legs!

10. Secure the legs with a few long nails. I also drilled a hole in each leg on an angle and added a screw for more strength.
11. Now that the legs are secured, its time to add the long center piece that will connect the legs and add more strength.

12. Take the last 2- 29 inch long pieces and glue and nail them together. Now line it up between the two legs, right at the center of the X’s.

13. I added a few nails just to hold them in place, and then I added a 2 inch long screw that I pre-drilled and screwed into place.


Now you are done with your upholstered X bench!
I applied my handmade greige stain and it was done! You could definitely leave it raw, or apply the stain before you start. I never think that far ahead. I’m always too excited to get the project started!
This upholstered X bench is the perfect feature in this bathroom. Its where I put my shoes on, where my kids sit an harass me while I am trying to take a few moments peace in the bathroom, and a great place to set your towel and slippers when you are ready to slip into that bath.


This would also be a wonderful addition to any bedroom or family room. You could make this bench longer or shorter, but if you want to make it taller, or wider, you will have to adjust the length of the legs and the angle at which they are cut.


Now, that….my friends is a DIY project. This upholstered X bench is one for the books.
Come on, get brave, and try it out. I did not ever think I would be able to navigate my way through the complexities of the angles and math. Trust me, I like to make pretty things, but I’m not a genius:)
Have a great day!

If you like this post, you’ll love:

Sweet! Thank you for posting a tutorial for your cute bench! I’ve been dying to make one for our entryway and I might just have to try this out!
Yay! Good luck!
This is a great tutorial and looks terrific. Thanks for sharing.
This bench is absolutely fantastic!!! I am so glad you linked it up at Show + Tell. I am pinning it + sharing it for sure!
xo Tauni
Thats fantastic! Thanks Tauni!
I really love this bench and am convinced I NEED one for our entry. I just showed hubby the tutorial and told him to start planning 🙂 He just rolled his eyes at me lol
Oh wow! This turned out beautiful and is so well staged. Love it!
Thanks Joyce!
This is adorable!! I love the buffalo check plaid fabric that you used!
Thanks Angela!
Cute bench project. Ummm……. I’m in love with those slippers. Where might I purchase them?
Hi Linda! Hey thanks! and arent those slippers fab? I got them from a Bass Outlet store!
Thank you! 🙂
I LOVE your X-Bench! It looks SO good in your bathroom too 🙂 I’ll be featuring it at the Creative Gallery party tonight!!
Hi – Cute Bench!!!
I have some side tables and an ottoman I need to build. I will have to research the angles and length but yours is my “jumping off” point!
2 questions
1 – what type of wood are you using?
2 – this “… applied my handmade greige stain” … mind sharing your concoction recipe? I am rarely drawn to light wood because it is just to “blond” for me. Your bench appeals to me. The color suits me, gray undertones and would keep my basement “lighter and brighter”
Thanks
Hi! Thanks for stopping by! I used poplar from Home Depot. Also, here is a link to my stain concoction
Love the X stool!
Thanks!
Love your bench! Thanks for the tutorial.
Thanks so much!
Sara, fantastic bench and fantastic tutorial!Thanks…I think I could even do by following your directions.
Love the look of this X bench! On my DIY list!
Thank you!
I love this!!!!!!!!! You make everything look so easy. Pinning!
This bench is so awesome! I love the check fabric that you used!! Thank you for the tutorial, Sara!
I absolutely love how this turned out. I cannot wait to try this tutorial. Great work!
Thanks so much!
Hello! Love the bench! we are going to make it! so excited! We were measuring and it looks like the 24 degree angle is not exactly 8 1/2 on the long side and 7 on the short. The angle is closer to 47 degrees instead of 24 to get the 8 1/2 by 7″ measurement. Has anyone else found that?
I have not heard from anyone. But make sure and do what works for your individual piece. I will have to look into it.
Can you tell me what “3- 1by2 inch wood” is? Is that 3 lengths of 1-inch by 2-inch wood?
Thanks for the tutorial! I made this bench a week or so ago and love how it turned out!
I too found that the angle should be more around 45 degrees versus 24, if that is helpful to any others planning on making this.
Love your blog and look forward to new posts 🙂
Thanks! I will check that out!
Love this bench! What is the overall height of this bench? My bed is about 26 inches high. I don’t want this to sit too low.
THank you! The bench is approximately 17 inches tall with the cushion on it.
Great project! Can you tell me the length and width of the board that’s need d for the cushion to sit on?
The dimensions are in the post, thank you for stopping by!
Hi! Love the bench, I was inspired to make a stool version by making it narrower. I also found that the angle was 45 degrees. Thanks for the tutorial!
Where did you buy your foam? And about how much did it cost?
Joann’s
Where did you purchase your 4inch foam?
From Joanns