
DIY Sawbuck
*This post is sponsored by The Home Depot and WD-40
After storms, I usually drive around and pick up any fallen logs that I can use for projects. I recently got my hands on a new chainsaw, so I decided to build a sawbuck to make the process of cutting down the logs easier on my back and it’s safer too.
Watch the full build video below!
Links below are affiliate links, clicking on them helps me keep this site at no extra cost to you ;)

Download the full Plans Here —> DIY Folding Sawbuck Plans
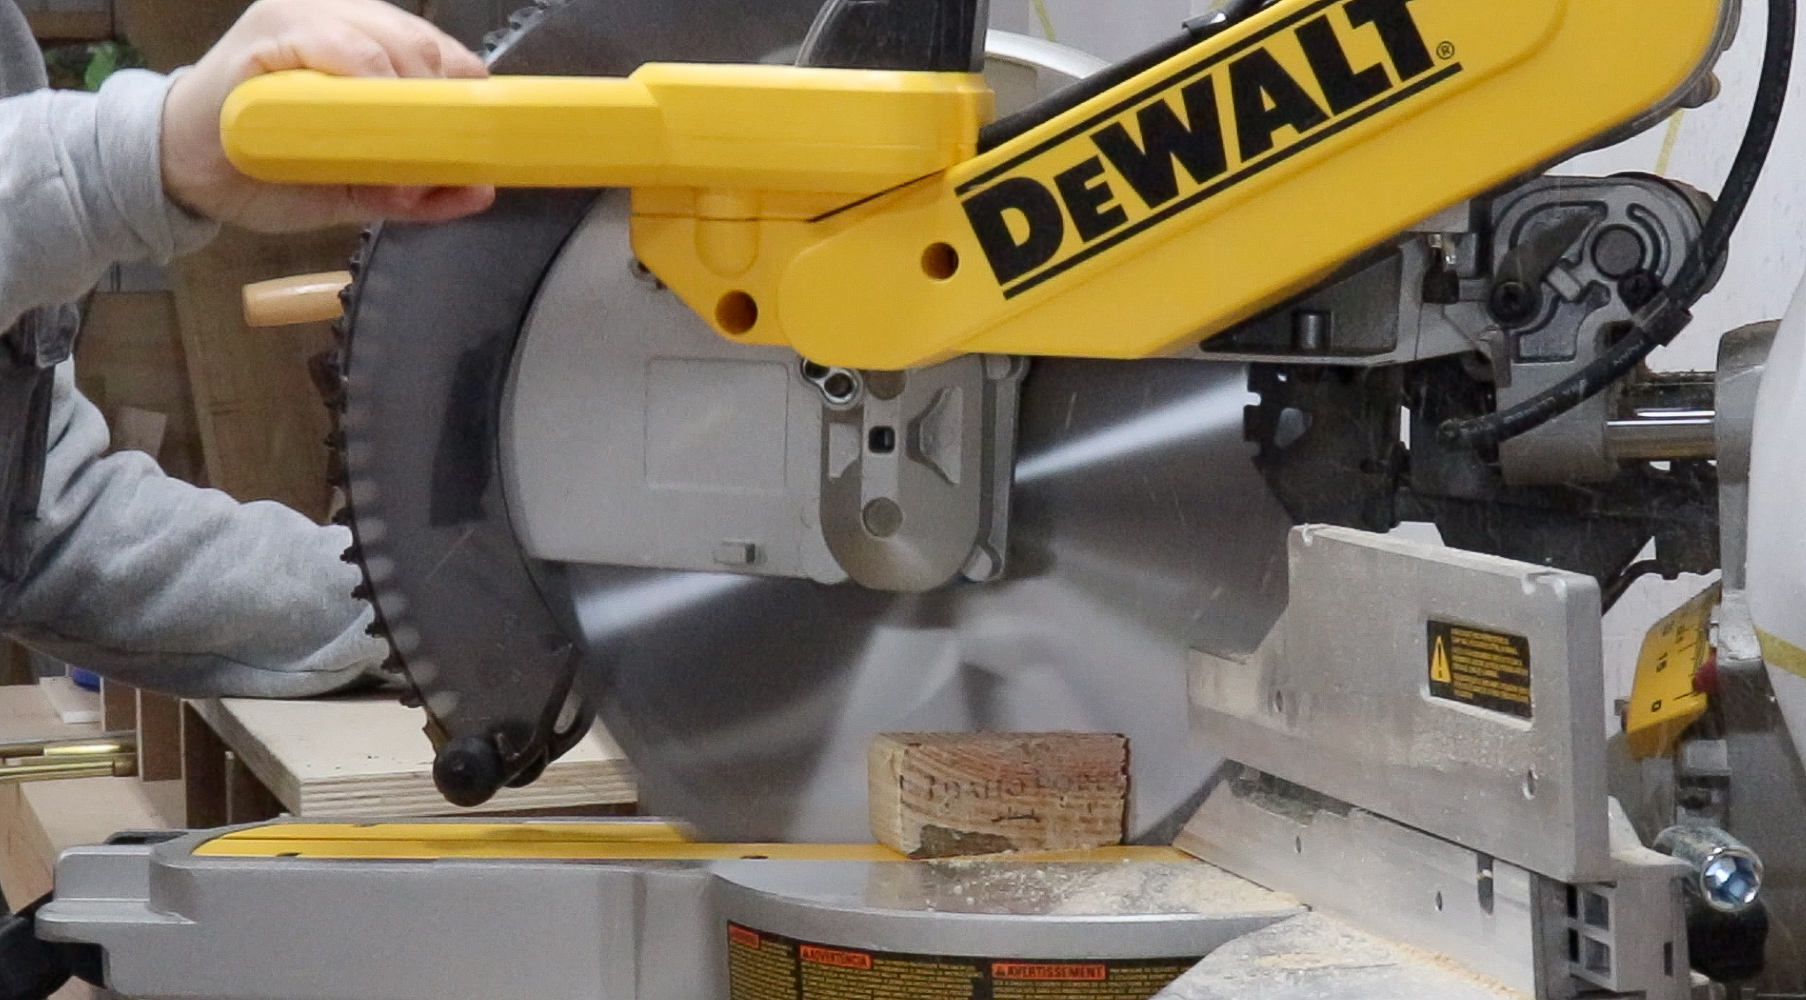
To start I cut all 5 of the 2x4’s in half so that I had 10 pieces cut at 4’ long.
It made it easier to set up a stop block at the miter saw.

Then I rotated my saw to 30 degrees.
(Using a 30 degree cut on the bottom will create an opening at the top of 14”-15”. This works for the logs I have. If you have wider logs than that, consider cutting the legs at a wider angle, maybe 45 degrees so the opening at the top will be bigger.)

With the stop block still in place, I cut a 30 degree angle on 6 of the 4’ long pieces. These will be the legs.
In order to figure out where to join the legs, I temporarily clamped them together and pretended like I was using the chainsaw. This made it easy to determine a good height for me.
I decided that 19” from the top of the legs was comfortable for me.

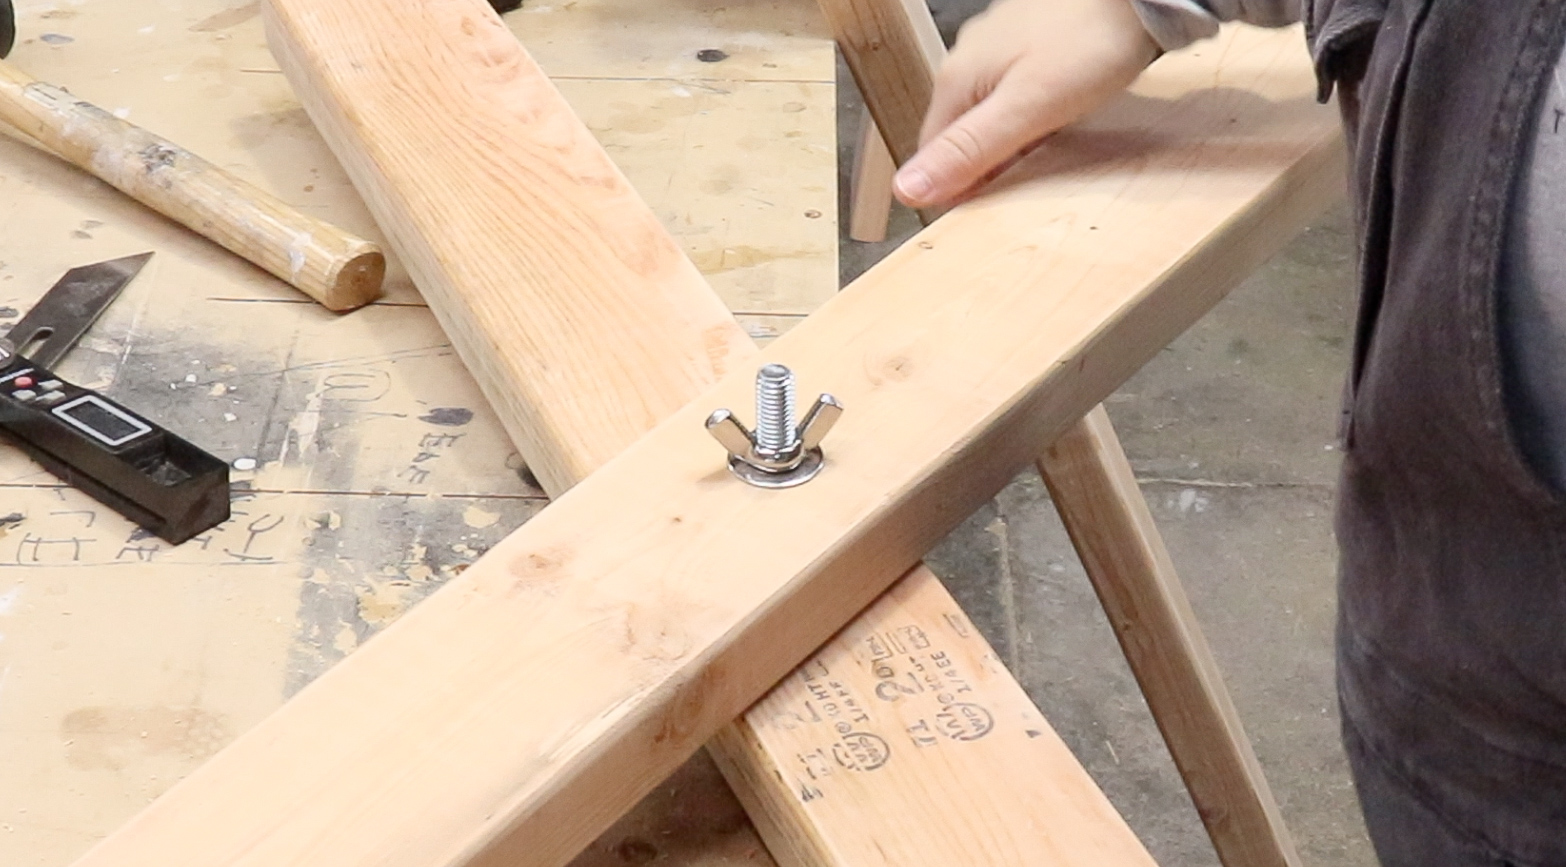
I marked the center of all the legs widthwise, and used a 3/8” spade bit at the 19” mark to drill holes for the bolts.

When assembling the legs, make sure long points on the angles are opposite each other.

Then I inserted the bolt through both legs, placed a washer and locked it down with a wing nut.
I used 4-1/2” bolts, so they are sticking out too much, I would recommend using 4” bolts.
If you have a bolt that’s too long, like mine, you can easily cut it with a metal cutting reciprocating saw blade. This one from Milwaukee has carbide teeth and 7 TPI for fast, efficient cutting in thick and extreme metals.

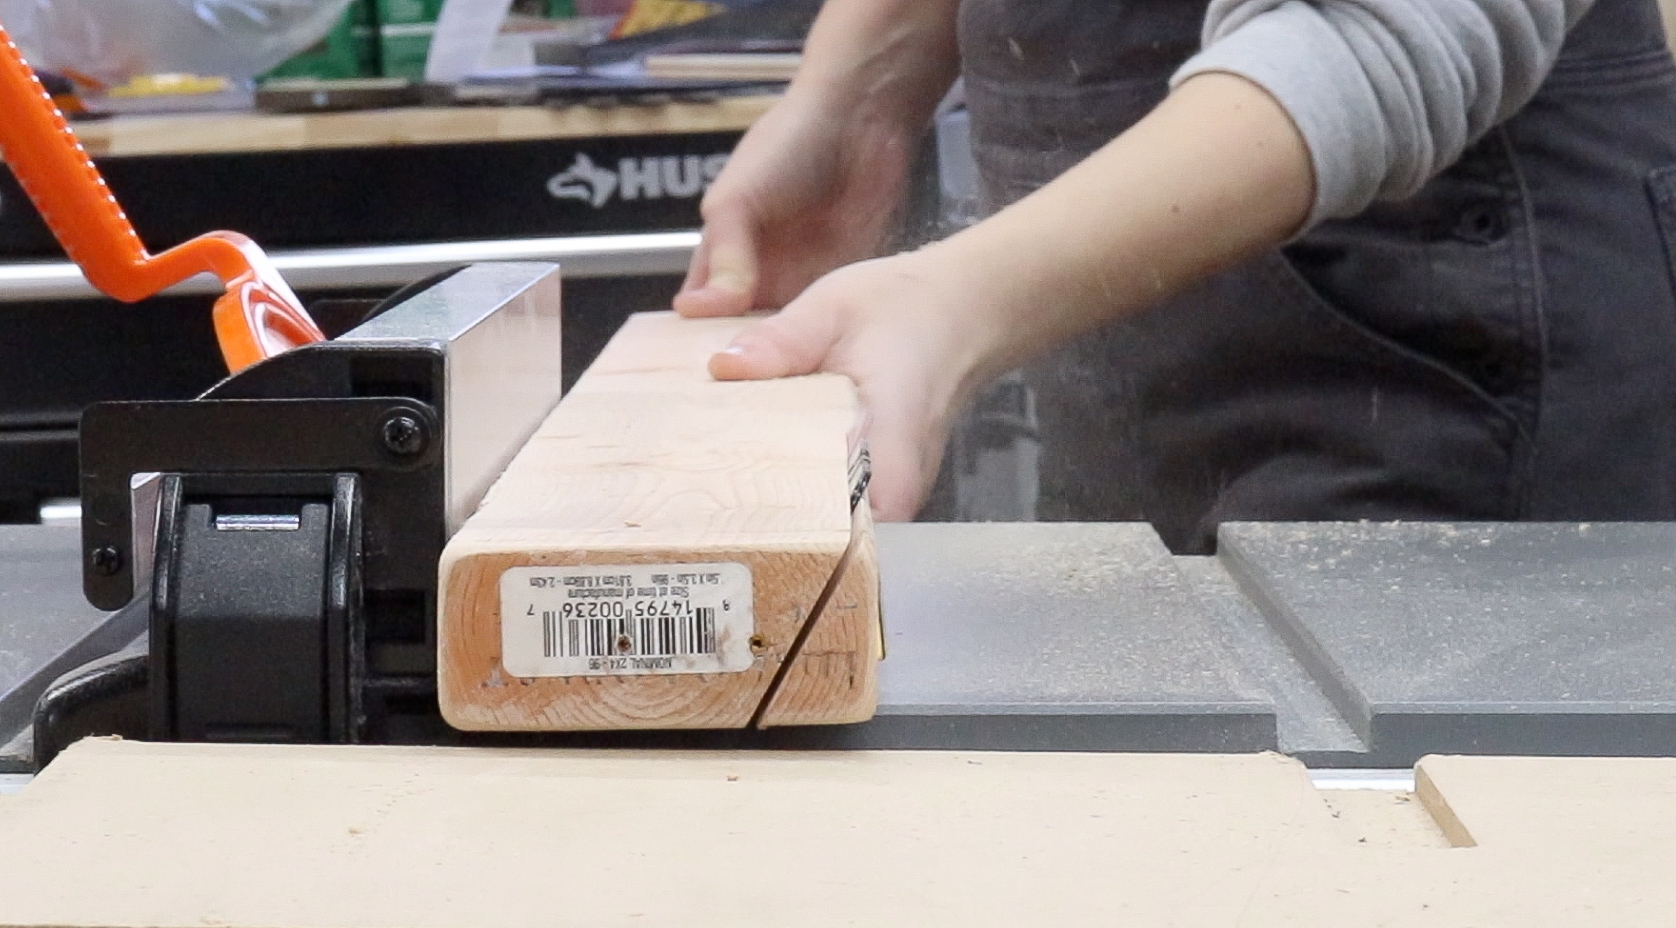
This next step is optional… Since the legs are splayed at 30 degrees, there is a gap between the support pieces and the legs, so I tilted my table saw blade to match the angle of the legs. Which was 30 degrees.

Then I ripped the edge off two of the 2x4’s so the angle will match the legs.
To find the placement for the support piece, I set it in the angle of the leg and made a mark.

This mark came out to 25-1/2” up from the long point of the angled leg. So I marked 25-1/2” on the other two legs.

Then I placed the support piece on the line I just made, made sure it was square, pre-drilled some holes and locked it down with screws.
It is important to note here that you only want to attach the support to the 2x4 that has the long point facing up. If you attach it to the wrong part of the leg, the angles on the bottom wont be right.

The middle leg should be attached in the center of the two outer legs. This is at 2’.

After the first support is attached the second support is way easier to attach.
There is no measuring involved, just clamp it, pre-drill, screw and you’re done.

I figured that top support pieces were going to get cut into with a chainsaw a lot, so I added a second support piece. Clamped, pre-drilled and screwed it on.
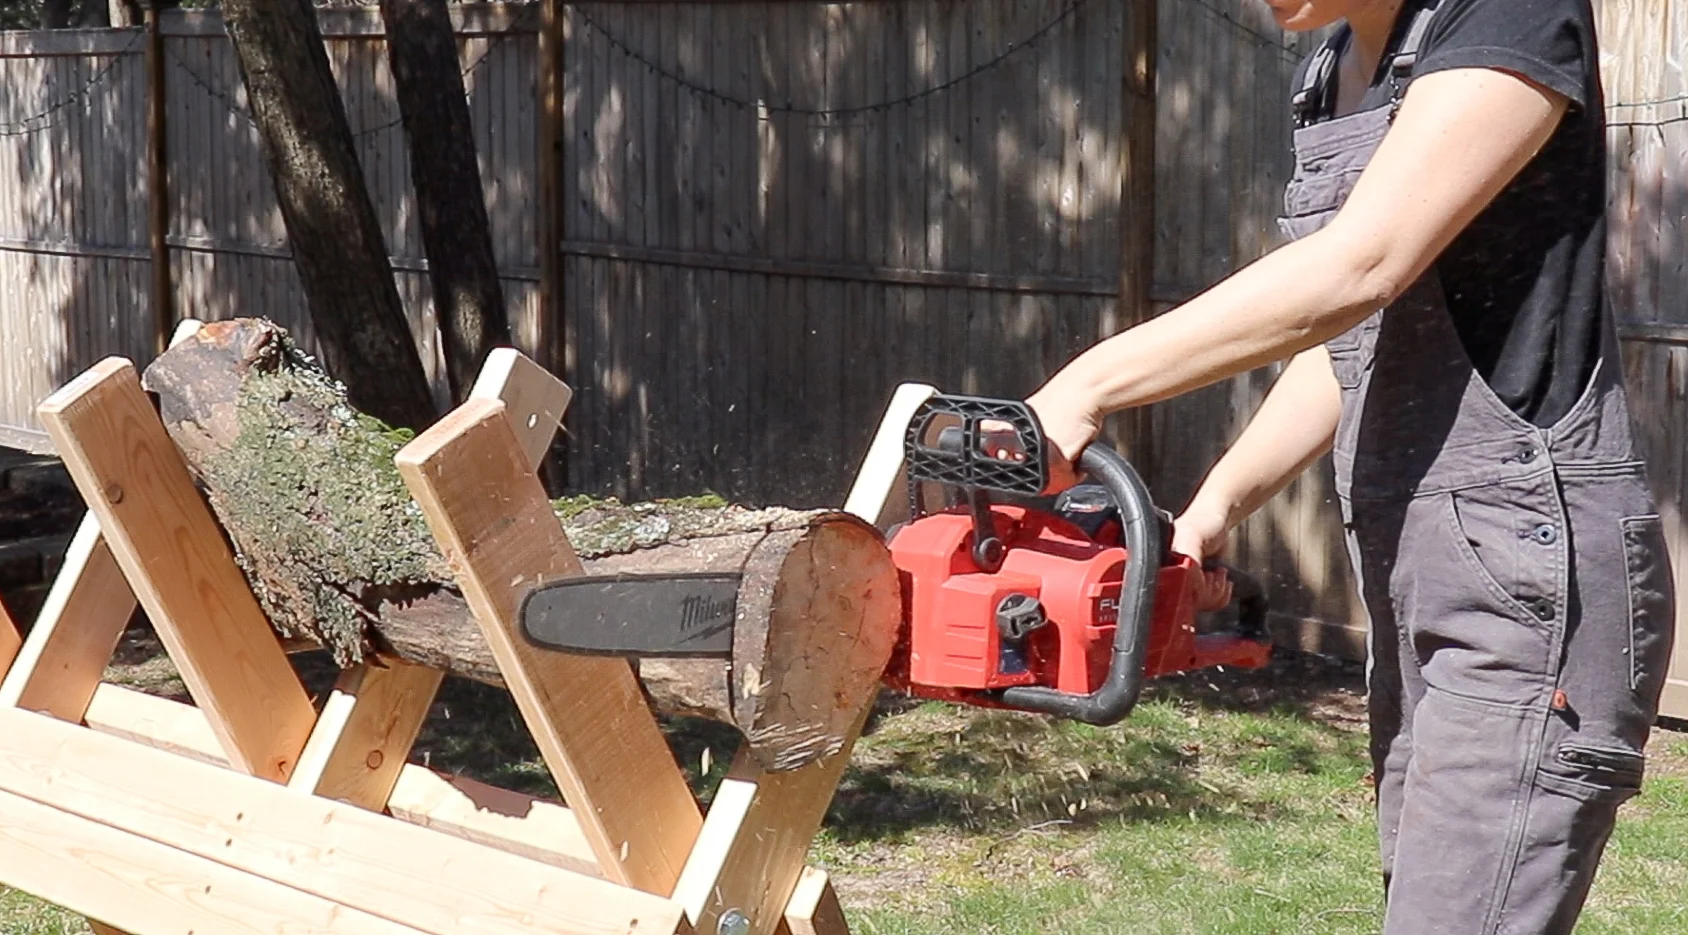
And it’s done!

I’m going to be testing out the MILWAUKEE M18 FUEL 16 IN. 18-VOLT LITHIUM-ION BATTERY BRUSHLESS CORDLESS CHAINSAW. Even thought it’s battery powered, this chainsaw has the same power and performance as a 40 cc gas chainsaw.

This chainsaw is so fun to use! When paired with a 12.0AH Battery it can make up to 150 cuts! The best part about it, is it doesn’t lose any power when the battery is low. It will run at full capacity until you need to recharge.
Milwaukee also makes some other great battery powered outdoor tools like this M18 FUEL 18-VOLT LITHIUM-ION BRUSHLESS CORDLESS STRING TRIMMER.

This string trimmer base can be turned into a whole bunch of diffrent tools with all the attachments below.

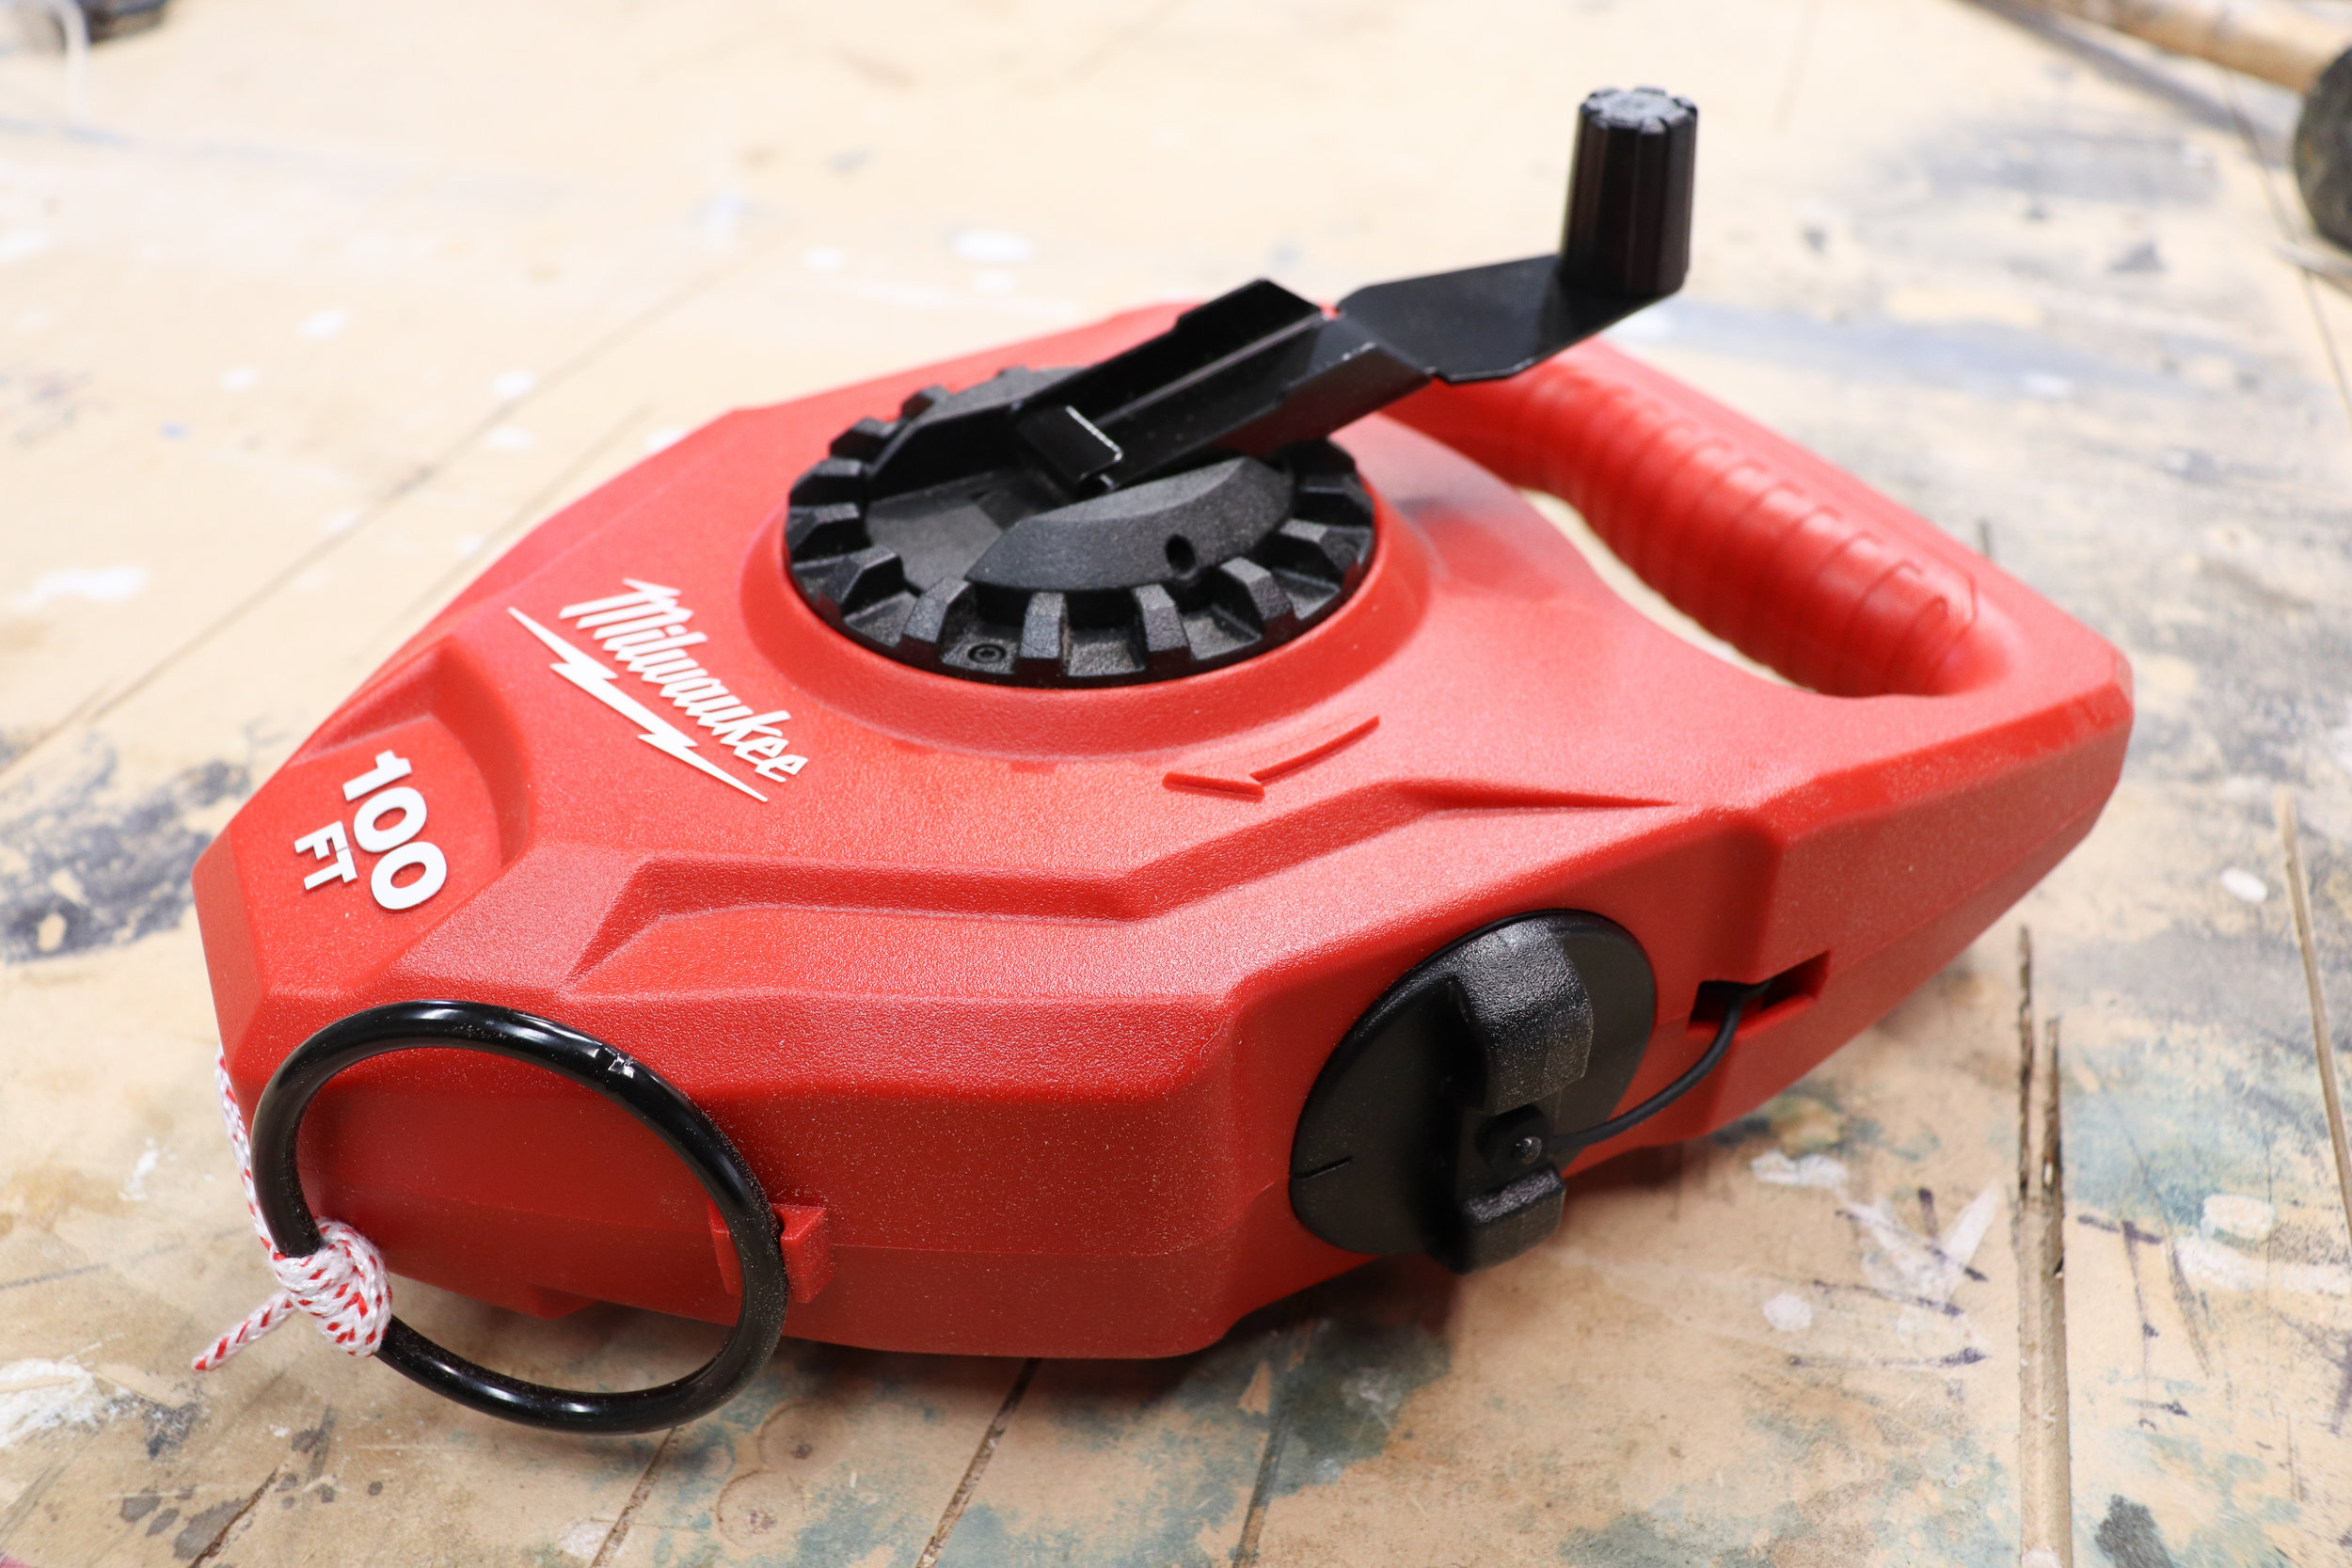
They also have this 100 FT. EXTRA BOLD LARGE CAPACITY CHALK REEL where you can refill it with chalk and easily mark out lines for doing outdoor work.
While we’re on the topic of outdoor work, some of my gardening tools were really rusty. In order to clean them, I used WD-40 Specialist Industrial-Strength Cleaner & Degreaser before setting them to soak in WD-40 Specialist Rust Remover Soak. After soaking for at least a half hour, you can see how all the rust was removed from the bottom of the shovel! After rinsing off the Rust Remover Soak, I sprayed the tools with WD-40 Trigger Pro to prevent them from rusting again. Learn more about these products and find a retailer near you at https://www.wd40specialist.com.

Spring is my favorite time of the year, I love being able to work outdoors, so I am so excited about this new sawbuck and all these outdoor tools!

I acknowledge that The Home Depot is partnering with me to participate in the ProSpective 2018 Campaign. As a part of the Program, I am receiving compensation in the form of products and services, for the purpose of promoting The Home Depot. All expressed opinions and experiences are my own words. My post complies with the Worth of Mouth Marketing Association (WOMMA) Ethics code and applicable Federal Trade Commission guidelines.