In this tutorial, you’ll learn how to make a wooden USB memory stick cover using a scroll saw or bandsaw and a few other basic tools. This project is a great way to upcycle or give your boring memory stick a makeover. This is a simple yet very useful project for a beginner woodworker. If you're new to woodworking, make sure you read our woodworking fundamentals tutorial.
Supplies


- Safety glasses
- Wood (length and thickness depends on size of memory stick)
- Scroll saw or bandsaw
- Saw blades
- Pencil
- Sanding paper
- Wood glue
- Memory stick
- Clamps in various sizes
Safety
- When working with power tools such as saws, it is very important to wear safety glasses at all times.
- Make sure you are fully concentrating on the task at hand as saws and other power tools can do a lot of damage very quickly!
Tools
- For this tutorial, we assume you will be using either a scroll saw or bandsaw. However, all photos included in this tutorial feature a scroll saw.
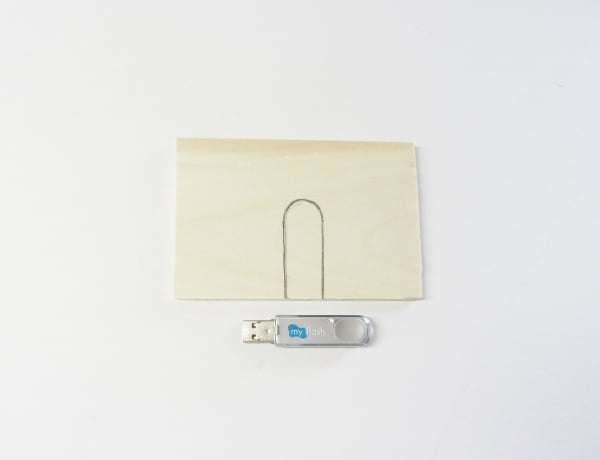
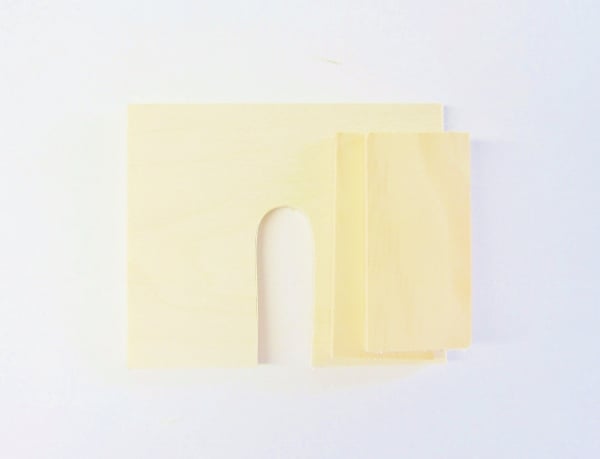
1. Plot the Project
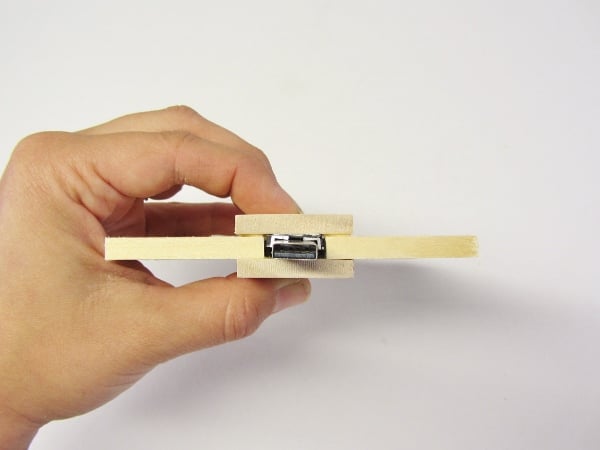
The wooden cover you are constructing will be made of three separate pieces of wood assembled in a sandwich fashion. The middle piece of wood, the 'meat', should be as thick as the plastic cover of the USB memory stick you are using. The other two pieces should be thinner and will be the 'bread' of your memory stick sandwich.
Using a pencil, draw around the outside of the USB stick on the wood you will be cutting.
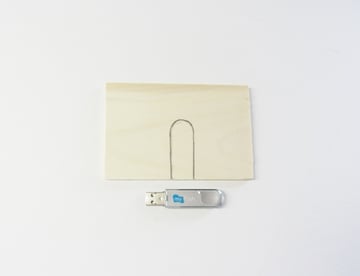
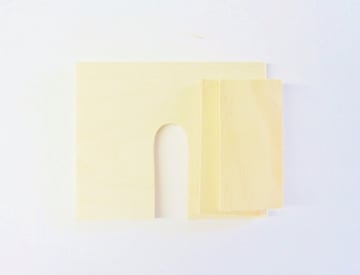
2. Cut the Design
Now cut just to the inside of the outline you traced. The memory stick handle should fit in the area you just cut out. It doesn't have to fit super-snugly since you will be applying glue to hold your 'sandwich' together. If your memory stick is a bit too thick, you can carefully sand down a bit of the plastic cover. Be careful not to sand through the cover though.
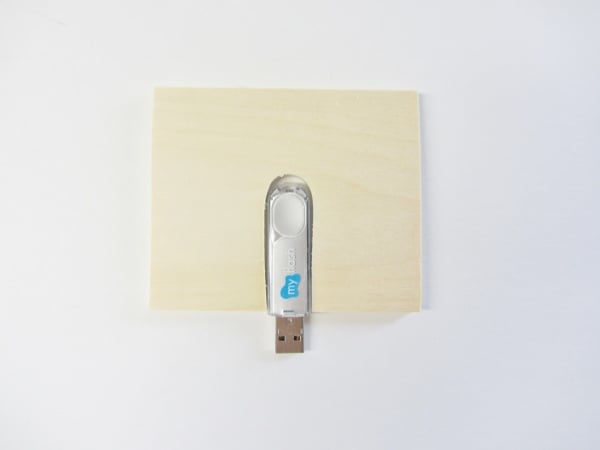
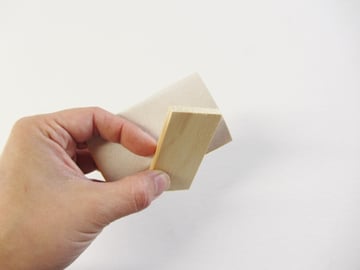
3. Cut the Outside Pieces
Now it's time to cut the outside pieces, the 'bread', to size. Cut these two pieces so that they are longer and wider than the cut-out that you made earlier. The actual size is not terribly important since the excess will be trimmed away.
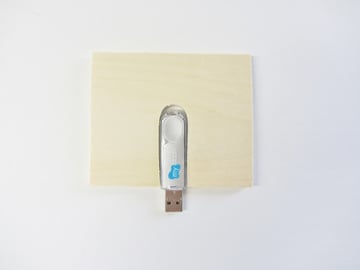
4. Sand the Edges
The end edges that will be around the memory stick will be difficult to sand after you assemble them. So now is the best time to sand and smooth the edges around the opening you cut and the end edges of the outside pieces.

5. Assemble the Pieces
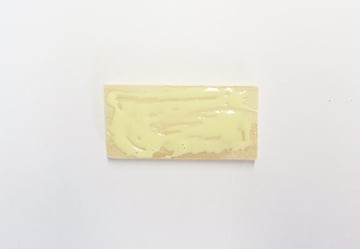
Step 1
Apply wood glue to one side of the outside pieces of wood.

Step 2
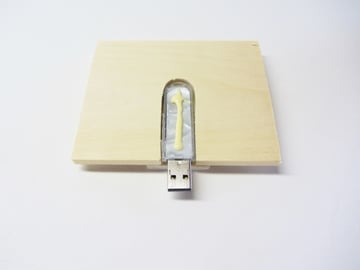
Place the middle piece with the cut-out on top of the fresh glue. Center the cut-out over the smaller outer piece.


Step 3
Now place the memory stick in the cut-out area, in the glue. Then add a bit of glue to the top of the memory stick handle.

Step 4
Repeat assembly step 1 and 2 with the top piece of your 'sandwich'. Once you have completed that you should have fully assembled 'sandwich'.

Step 5
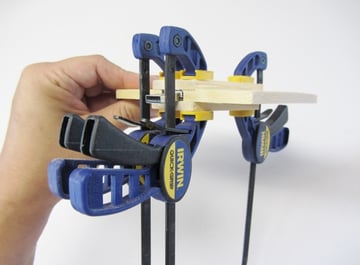
Clamp your project together and allow it to dry for at least a few hours.

6. Cut the Final Shape
Step 1
Once the glue has set, it's time to remove the clamps and mark the memory stick cover into its final shape. The only thing to keep in mind when deciding on a shape is that it must be longer and wider than the cut-out you made for the middle piece. Once you've decided on the final shape, mark it on top of the piece of wood.


Step 2
You are almost finished. Cut around the final shape you traced out with your scroll saw.

7. Finish Up
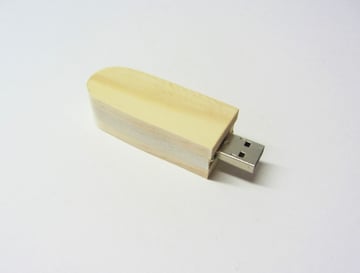
Soften the edges and refine your new wooden memory stick housing. You can sand by hand using varying grits or sandpaper or even use a spindle sander or palm sander to help you shape and smooth a bit faster.


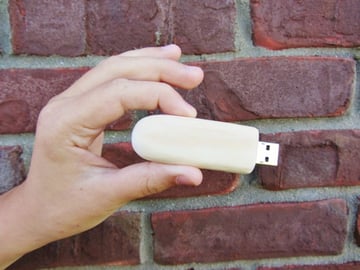
Plug It In
In this tutorial, you learned how to draw a design on wood, cut it out using a scroll saw, and use clamps and wood glue to assemble your new wooden USB memory stick cover.
This is a great project to hone your woodworking skills, and it would also make a fantastic handmade present!

Are you enjoying our woodworking tutorials? Let us know what other projects you'd like to see in the comments below.